Maintenance 10
Seal Removal
1. Followtheinstructionsunder“PumpDisassembly”,above.
2. Removethedischargepipefromthebracket(Ref.No.4).
3. Remove the hold down bolts from the bracket.
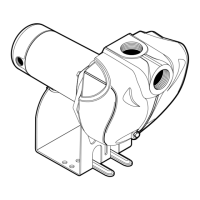
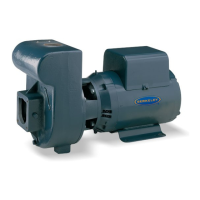
4. Turn the bracket motor side up on the bench and use a screwdriver to
carefully tap the stationary seal half out of the bracket (see Figure 21).
5. Clean the seal seat cavity in the bracket.
Seal Installation
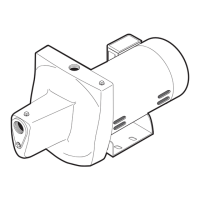
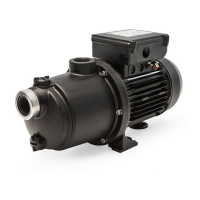
1. Turnthebracketpumpsideuponthebench.Youwillneedtoblockit
up to do this (See Figure 22).
2. Clean the seal cavity in the bracket.
3. Wet the outer edge of the rubber cup on the ceramic seat with liquid
soap. Be sparing!
4. Put a clean cardboard washer on the seal face. With thumb pressure,
press the ceramic seal half firmly and squarely into the seal cavity.
Thepolishedfaceoftheceramicseatisup.Ifthesealwillnotseat
correctly, remove it, placing the seal face up on the bench. Reclean the
cavity. The seal should now seat correctly.
5. Ifthesealdoesnotseatcorrectlyafterrecleaningthecavity,placea
clean cardboard washer over the polished seal face and carefully press
itintoplaceusingapieceofstandard3/4”pipeasapress.
NOTICE: Be sure you do not scratch the seal face.
6. Dispose of the cardboard washer and recheck the seal face to be sure it
is free of dirt, foreign particles, scratches and grease.
7. Inspecttheshafttobesureitisfreeofnicksandscratches.
Pump Reassembly
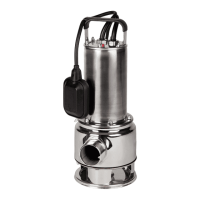
1. Bolt the bracket down to the foundation (see Figure 23).
2. Slide the motor shaft through the seal and bolt up the motor (see
Figure23).Makesurethattheslingerisontheshaftbetweenthe
bracketandthemotorflange.Makesurethatyoudon’tchiptheseal
face with the shaft shoulders and that the shaft does not take the weight
of the motor at any time.
2. CAREFULLYslidetherotatingsealhalfontotheshaft,sealfacefirst.
Makesurethatyoudon’tchipthesealfaceontheshaftshoulders.
3. Followthesealhalfwiththespacer(Ref.No.7).Slidethewasherup
against the seal.
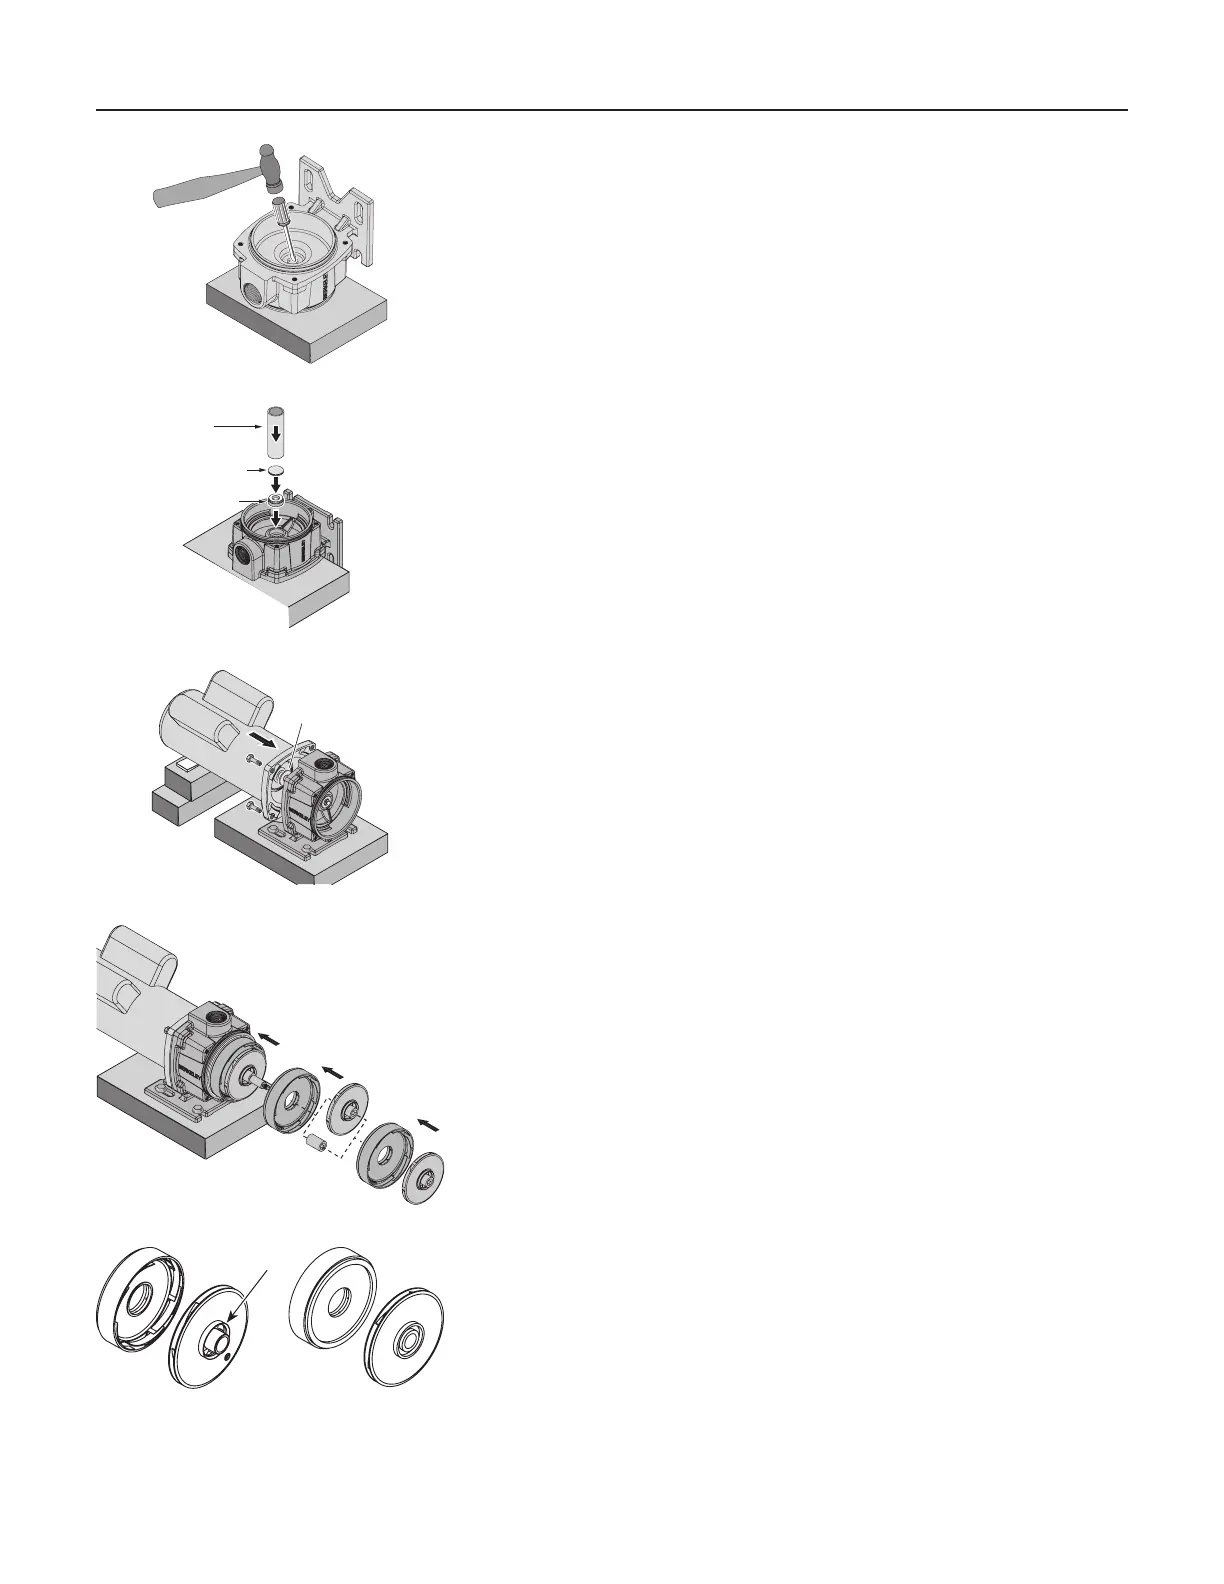
4. Slide a diffuser onto the shaft (open face out) until it seats on the
bracket (see Figure 24). Follow the diffuser with an impeller on a four-
stage pump or with the stainless steel spacer if a three-stage pump.
Engagethemoldedimpellerkeyintheslotintheshaft.Don’tforceit!
Be sure that the impeller eye, with metal ring, faces out (forward - see
Figure 25).
5. Repeat step 4 with the remaining impellers and diffusers.
6. Reinstall the toothed washer, the flat washer, and the impeller nut (in
thatorder–Ref.Nos.12,13,14)ontothemotorshaft(seeFigure26).
Hold the shaft and tighten the impeller nut to 10 ft.-lbs. torque.
7. CheckthesleeveO-Rings;iftheyshowanydamageorwear,replace
them.ReinstallthesleeveO-Rings(Ref.No.8)onthebracketandthe
suction body.
Figure 24
Pipe
sher
Seal Half
Figure 22
Slinger
Figure 23
Figure 21
Figure 25
Correct orientation Incorrect orientation
Metal ring