8
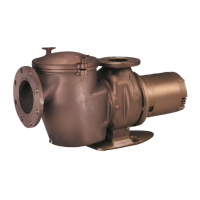
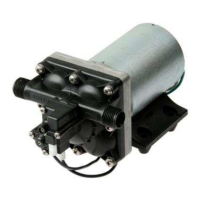
CHALLENGER
®
Centrifugal Pump Installation and User’s Guide
Pump Disassembly (continued)
8. Use the 1/4 inch flat blade screwdriver to hold the motor shaft in place. The motor shaft is accessible through
the back of the motor.
Note: If the torque is too high to hold the screwdriver by hand then an adjustable wrench may be used to hold
the screwdriver shaft in place. Use locking pliers instead if your screwdriver has a round shaft.
9. Unscrew the impeller from the motor shaft by twisting the impeller counter-clockwise.
10. Remove the rotating portion of the spring seal by hand.
Note: When placing the rotating seal to the side, ALWAYS place flat side down. The portion of the rotating spring
seal that contacts the white ceramic seal must be kept as free from contaminants (dust, dirt, debris, etc.) as
possible.
11. Use the 9/16 inch wrench to remove the four (4) bolts that hold the motor to the seal plate.
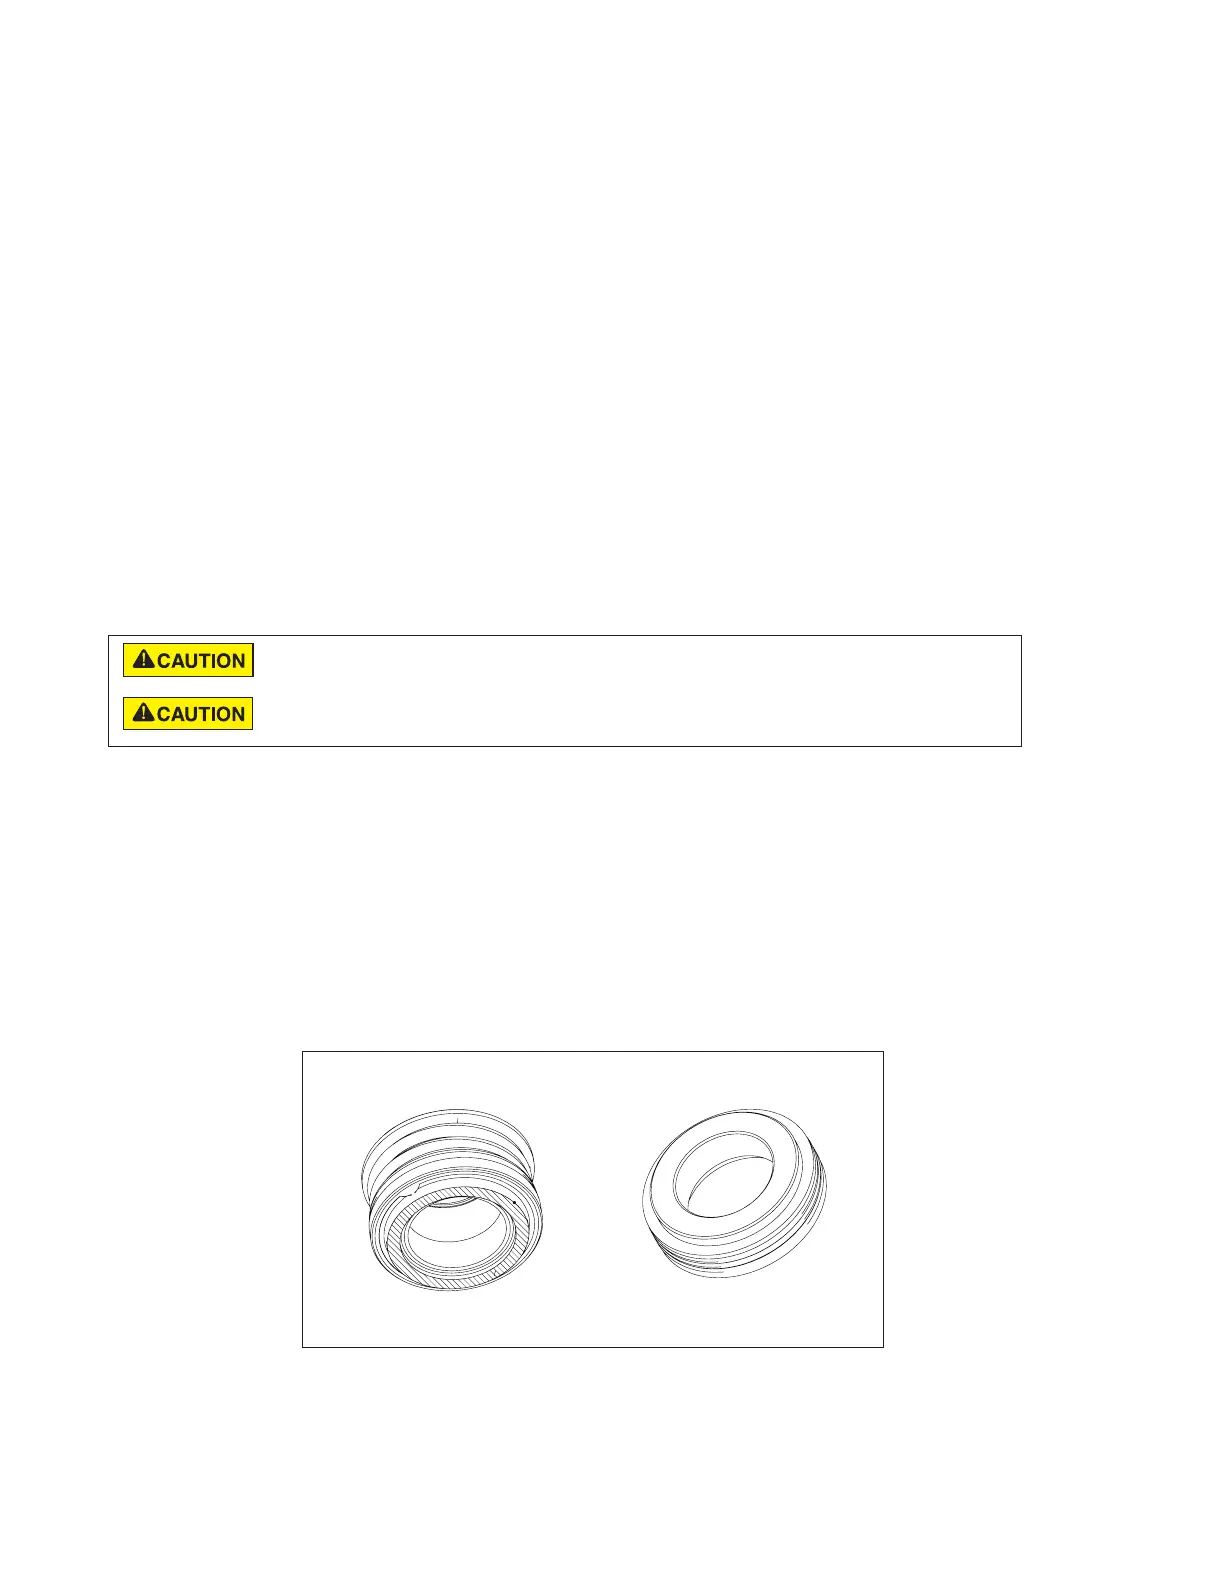
The Shaft Seal
The mechanical seal can be changed without disconnecting piping by removing the band clamp and pulling the
motor with pump bracket diffuser and impeller assembly away from front pump housing body.
The Shaft Seal consists primarily of two parts, a rotating spring seal and a ceramic seal. See Figure 3.
The Challenger
®
Centrifugal Pump requires little or no service other than reasonable care, however, a Shaft Seal
may occasionally become damaged and must be replaced.
To replace the pump seal:
12. Follow steps 1-11 in the “Pump Disassembly” section.
13. Place the seal plate face down on a flat surface and tap out the old ceramic seal.
14. Press the new ceramic seal into the seal plate with your thumbs and wipe off the white ceramic with a clean
cloth.
15. Using a 9/16 inch wrench, remount the seal plate to the motor via the four (4) bolts that hold the motor to
the seal plate.
16. Grease the motor shaft thread and continue with steps 2-10 from the “Pump Reassembly” section to
reassemble the pump.
The polished and lapped faces of the seal could be easily damaged if not handled with care.
In mild climate area, when temporary freezing conditions may occur, run your filtering equipment
all night to prevent freezing.
Spring Seal Ceramic Seal
Figure 3

 Loading...