4
SAFETY WARNINGS
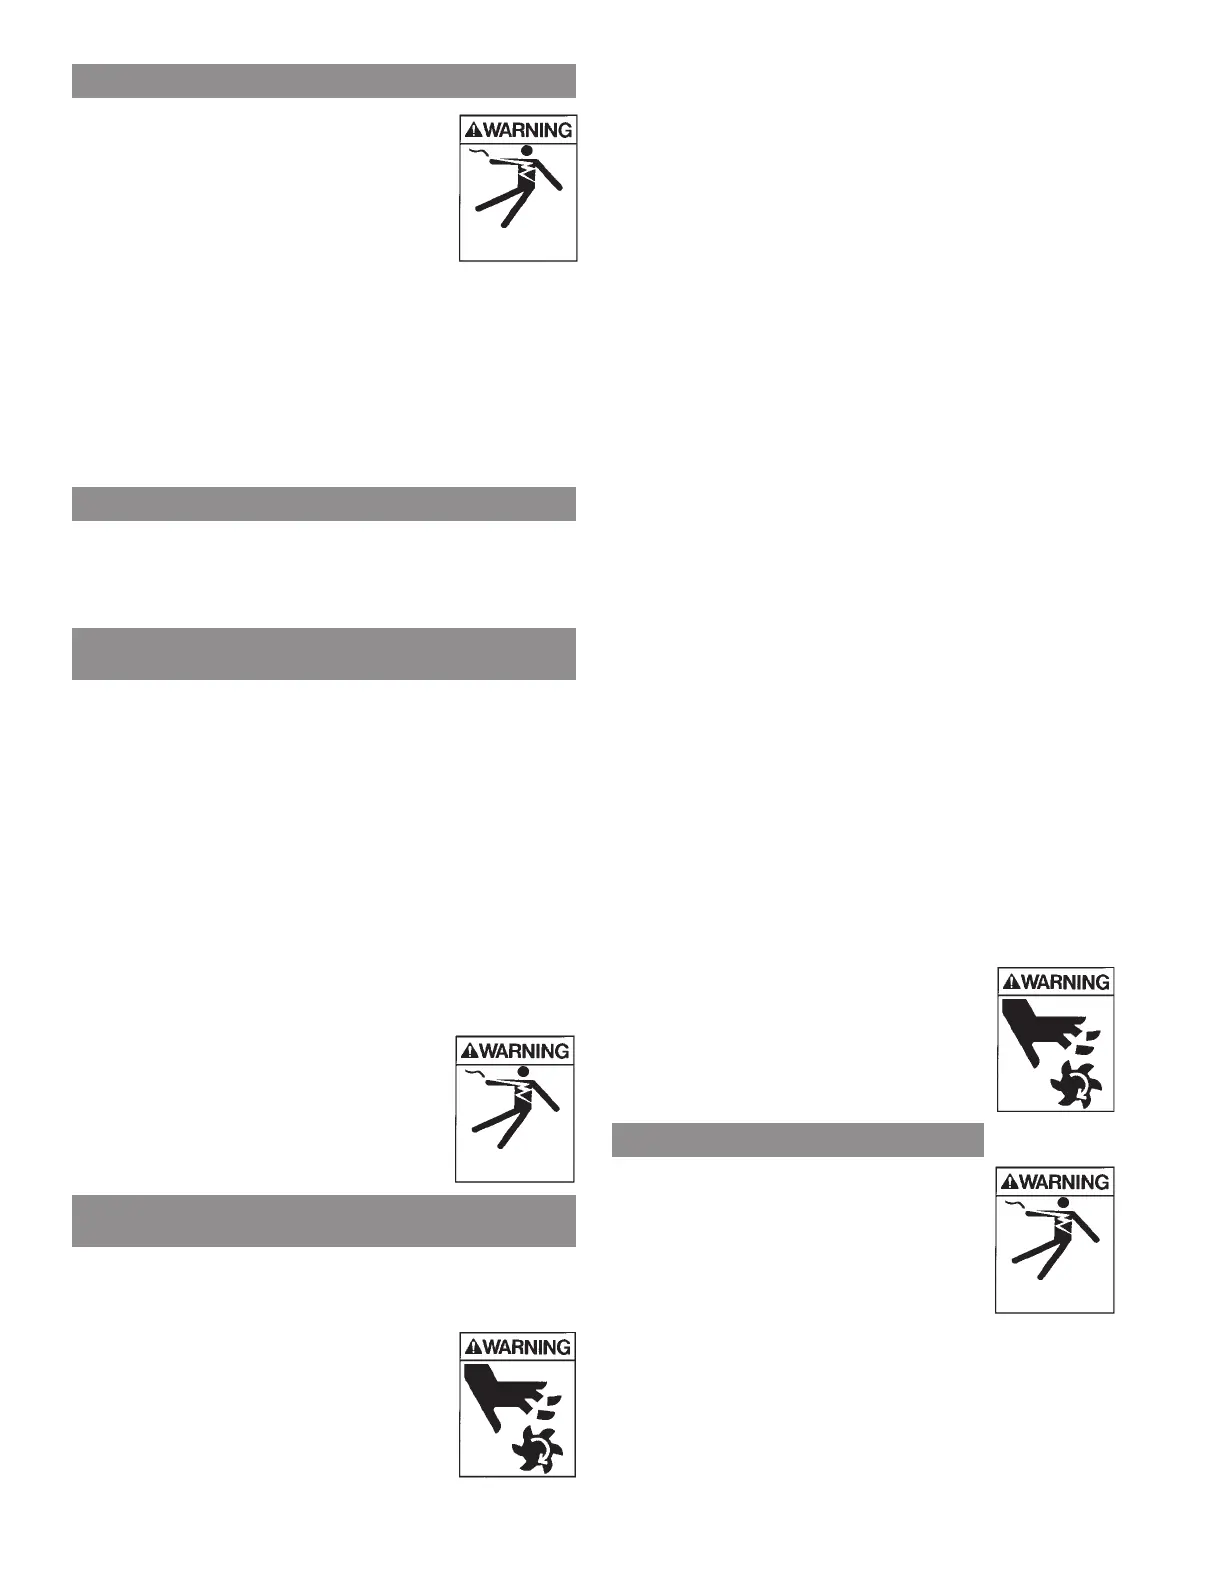
n WARNING! Risk of electrical shock. Pumps
are supplied with a grounding conductor and
grounding-type attachment plug on the power
cord. To reduce the risk of electrical shock,
be certain that it is connected only to properly
grounded, grounding-type receptacle. DO NOT
cut off ground pin or use an adapter fitting.
DO NOT use an extension cord with this pump.
Entire plug may be cut off if a control panel is
used. When wiring this pump follow all local electrical, safety
codes and ordinances as well as most recent National Electric
Code (NEC-ANSI/NFPA).
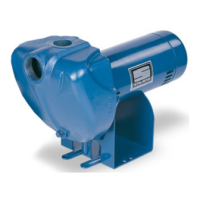
The D1C20-21 Series grinder pumps have a GROUND WIRE that
is connected to a screw in the metal motor housing. This wire
goes to the receptacle or control box which must be connected to
a good outside GROUND such as a metal water pipe or GROUND
STAKE driven at least 8 feet into the ground.
DISMANTLING PUMP FOR REPLACEMENT PARTS
Before dismantling pump for replacement parts, clean pump
thoroughly. Knock off all scale and deposits. Use sandblast if
possible. Submerge complete unit in bleach solution for one hour
before taking apart.
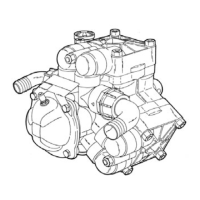
REPLACING GRINDER IMPELLER AND GRINDER
SHREDDING RING
This is the only disassembly operation allowed in the field. All
other repairs must be done at the factory or at an authorized
service station.
STANDARD TOOLS REQUIRED:
1. Allen head socket set.
2. Standard socket wrench set.
3. Set of open end wrenches.
4. Plastic hammer.
5. Vise grip pliers.
6. Large screwdriver with heavy handle.
7. Three-cornered file
IMPORTANT: PUMP SHOULD BE THOROUGHLY CLEANED
OF TRASH AND DEPOSITS BEFORE STARTING
DISASSEMBLY OPERATIONS.
n CAUTION! DISCONNECT ALL POWER
AND CONTROL WIRES TO MOTOR AT CONTROL
PANEL BEFORE STARTING DISASSEMBLY
OPERATIONS. NEVER RELY ON OPENING
CIRCUIT BREAKER ONLY.
DISASSEMBLY OF SHREDDING RING AND
GRINDER IMPELLER
1. Remove three screws from grinder ring flange. Grinder
ring is pressed into flange for easy removal.
2. Using Allen head socket wrench, thread
two screws into tapped back-off holes in
flange. Evenly tighten screws to guide
grinding ring out of pump volute case.
3. Hold grinder impeller by prying against
impeller cutting bar and remove cap
screw from end of shaft.
4. Use large screwdriver in slot in end of shaft and bump
on cutter vane with plastic hammer. Bump in
counterclockwise direction as thread is right-hand.
It may take several bumps to loosen impeller.
If impeller cannot be loosened it will be necessary to
take unit to service station for service. DO NOT
CONTINUE TO POUND ON IMPELLER AS IMPELLER AND
SHAFT MAY BE DAMAGED.
5. If impeller comes off easily, clean up and replace if worn.
6. Be sure pump impeller has not loosened when grinder
impeller is removed. This can be checked on reassembly
of grinder impeller and shredding ring. Tips of impeller
cutter vanes should extend about 1/8" below bottom
of shredding ring. If distance is more, it means the pump
impeller has loosened, and if it is less, it means the
shredding ring is not properly seated.
If the pump impeller has loosened, remove grinder impeller
and shredding ring as described above and remove bolts
from volute case and remove case. Plastic hammer can be
used to bump on casing discharge to loosen. Place
gasket in oil to prevent drying out. DO NOT loosen the
pump impeller further -- it is the seat for the seal spring.
7. After case is removed, wrap emery paper around shaft and
hold with vice grip pliers. Use cloth on impeller and screw
up against shoulder. Now pump can be reassembled.
8. Clean all threads with wire brush and file; smooth any
threads that may have been nicked.
9. Use Never-Seez
®
or other graphite compound on threads
before replacing grinding impeller.
10. Be sure cap screw in bottom of shaft is tight. Hold impeller
with a screwdriver between cutter bar and teeth of
shredding ring while tightening cap screw.
11. Be sure impeller turns free by hand after reassembly.
Some drag will occur due to the seal, but there should be
no binding or tight spots when turning the grinder impeller.
12. If impeller rubs or drags on shredding ring, loosen bolts
in shredding ring plate and tap with plastic hammer to
loosen, retighten screws. Be sure to pull screw down
evenly, applying pressure on all three
screws. DO NOT TIGHTEN ONE SCREW
CLEAR DOWN BEFORE ADJUSTING
OTHER SCREWS.
13. ALWAYS use a rag on the impeller when
turning to prevent cutting hands on the
sharp corners of shredding ring.
TO REPLACE CAPACITORS ONLY
n CAUTION! DISCONNECT ALL POWER AND
CONTROL WIRES TO MOTOR AT CONTROL
PANEL BEFORE STARTING DISASSEMBLY
OPERATIONS. DO NOT RELY ON OPENING
CIRCUIT BREAKER ONLY.
1. Remove oil fill plug near the top of motor
housing and pour oil out.
2. Loosen the cord nut on power cord until cord is loose
enough to push cord down into motor housing.
3. Remove four bolts from motor housing and bump housing
with a plastic hammer to loosen. Lay pump on its side.
4. Remove the housing carefully to be sure that enough
cord is pushed into the housing so as not to create
tension on cord.
Hazardous voltage
can shock, burn or
cause death
Hazardous voltage
can shock, burn or
cause death
Hazardous voltage
can shock, burn or
cause death
 Loading...