6 • FLECK
®
9000/9100/9500 Service Manual
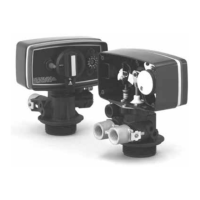
9000/9100/9500 (3200 SERIES) ELECTRO
MECHANICAL TIMER ASSEMBLY
40
39
10A
INSTALLATION
CONTINUED
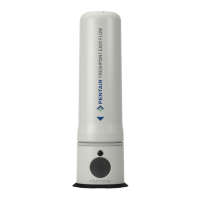
Meter Dome and Union Orientation
Control valves outfitted with an electromechanical timer and
stainless steel water meter include a special male x female
threaded stainless steel union to insure proper installation
and operation of the water meter.
The location of this union in relation to the
control valve and water meter is critical for
proper operation. DO NOT omit or substitute
this special union; it positions the meter
dome at the correct distance from the control
valve and allows re-positioning the water
meter dome for proper operation.
1. Apply a suitable thread sealant to the male threads of the
union and meter body.
2. Thread the union into the OUTLET port of the control
valve, then thread the meter into the union. See
illustrations below.
3. Rotate the water meter body so the meter dome is at
the 12 o’clock position. Loosen the nut on the union to
facilitate this if required. Once in position, tighten the
union nut.
4. Connect the meter cable to the open port in the center of
the meter dome.
5. Continue with the installation of the control valve.
Position
Meter Dome
at 12 o’clock
orientation
Meter
Union
Valve Body
 Loading...