11
IntelliFlo 4 Installation and User’s Guide
4. Lower down the hinged control panel to access the EasyTouch motherboard.
5. Route the communication cable into the lower plastic grommet, up through the low voltage raceway
to the EasyTouch load center motherboard.
6. Strip back the cable conductors ¼ inch. Insert the two wires into the screw terminals on the board.
Secure the wires with the screws.
7. EasyTouch to IntelliFlo 4 pin configuration:
• IntelliFlo: Connect pin 6 (green) to EasyTouch screw terminal pin 2 (green)
• IntelliFlo: Connect pin 7 (yellow) to EasyTouch screw terminal pin 3 (yellow)
8. Insert the screw terminal onto the EasyTouch COM-PORT (J20) board connector. Note: Multiple
wires may be inserted into a single screw terminal.
Pin configuration
EasyTouch (J20)
screw terminal
hcuoTysaE
lanimretwercs
rotcennoc
olFilletnI
)elbaceriw-2(
)NRG(2)6niP(NEERG
)LEY(3)7niP(OLLEY
Pin 6
(Green)
Pin 7 (Yellow)
IntelliFlo connector pin configuration
EasyTouch
COM-PORT
(J20)
Indoor Control Panel
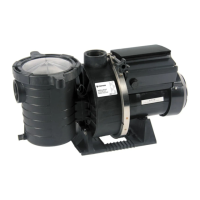
IntelliChlor
IntelliFlo
RF Transceiver
Low voltage
Raceway
Control panel
motherboard

 Loading...