8
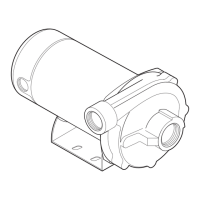
Under normal conditions JET, NEWJET, JETINOX, GARDENJET, GARDY electropumps do not need any type of maintenance. In order
to avoid possible failures, it is advisable to periodically check the pressure supplied and current absorption. A decrease in pressure is a
symptom of wear. An increase in current absorption is a sign of abnormal mechanical friction in the pump and/or motor.
If the electropump is not going to be used for long periods of time (e.g. an entire season) it should be emptied completely, rinsed with
clean water and put in a dry place.
If the problem has not been eliminated after carrying out the above operations contact the closest service centre.
EN
Before doing any operation, make sure machine is disconnected from electric power supply.
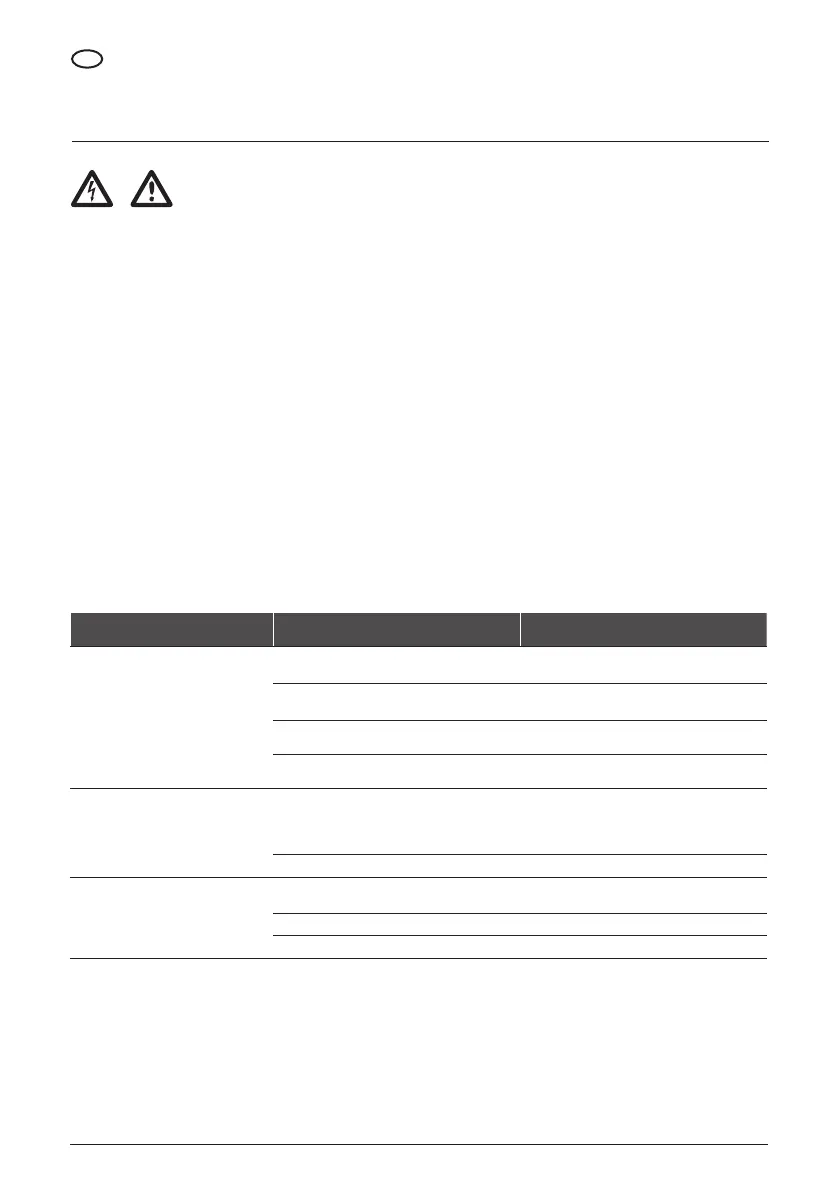
DANGER - ELECTRIC SHOCK RISK
PROBLEM POSSIBILE CAUSE RIMEDY
THE ELECTROPUMP DOES NOT PUMP WATER
THE MOTOR DOES NOT RUN
1) No power. Check if there is power and if the plug is plugged in
properly.
2) Motor protection tripped. Verify the cause and reset the switch. If the thermal has
tripped wait until the system has cooled.
3) Defective condenser. Replace the condenser.
4) Shaft blocked. Verify the cause and unblock the electropump.
THE MOTOR RUNS BUT
THE ELECTROPUMP DOES NOT PUMP LIQUID
1) It is taking on air. Make sure that the joints are airtight.
Check that the level of liquid has not dropped below
the foot valve.
Check that the foot valve is airtight and is not blocked.
2) Wrong rotation direction. Reset the rotation direction.
THE ELECTROPUMP STOPS AFTER RUNNING
FOR A SHORT PERIOD OF TIME BECAUSE
ONE OF THE THERMAL MOTOR PROTECTION
DEVICES TRIPS
1) Power supply does not conform to data on plate. Check the voltage on the power supply conductor
cables.
2) A solid object is blocking the impeller. Dismantle the electropump and clean it.
3) The liquid is too thick. Change electropump type.
MAINTENANCE AND TROUBLE SHOOTING
CHAPTER 6
CLEANING THE HYDRAULIC PARTS
REPLACING THE SEAL
• Empty the pump body using the drain
cap (pos. 10, g. 1)
• Unscrew the pump body xing screws
• By pushing with a plastic tool extract
the venturi unit from the suction point
and wash it with a spray of water
• Disassemble the pump body and
unscrew the impeller
• Extract the seal using a pliers and
pulling and rotating towards the end
of the shaft
• When reassembling be very careful
to correctly insert the O ring, that is
mounted on the venturi unit, into the
suction point
• Take off the seal holder ange (except
GRADY)
• Extract the counterface by pushing
from the back side of the seal holder
ange
• If the O ring is damaged replace it
• Insertion the venturi unit into the pump
body must be done by hand
• To assemble, the counterface and seal
must be inserted without using any
tools and by lubricating their seats
with alcohol