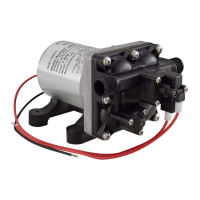
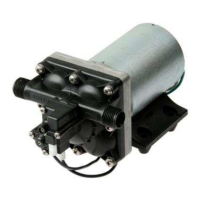
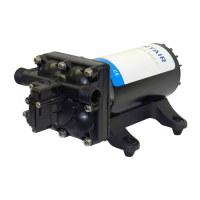
III. PUMP RE-ASSEMBLY
Warning The Order of Assembly is important for proper sealing.
1. Install the Upper Housing Large O-Rings (O) (Fig. 11 & 12)
1.1 Remove the existing Large O-Rings and thoroughly clean the
O-Ring grooves with a dry cloth and a cotton tipped applicator.
Note: Lubricate the O-Rings with the Supplied O-Ring Grease.
DO NOT USE PETROLEUM BASED LUBRICANT.
1.2 Slide the two new Large O-Rings over the Upper Housing (N) and
into the O-Ring grooves.
1.3 Place the Upper Housing down with the internal cavities exposed.
Turn the Upper Housing until the motor wire holes are directly in front.
2. Install the Bypass Assembly (P and Q) (Fig. 11 & 12)
2.1 Place the Poppets (Q) into the Springs (P).
Note: Make sure that the Poppets are seated flush against the Springs.
2.2 Locate the three bypass cavities and place the Spring/Poppet Assembly
into the cavities with the Poppet up.
3. Install the Valve Housing Assembly (R) (Fig. 11 & 12)
3.1 Place the Valve Housing Assembly into the Upper Housing (Part N).
Note: Make sure that the inlet valves are centered on top of the bypass
Poppets (Q).
4. Install the Lower Housing Assembly (Part S) (Fig. 11 & 12)
4.1 Place the Lower Housing Assembly onto the Valve Housing Assembly (R) (Fig. 12).
Note: DO NOT FORCE THE ASSEMBLY.
IT SHOULD SNAP TOGETHER EASILY IN ORDER TO SEAL PROPERLY.
5. Install the Motor (T) (Fig. 11 & 12)
5.1 Lubricate the motor shaft with a small amount of general purpose grease.
5.2 Align the "D" flat of the motor shaft with the "D" flat on the
Lower Housing Assembly (S).
5.3 Align the motor lead wires with the Upper Housing (N) wire holes.
5.4 Align the three tabs on the motor (T) with the holes on the Lower Housing
Assembly (S) and set the motor onto the Lower Housing.
5.5 Insert the motor lead wires into the Upper Housing motor wire holes.
5.6 Push the wires until they touch the surface that the Upper Housing is resting on.
 Loading...