77420 - 88/107 -
11-4. Check capture and playback
① Turn OFF the power and insert SD card for test shooting.
② Turn ON the power.
③ Press Menu button and format can be execute on [Set- up Menu 4].
④ Take 3 pictures. (Recorded pixels/Quality:12M/★★★)
⑤ Press playback button and confirm the images.
⑥ Also, press INFO button and Histogram indication is displayed.
⑦ When press INFO again, Detailed information display is displayed.
⑧ Playback image and delete the image by pressing delete button.
⑨ Turn OFF power and remove SD cards.
11-5. Check Built-in flash
①The built-in flash pops up when the flash button is pressed. And, mark must be indicated
②The flash must be discharged when taking a picture in low light condition.
③The built-in flash must be retracted firmly when flush is pushed down by finger.
*If flash does not retract properly or too much gap, follow the [Adjustment of flash retract position].
④Confirm that must be indicated and discharged when an external flash is attached.
11-6. Adjustment of Flash retract position
[Preparation]: Hexagonal driver 0.9mm (HD-M0.9)
*If flash does not retract properly or too much gap (more than 0.3mm), execute below adjustment.
①Adjustment: Turn Q4 by Hexagonal driver.
②Confirm the retract position and gap then apply Screw lock (clear or black) to Q4.
11-7. Check Aperture control and surface of CMOS
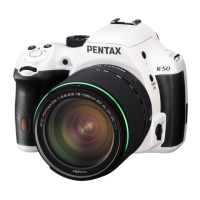
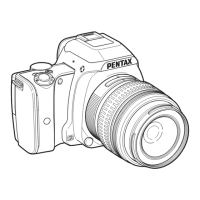
① Attaching the lens to the camera. Set the focus mode and Capture mode to MF and B.
② The aperture of lens must change similarly when the aperture value (Av) is set in opening, the
middle, and the minimum with the Av dial.
③ Detach the lens from camera, and depress the release button, and make the camera long exposure
condition. Confirm there is neither dust nor scratch on the CMOS.

 Loading...