Operator’s manual Pentruder RS2 wall saw and Pentpak 3 HFi power pack – Original instructions Page 30
Cutting
Ready to cut?
When all the instructions in Chapter 2 and Chapter 3 Transport
Transport, preparations and mounting have been followed, you are ready for the next step, Connections and start up
sequence.
The machine should be clean, properly lubricated and all functions checked before cutting is commenced.
See the instructions in Maintenance
WARNING!
• Before starting to cut, it is essential that all personnel working with or in close
proximity of the machine have read and understood the contents of this
operator’s manual and that the instructions are followed.
• If the safety precautions are not respected, this can result in serious injury and
even to fatal injuries to persons in proximity of the machine.
In the following instruction:
• L1, L2, etc. refers to LED lights on the RRC Radio remote control
• P1, P2, etc. refers to the Green button and Voltage indication on the Pentpak 3
• D1, D2, etc. refers to the picture of each display.
A normal start up sequence is described. If anything does not comply, please see trouble shooting.
4.1.1 Connections, and startup sequence
1. Make sure that the Stop button on the RRC and the Emergency stop button on the Pentpak 3 are released.
2. Connect the RS2 saw head to the Pentpak 3 using the Machine cable (3.7.1)
3. Connect the Water hose between the RS2 saw head and Pentpak 3 (3.7.2)
4. Connect Pentpak 3 to water supply (3.8.6)
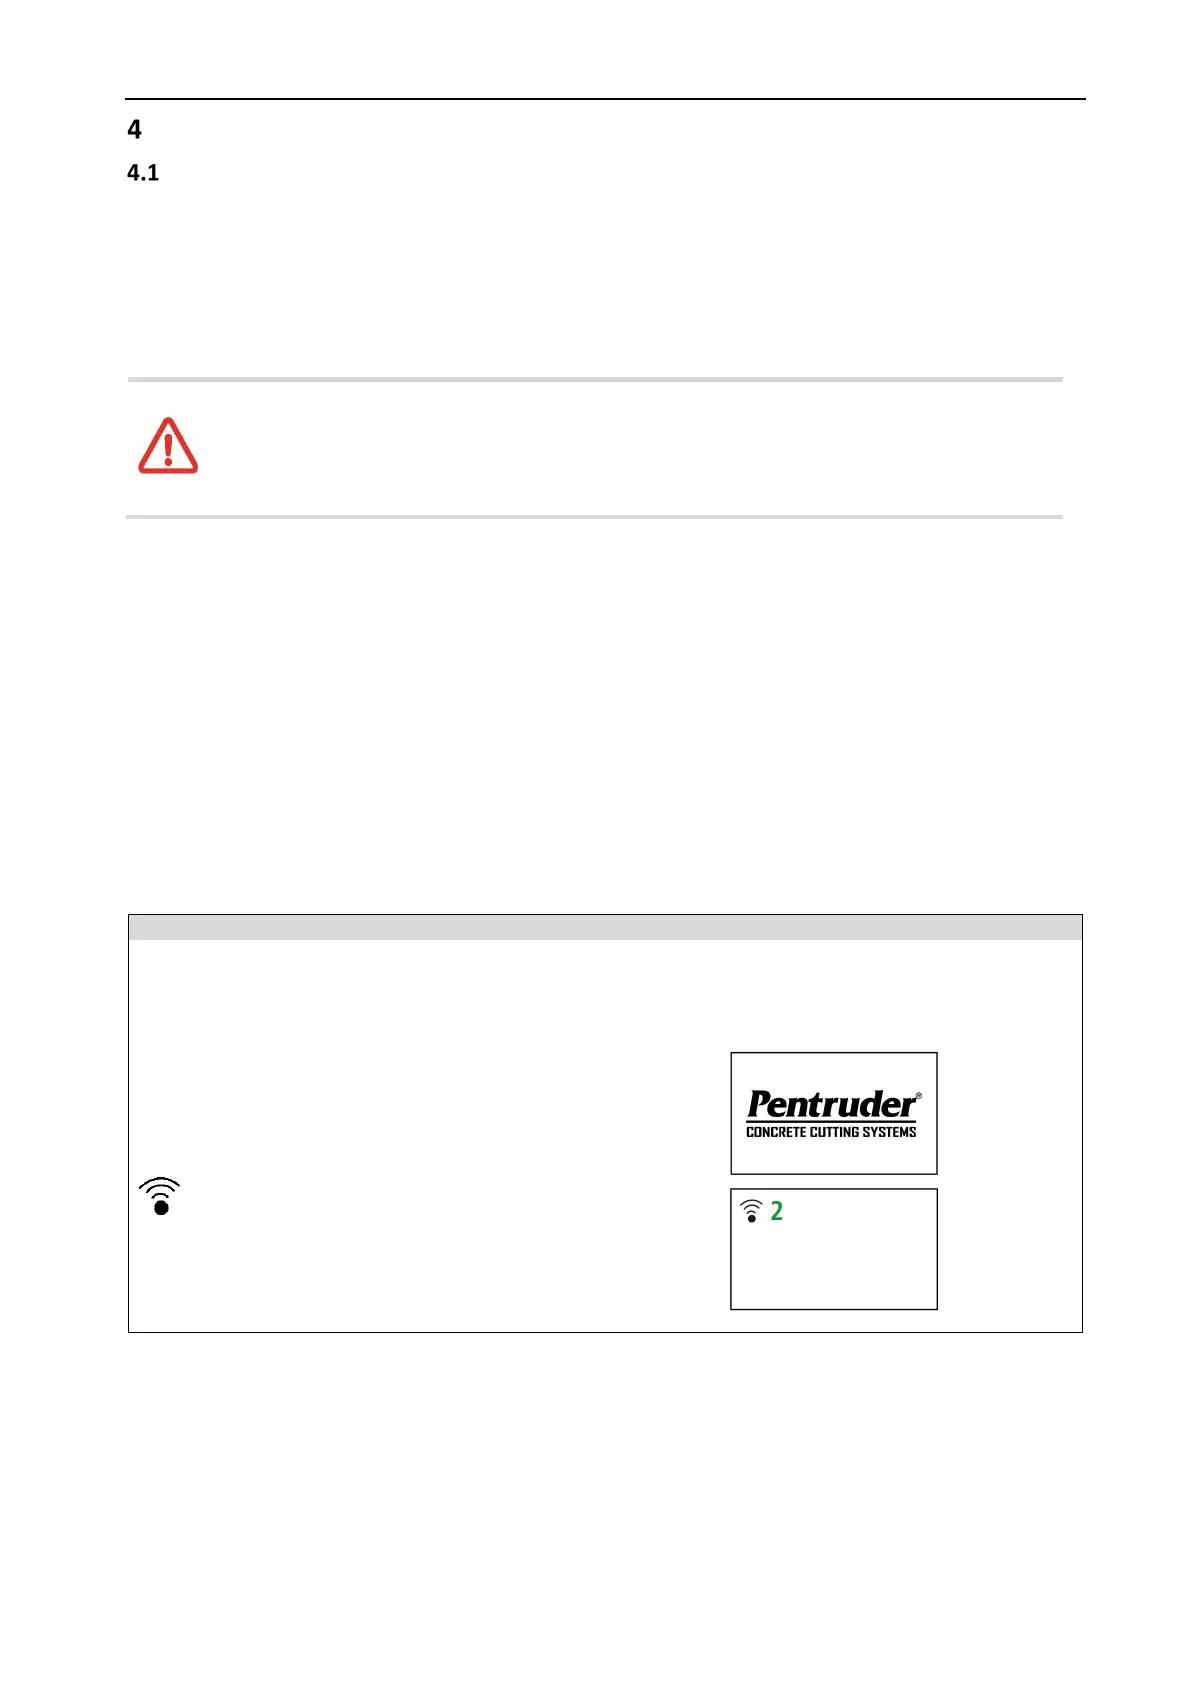
5. Press ON/OFF on the RRC to turn it on: (L1)(L2)(D1)
LED1 (green) blinks, RRC is ON
LED2 (red) turns on (Pentpak 3 not on yet)
Radio symbol blinking = no connection
 Loading...