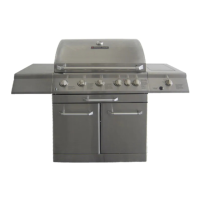
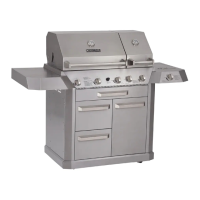
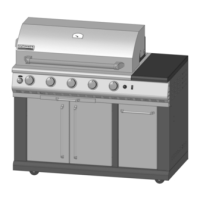
SLG2008A
Owner’s Manual
7
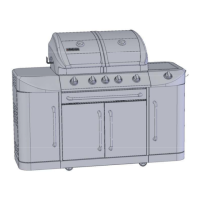
Assembly Instructions
Remove all
contents
from the carton packaging. Make sure all
parts are present before
attempting assembly.
Once
the
grill is fully assembled, go back and check to make certain all the bolts are secure. Tighten again
using the screwdriver
provided if necessary.
Estimated Assembly
Time:
50
minutes.
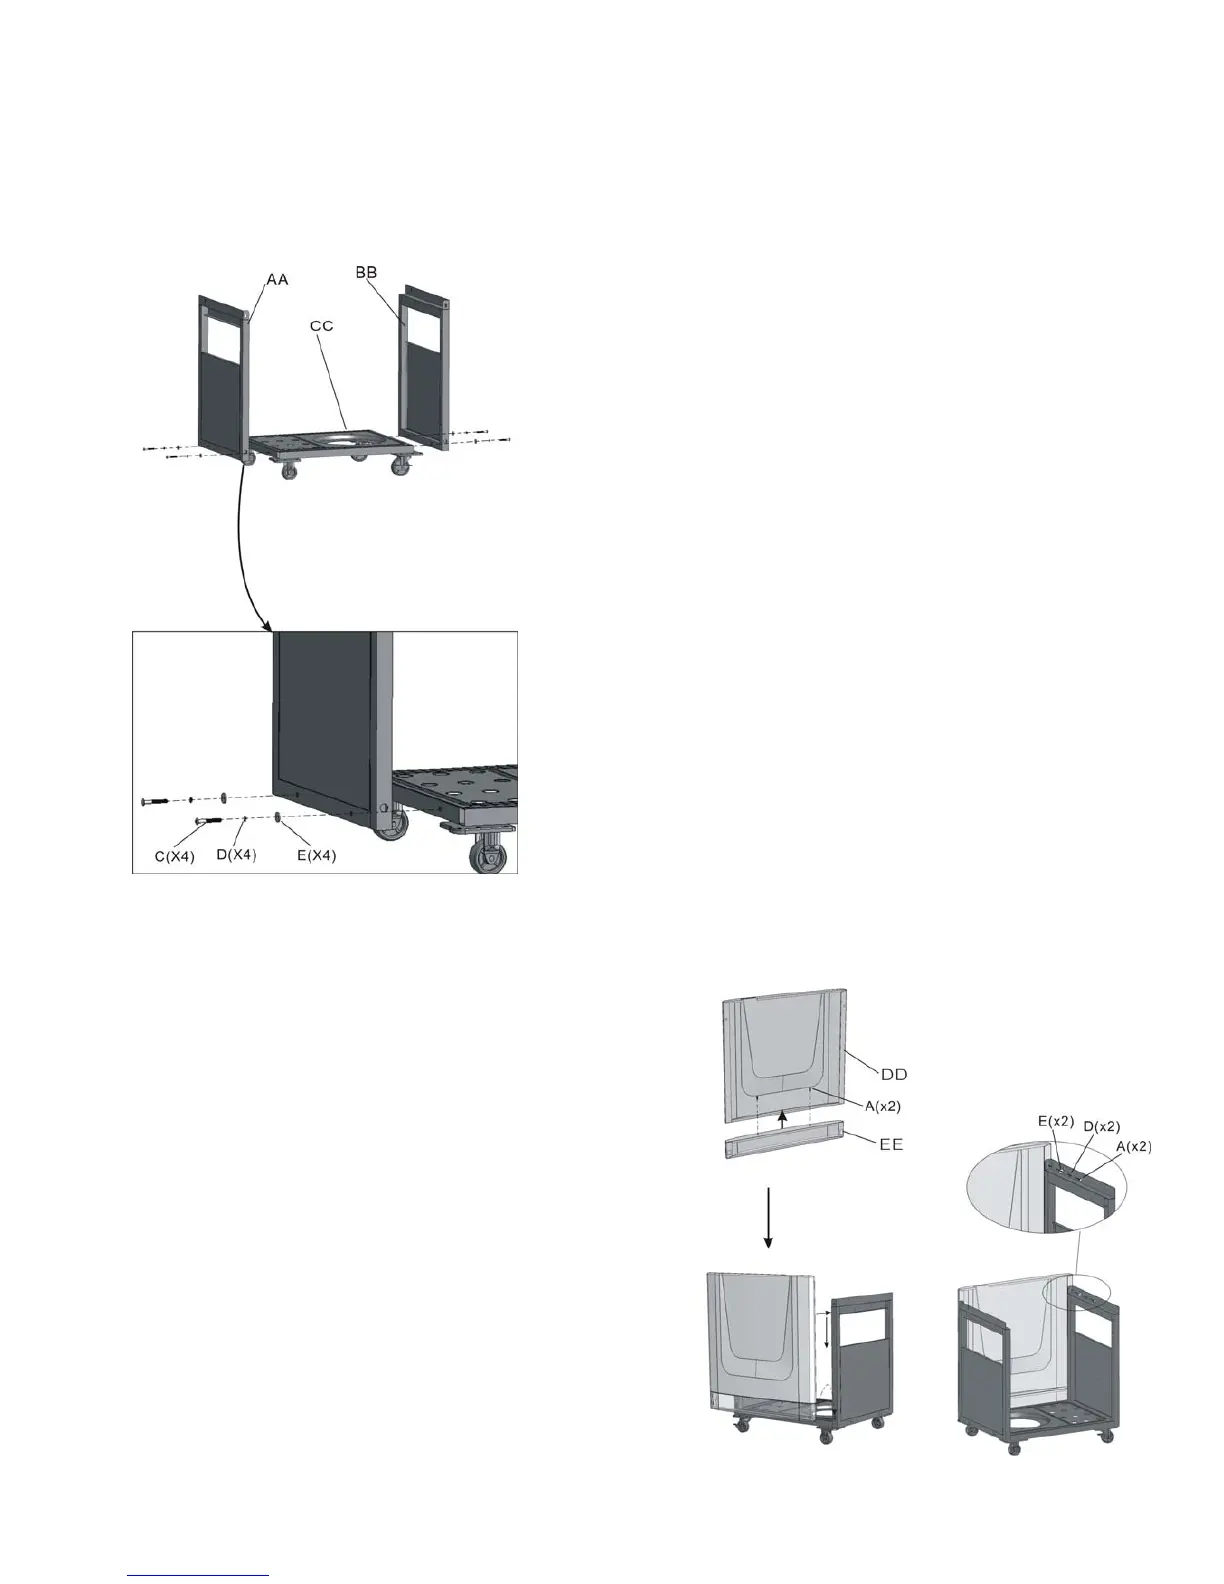
Step 1
Note: Before beginning assembly, make certain the wheels of
the bottom panel are locked.
a) Align the holes at the bottom of the left side panel (AA) with
the holes on the left side of the bottom panel (CC).
b) Insert one M6x45mm bolt (C), one spring washer (D) and
one M6 washer (E) into each pre-drilled hole.
c) Tighten by hand until secured.
d) Repeat the procedure for the right side panel (BB).
e) Go back to tighten all the bolts using the screwdriver
provided.
Step 2
a) Align the hole on the front panel (DD) with the hole on
the left side of front beam (EE). Insert one M6x15mm
bolt (A) into each hole. Tighten by hand until secured.
Repeat the procedure for the right side of front beam.
b) Align the holes on top of the front panel with the holes
on the right side panel. Insert one M6x15mm bolt (A),
one spring washer (D) and one M6 washer (E) into each
pre-drilled holes. Tighten by hand until secure.
Repeat the procedure for the left side panel.
c) Go back to tighten all the bolts using screwdriver
provided.