Assembly and adjustments (continued)
Assembly
This router table must be assembled before use. The router is shipped assembled.
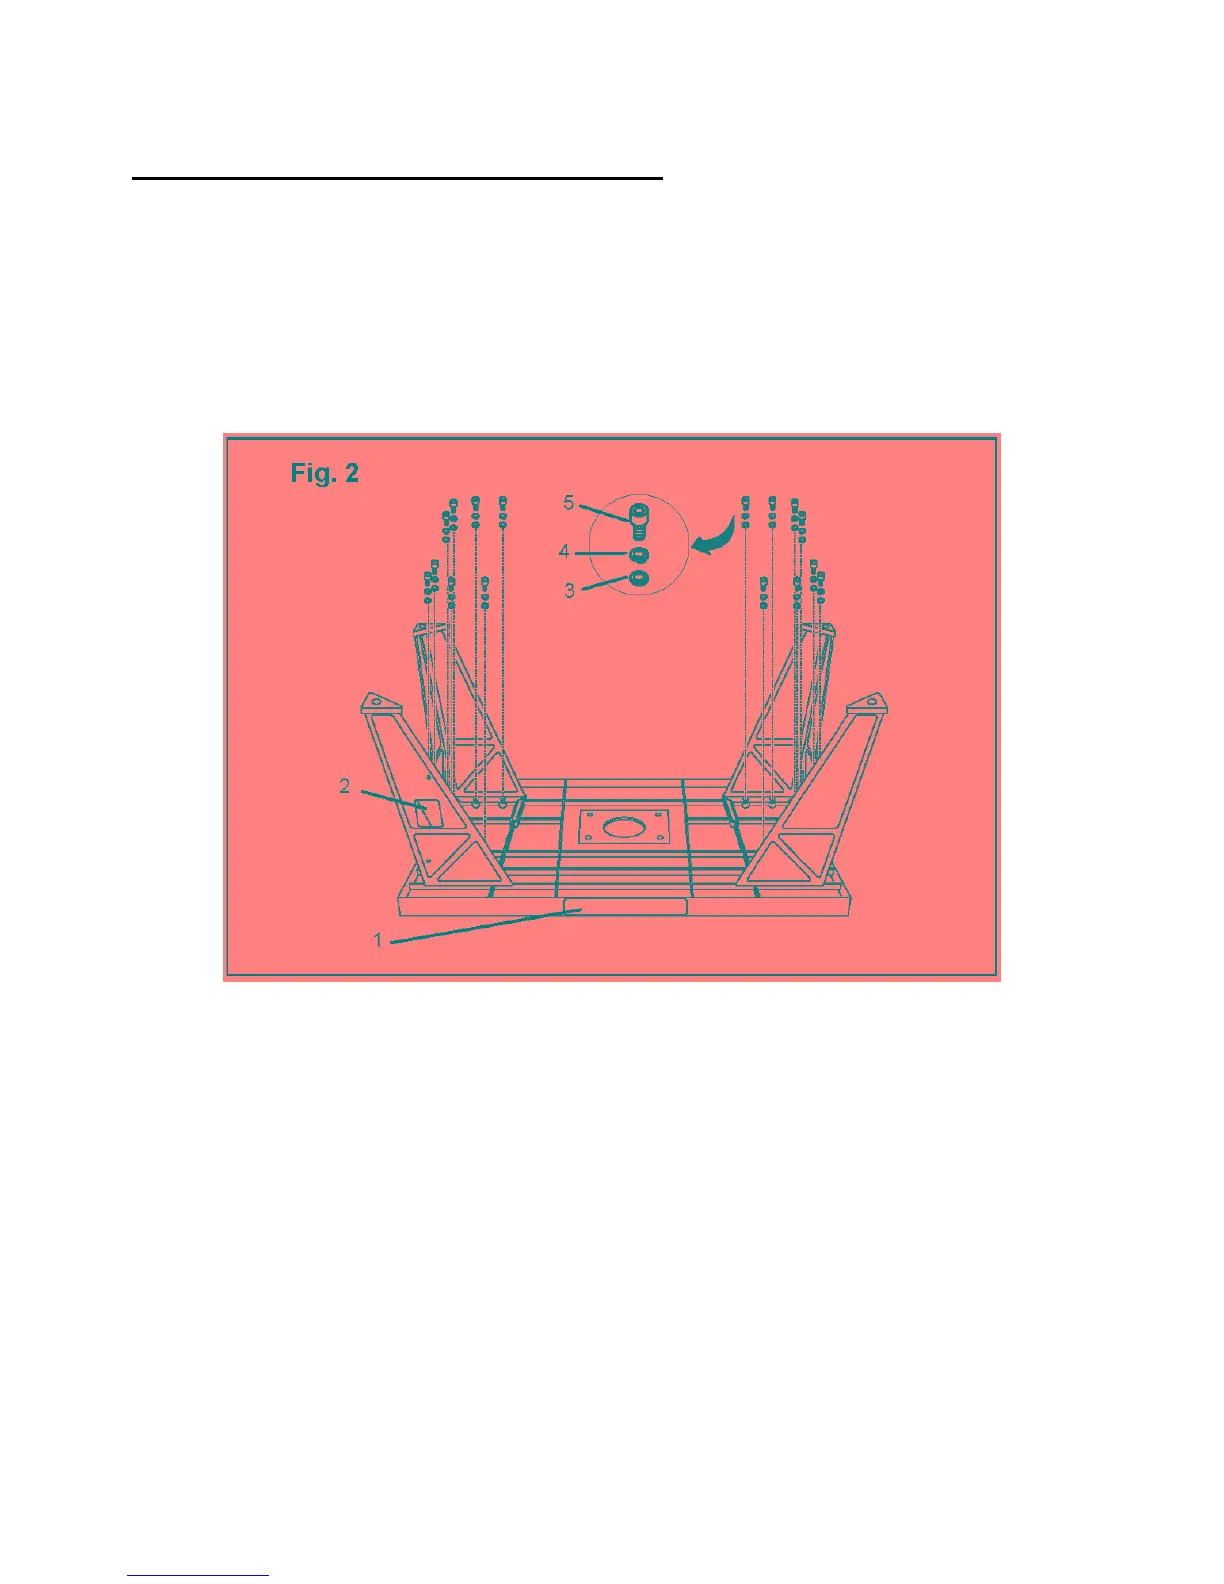
Attach the legs to the table (Fig. 2)
The right front leg has a rectangular cutout for the switch. The other three legs are identical and can
be placed in any position. When the table is assembled, the switch faces the front for easy
accessibility by the operator.
1. Place the router table upside down on a suitable work surface, so that the logo side (1) is closest
to you.
2. Place the leg with the cutout (2) over the four holes to your left and align the holes in the leg
over the threaded holes in the table.
3. Secure the leg with a flat washer (3), a locking washer (4), and a socket head screw (5) in each
of the four holes.
4. Align the four holes of each of the other legs with the corresponding threaded holes in the table.
5. Secure each leg to the table with four flat washers, locking washers, and socket head screws.
6. Make sure all of the screws are securely fastened.
7. Place the router table right-side up on the work surface.
11