Do you have a question about the PerkinElmer Frontier Optica FT-IR and is the answer not in the manual?
Describes the manual's sections and software help.
Explains text formatting, symbols, and terminology.
Defines standard formats for special information.
Provides essential safety precautions for routine use of the instrument.
Details safety requirements, operating conditions, and instrument safety checks.
Specifies placement requirements for proper operation and cooling.
Details minimum clearance requirements around the instrument.
Discusses ventilation when using nitrogen as a purge gas.
Warns about explosion risks and handling precautions.
Covers power connection, fuses, protective earth, and handling live parts.
Describes laser product classification and safety warnings.
Explains hazards of laser viewing and classification.
Identifies product identification and other labels on the instrument.
Explains common hazard symbols used on the instrument.
Details compliance with EC Directive and FCC rules.
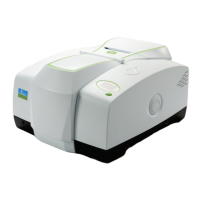
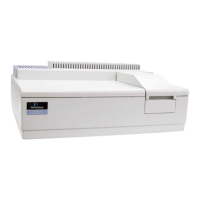
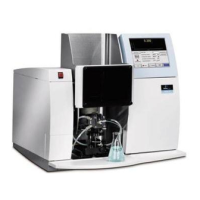
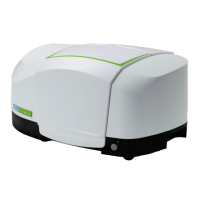
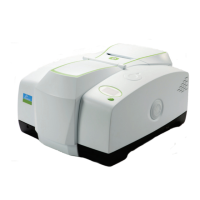
Introduces the instrument's features and capabilities.
Describes the instrument's optical path and its sealed design.
Explains factors ensuring consistent performance, like purging and insulation.
Identifies the display and Go button on the instrument's top panel.
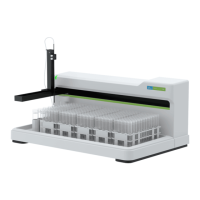
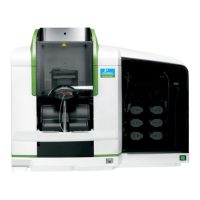
Describes the instrument's large, purgeable sample compartment.
Lists available specialized sampling accessories and their installation.
Details the compartment for storing small accessories.
Locates the power switch and communication ports on the rear.
Outlines prerequisites for instrument installation.
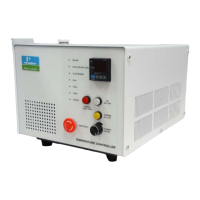
Specifies power supply voltage, frequency, and consumption.
Details environmental conditions for optimal instrument performance.
Specifies ambient temperature and humidity ranges for operation.
Provides instructions for handling and unpacking the instrument safely.
Details the process of opening the packaging and checking contents.
Instructions on allowing the instrument to reach ambient temperature before use.
Explains the function and status indication of the desiccant.
Describes how to connect the instrument to a computer via Ethernet.
Details communication ports for peripheral devices.
Explains how to connect the instrument's power cable.
Instructions for switching on the instrument after connection.
Guides on installing the Spectrum software.
Describes the process of installing the instrument within the software.
Covers fundamental software operation.
Details the steps to launch and log into the Spectrum application.
Explains how to configure and perform sample scans.
Describes interaction using the instrument's display and Go button.
Guides users on accessing help resources within the software.
Explains the function and benefits of atmospheric correction.
Defines the atmospheric correction routine and its advantages.
Details how the software models and corrects for atmospheric influences.
Describes the Absolute Virtual Instrument correction process.
Explains the objectives of AVI correction for consistent performance.
Details how AVI correction measures and applies corrections using standards.
Introduces the Look Ahead system for automatic scan optimization.
Explains the Look Ahead system's function in detecting spectral changes.
Describes how Look Ahead reduces scanning time by comparing scans.
Introduces quality checking as a tool for improving measurements.
Defines quality checking for less experienced users.
Explains how to perform checks and interpret results (OK, Caution, Warning).
Provides guidelines for achieving high accuracy in optical measurements.
Explains the J-stop aperture and its effect on beam size and signal.
Describes the B-stop aperture and its role in controlling beam divergence.
Discusses FT-IR resolution and its relationship with wavelength.
Details options for phase correction (Background, Magnitude, Self).
Explains apodization as a function to remove sidelobes from interferograms.
Discusses how sample characteristics affect measurements.
Explains how sample wedge angles affect beam deflection.
Describes the impact of sample tilting on beam displacement.
Explains how sample thickness affects measurement accuracy.
Warns about errors introduced by non-planar samples.
Advises on mounting small samples using an aperture mask.
Discusses etalon effects and interference from water vapor.
Recaps parameters affecting optical measurement accuracy.
Notes that reflection measurements use different accessory requirements.
Provides instructions for cleaning the instrument's exterior.
Describes how to clean the instrument's display screen.
Details safe procedures for moving the instrument.
Warns about condensation damage and prevention methods.
Provides detailed information on desiccant indicator levels and actions.
Explains how to set and reset the desiccant change interval in software.
Guides on replacing disposable desiccant packs.
Details the procedure for installing rechargeable desiccant packs.
Explains when and how to purge the optical system and sample compartment.
Describes connecting tubing and gas regulators for purging.
Provides instructions for replacing the instrument's external fuse.
Details safety precautions and steps to open the instrument's main cover.
Guides on removing the sample compartment cover and sampling accessory.
Outlines the procedure for safely replacing the instrument's source.
Describes how to install or replace windows in beam ports or sample compartment.
Explains how to install or replace filters in the filter wheel assembly.
Details steps for removing the filter wheel and handling filters.
Describes filter wheel positions and filter installation sequence.
Provides safety and procedure for replacing the laser and power supply unit.
Guides on removing and installing different sampling accessories.
Explains the instrument's initialization sequence and status messages.
Lists common initialization error messages and troubleshooting actions.
Describes the kit and macros for certifying instrument performance.
Provides procedures for decontaminating and cleaning the instrument.
Explains disposal guidelines for electronic waste according to WEEE Directive.
| Brand | PerkinElmer |
|---|---|
| Model | Frontier Optica FT-IR |
| Category | Laboratory Equipment |
| Language | English |