11
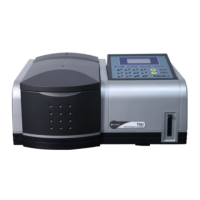
(Fig.3-7)
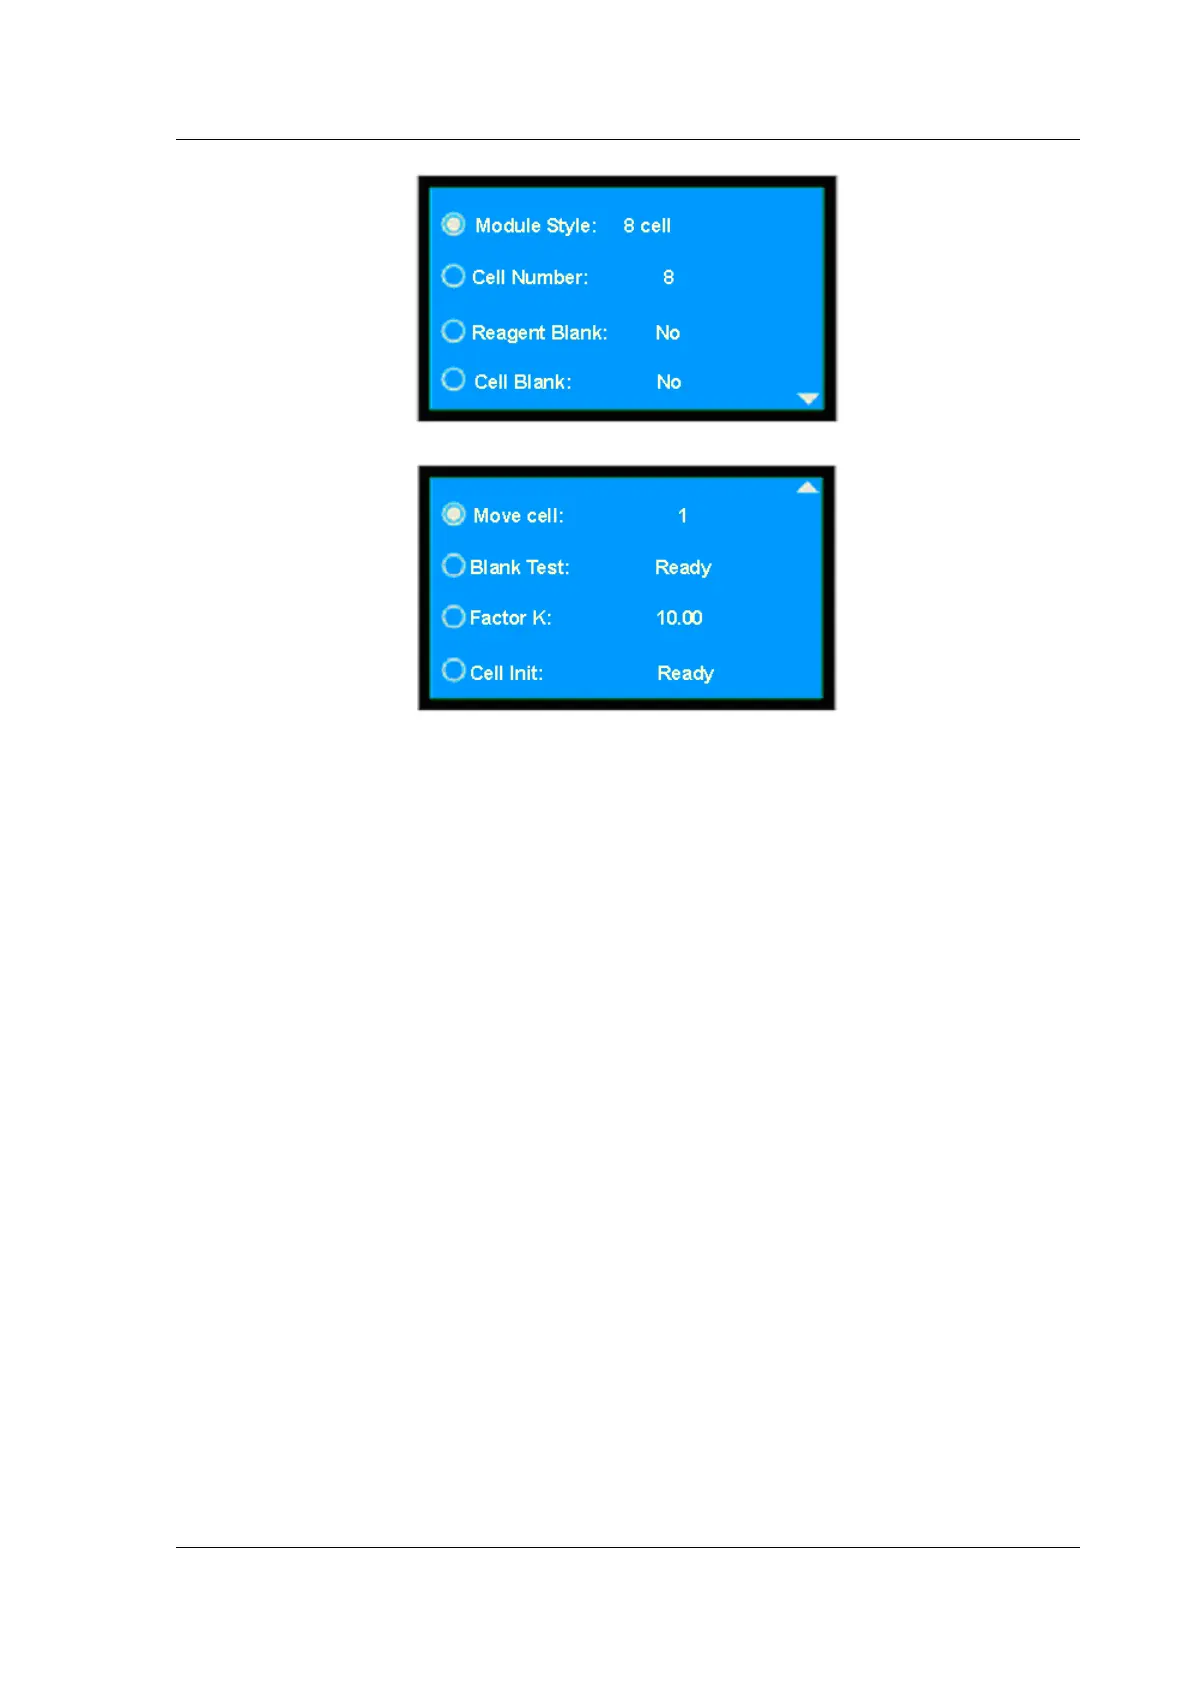
(Fig.3-8)
Press 【▲】 and 【▼】 to move the cursor to the required option, then press【ENTER】 to gain
access to the menu. Press 【RETURN】 to quit, returning to the preceding menu.
⊙ Setting Module Style
Press 【▲】 and 【▼】 to move the cursor to the required option, then press【ENTER】 to select
among “8 cell”, “5 cell” and “fixed cell”. If the user choose “fixed cell”, the options irrelated to the fixed
cell are inoperative.
⊙ Cell Number
This option allows the user set the cells in use. Press 【▲】 and 【▼】 to move the cursor to the
required option, then press【ENTER】. The figure will increases one by pressing 【ENTER】each time.
The range is 1—8.
⊙ Reagent Blank/Cell Blank/Blank Test
1) Reagent Blank
Press 【▲】 and 【▼】 to move the cursor to the required option, then press【ENTER】to toggle
between “yes” and “no”. If you choose “yes”, the system will take the sample in the No.1 Cell as the
reagent blank to measure the samples in other cells (2-8).
2) Cell Blank
Press
【▲】
and
【▼】
to move the cursor to the required option, then press
【
ENTER
】
to toggle
between “yes” and “no”. The sample cells will differ from each other in optics characteristics subtly even
though they are made in the same way. When the user start cell blank, first put the blank in each sample
cell and save the measured value. Then put and measure the unknown sample in the cells. Using the
measured value deducts the saved blank sample value, and you can get the required measurement result.
3) Blank Test
Press 【▲】 and 【▼】 to move the cursor to the required option, then press【ENTER】to test the