22
Sewing techniques
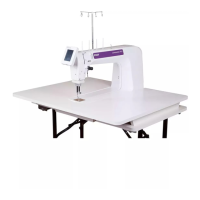
Three-step zigzag stitch
6WLFKQXPEHUFDQEHXVHGWRRYHUFDVWUDZHGJHV
Make sure the needle pierces the fabric on the left
VLGHDQGRYHUFDVWVWKHHGJHRQWKHULJKWVLGH
6WLFKQXPEHUFDQDOVREHXVHGDVDQHODVWLFVWLWFK
to allow seams to stretch when sewing knit fabrics.
Buttonholes
<RXUPDFKLQH·VEXWWRQKROHVDUHVSHFLDOO\DGMXVWHG
for different kinds of fabric and garments. Look
DWWKHVWLWFKWDEOHRQSDJHLQWKLVERRNWRÀQG
descriptions of each buttonhole.
The fabric should be interfaced and/or stabilized
where buttonholes are to be sewn.
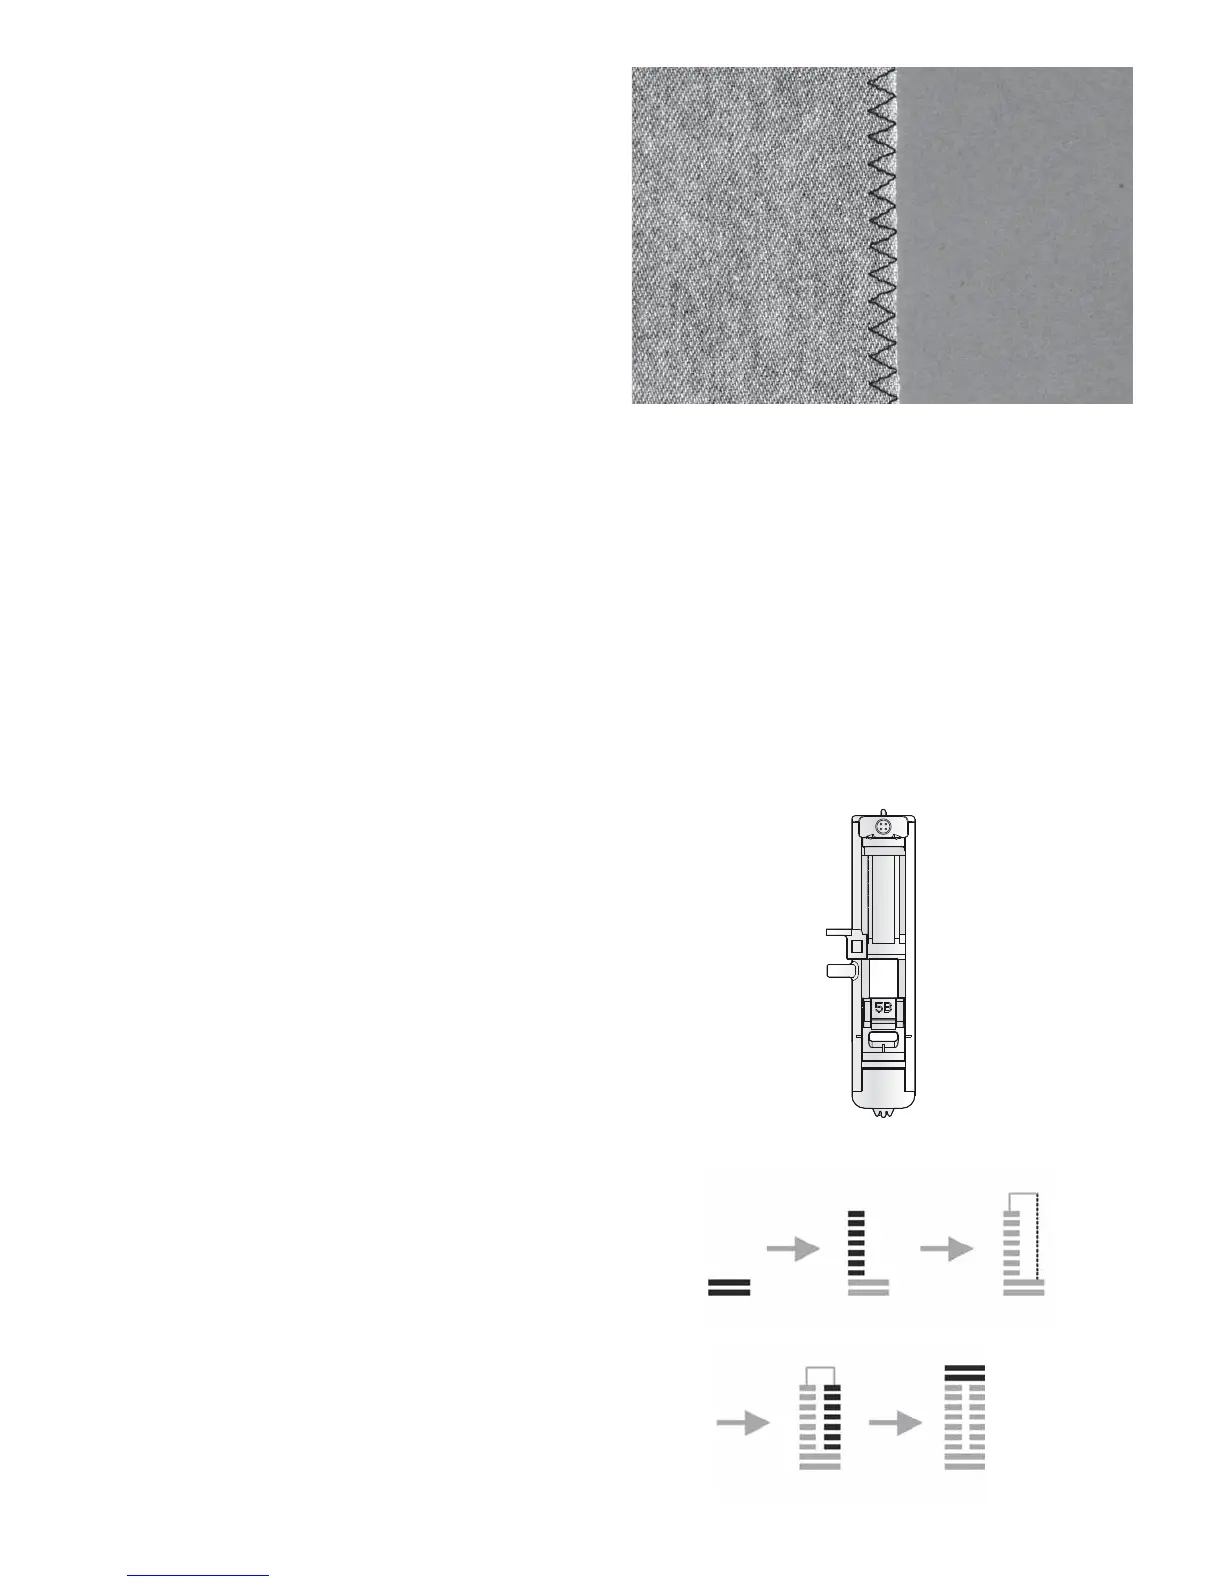
One step Buttonhole Foot 5B
1. Mark the the position of the buttonhole on
your garment.
$WWDFKEXWWRQKROHIRRW%DQGSXOORXWWKH
button holder plate. Insert the button. The
button will determine the length of the
buttonhole.
3. Make sure that the thread is pulled though the
hole in the presser foot and placed under the
foot.
6HOHFWWKHEXWWRQKROH\RXZDQWWRVHZDQG
DGMXVWWKHOHQJWKDVGHVLUHG
1RWH$OZD\VVHZDWHVWEXWWRQKROHRQDVFUDSSLHFHRI
IDEULF
5. Position your garment under the presser foot
so that the marking on the fabric is aligned
with the center of the buttonhole foot.
/RZHUWKHEXWWRQKROHOHYHUDOOWKHZD\GRZQ
and push it away from you.
+ROGWKHHQGRIWKHXSSHUWKUHDGDQGVWDUW
sewing. The buttonholes are sewn from the
front of the presser foot to the back.
2QFHWKHPDFKLQHKDVVHZQWKHEXWWRQKROH
raise the presser foot.
 Loading...