2:9
Preparations
&KDQJLQJWKHpresser foot
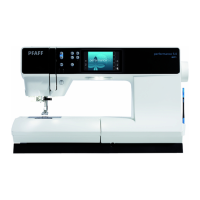
5HPRYHSUHVVHUIRRW
Press the presser foot downwards until it
disengages from the presser foot holder.
Attach presser foot
Line up the pins on the foot with the gap underneath
the presser foot holder. Press upwards until the foot
snaps into place.
You can also use the presser foot up/down buttons
to raise or lower the presser foot holder. Place the
presser foot under the presser foot holder, so that
the pins of the foot snap onto the presser foot holder
when lowered.
&KDQJLQJWKHQHHGOH
1. Use the hole in the multi-purpose tool to hold
the needle.
2. Loosen the needle screw.
3. Remove the needle.
4. Insert the new needle, using the multi-purpose
WRRO3XVKWKHQHZQHHGOHXSZDUGVZLWKWKHÁDW
side away from you until it will go no further.
5. Tighten the needle screw as tight as it will go.
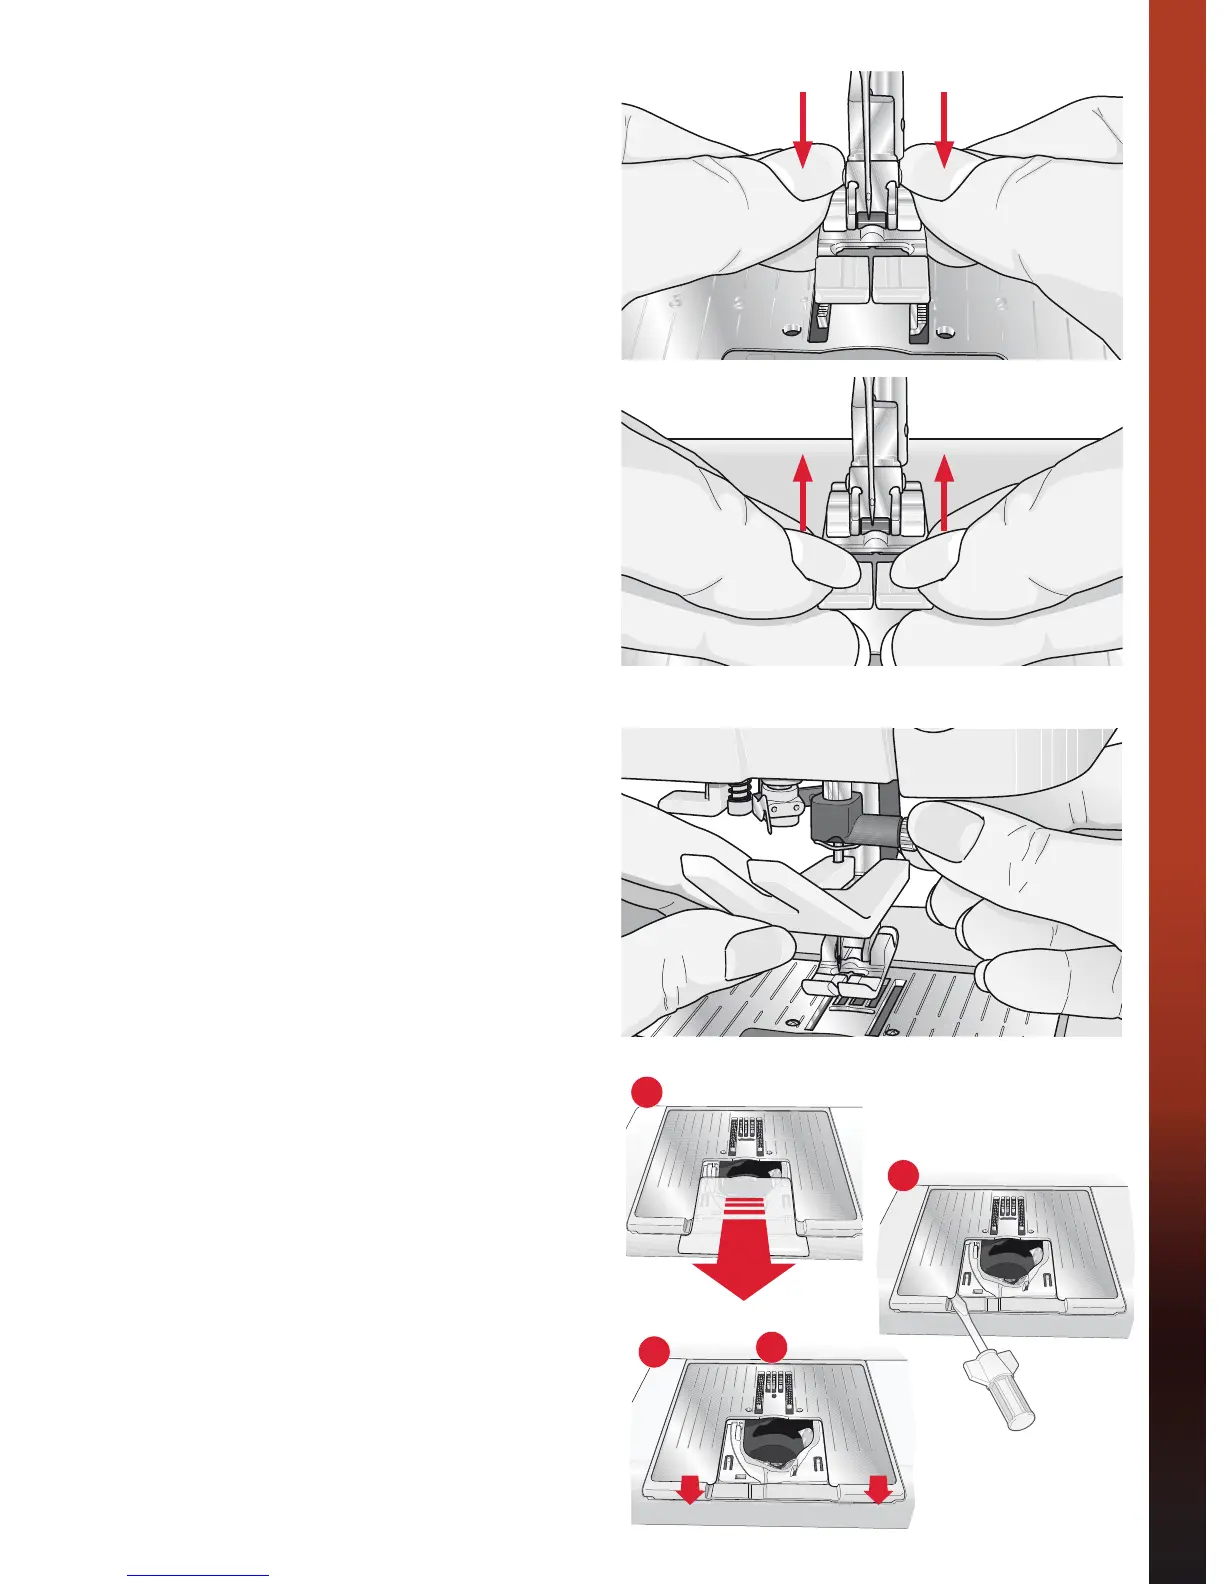
&KDQJHWRVWUDLJKWVWLWFKQHHGOHSODWH
1. Remove the presser foot and slide off the bobbin
cover.
2. Make sure that the feed dogs are lowered.
Place the screwdriver under the needle plate
as shown in the picture and gently turn the
screwdriver to pop off the needle plate.
3. With feed dogs lowered, place the straight stitch
QHHGOHSODWHVRWKDWLWÀWVLQWRWKHQRWFKDWWKH
back (D). Press the straight stitch needle plate
down until it clicks into place. Slide on bobbin
cover.
1
2
3
D