5EN
3 Getting started
Installing lters
Note
• Make sure the air purifier is unplugged
from the electrical outlet before
installing the filters.
• Make sure the side of the filter with the
tag is pointing towards you.
1 Pull the bottom part of the front
panel to remove it from the
appliance (fig.c).
2 Press the two clips down and pull
the pre-filter towards you (fig.d).
3 Remove all filters (fig.e).
4 Remove all packaging materials of
the air purification filters (fig.f).
5 Put the unpacked air purification
filters back into the appliance
(fig.g).
6 Put the pre-filter back into the
appliance (fig.h).
Note
• Make sure that the side with the two
clips is pointing towards you, and that
all hooks of the pre-filter are properly
attached to the purifier.
7 To reattach the front panel, mount
the panel onto the top of the
appliance first (1). Then, gently push
the panel against the body of the
appliance (2) (fig.i).
8 Wash your hands thoroughly after
installing filters.
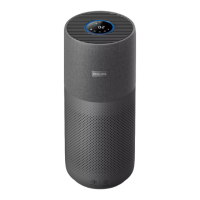
2 Your air purifier
Congratulations on your purchase, and
welcome to Philips!
To fully benefit from the support that
Philips offers, register your product at
www.philips.com/welcome.
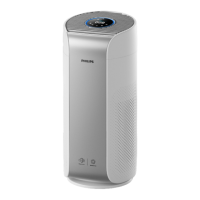
Product overview (g.a)
A Control panel
B Air quality light
C Air quality sensors
D NanoProtect Pro S3 filter (FY3137)*
E Pre-filter
F Front panel
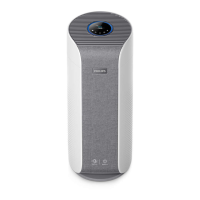
Controls overview (g.b)
G On/Off button
H Light on/off button
I Auto mode button
J Display screen
K Fan speed button
L Timer button
M Reset/Child lock button