15
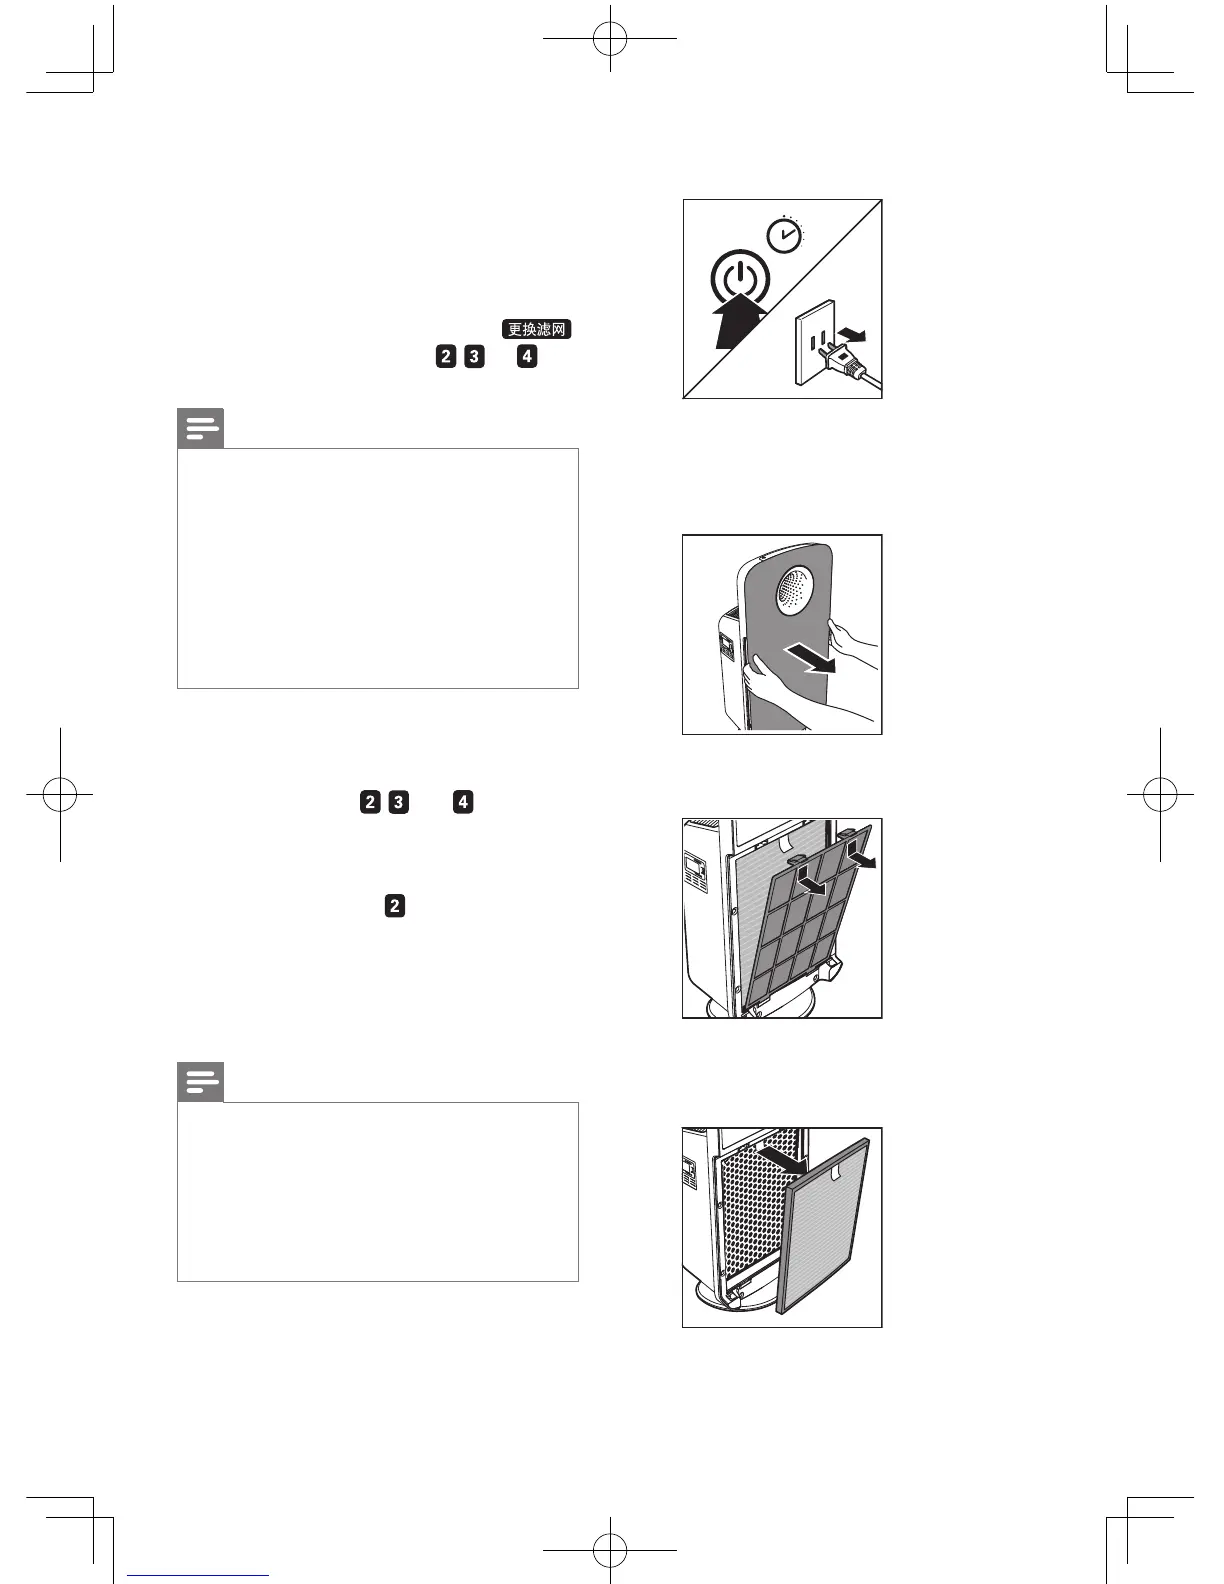
1 Switch off the purier and unplug it.
2”
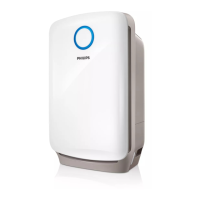
2 Place your ngers in the recesses of the
side panels and gently pull the front panel
towards you. Then lift the panel off the
hooks at the bottom of the purier.
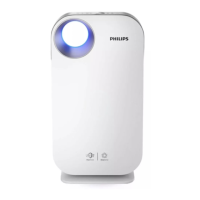
3 To remove the pre-lter, grab the two
projections and pull the lter towards you.
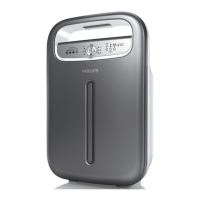
4 For AC4372, remove the multi-care lter,
activated carbon lter and HEPA lter
from the purier.
7 Replace the
filters
The indicator of the lter replacement
indicates the respective lters (
, , or )
have to be replaced.
Note
•
Lifetime of the lter is based on the volume of air
puried, it may differ from the way of using. In heavily
polluted environment, the lter lifetime may be shorter
than the recommended time.
• If you remove the front panel for lter changing while
the purier is switched on, all lights on the control
panel will be off.
• Once the front panel is placed back to the purier, it
starts to run as its previous status .
• The replaceable lters are not washable nor vacuum
cleanable.
For AC4372
Replace the multi-care lter, the activated
carbon lter, and the HEPA lter when the
respective indicators (
, , and )go on.
For AC4374
Replace the integrated Multi-care lter when
the respective indicator (
)goes on.
This will last for approximately 2 weeks.
On the last day of the 2 weeks, the purier
beeps every 30 minutes to inform you that the
lter needs to be replaced.
Note
•
Insert the lters in the correct position.
• For AC4372, make sure you place the lters in the
order of HEPA lter, the activated carbon lter, the
multi-care lter, and then pre-lter.
• For AC4374, make sure you place the lters in the
order of integrated Multi-care lter, and then pre-lter.
• Make sure that the side with the tag is pointing towards
you.
EN