STEP
A4
Press firmly on the edge of the lower half until
you feel the lower half mate with the upper
half. When properly mated, there should be
approximately 1/8 in (32 mm) gap all around
the Dome.
If you need to remove the lower half, a plastic
Dome key is provided.
STEP
A3
7
Remove the camera’s plastic lens cover.
If installing the EnviroDome model, a desiccant
bag and holder are included to reduce expo-
sure to moisture. Ensure that the desiccant bag
is securely tucked into the ring of the lower
housing, as shown in the photo inset at right.
Align the ball studs in the lower half with the
clips in the connector end of the upper half.
The safety cable should prevent misalignment.
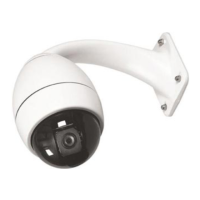
Installation Guide
Pendant/EnviroDome