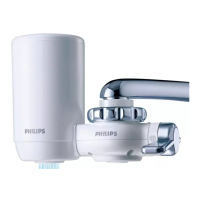
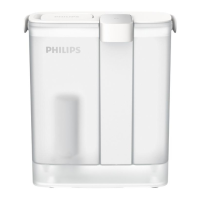
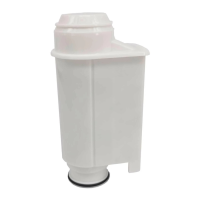
3 Tilt the used lter cartridge 90° backwards and pull it off the water
purier housing (Fig. 23).
4 Write down the replacement date on the information label of the
new cartridge.
5 Tilt the new lter cartridge 90° backwards and insert it into the
water purier housing.
6 Pull the cartridge upwards until it is in upright position. (Fig. 24)
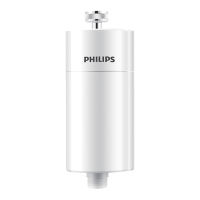
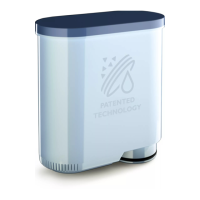
- We advise you to replace the lter cartridge every 6 months, for
optimum performance. Please register your product online at http://
www.philips.com/welcome for more information on lter cartridge
replacement.
- To help you determine when to replace the lter cartridge, the water
purier and each replacement lter cartridge comes with a self-
adhesive colour-coded cartridge replacement indicator. Place this
replacement indicator in a convenient place for future reference.
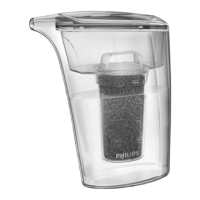
Tip: Remove the cover of the lter cartridge and stick the cartridge
replacement indicator to the inside of the cover. Check the colour of the
hollow bre of the lter cartridge through the cartridge window from time to
time. If the colour of the lter matches the rust brown or dark grey shown on
the cartridge replacement indicator, replace the lter cartridge (Fig. 27).
If you need service or information or if you have a problem, please visit
the Philips website at www.philips.com or contact the Philips Consumer
Care Centre in your country (you nd its phone number in the
worldwide guarantee leaet). If there is no Consumer Care Centre in
your country, go to your local Philips dealer.
13