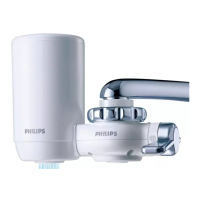
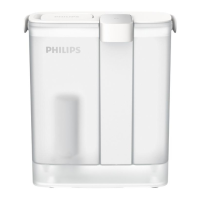
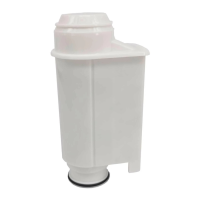
- The bayonet-type mount ensures quick, easy and secure lter
cartridge replacement.
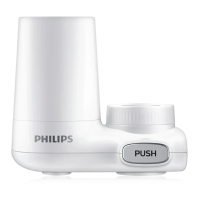
- Before you install the water purier, make sure all tap-mounting
adapters you require are present.
- The tap must have a diameter of 13mm-25mm.
- Determine what type of tap you have and select the appropriate
adapter.
- The adapters supplied make the water purier suitable for almost
any kitchen tap. However, the water purier may not t some
uncommon types of taps.
- The tap water pressure has to be between 0.7kgf/cm² (7 metres of
water column) and 3.5kgf/cm² (35 metres of water column). If you
use the water purier at a water pressure outside this range, either
the ltered water ow will be extremely low or the water purier
will get damaged.
- For taps with a round spout with a diameter of 16mm, 17.5mm or
19mm (Fig. 2).
1 Remove the attachment nut and the adapter from the water
purier housing (Fig. 3).
2 Pass the attachment nut over the tap spout (Fig. 4).
3 Place the matching adapter (A-type) over the tip of the spout. The
16mm adapter is packed with the water purier. Replace it with
the 17.5mm adapter or 19mm adapter to t the diameter of your
tap (Fig. 5).
4 Screw the attachment nut rmly onto the water purier
housing (Fig. 6).
- For taps with an aerator (threaded outside) (Fig. 7).
9