2. Monitor installation
4 x
”Click!”
”Click!”
1
2
2
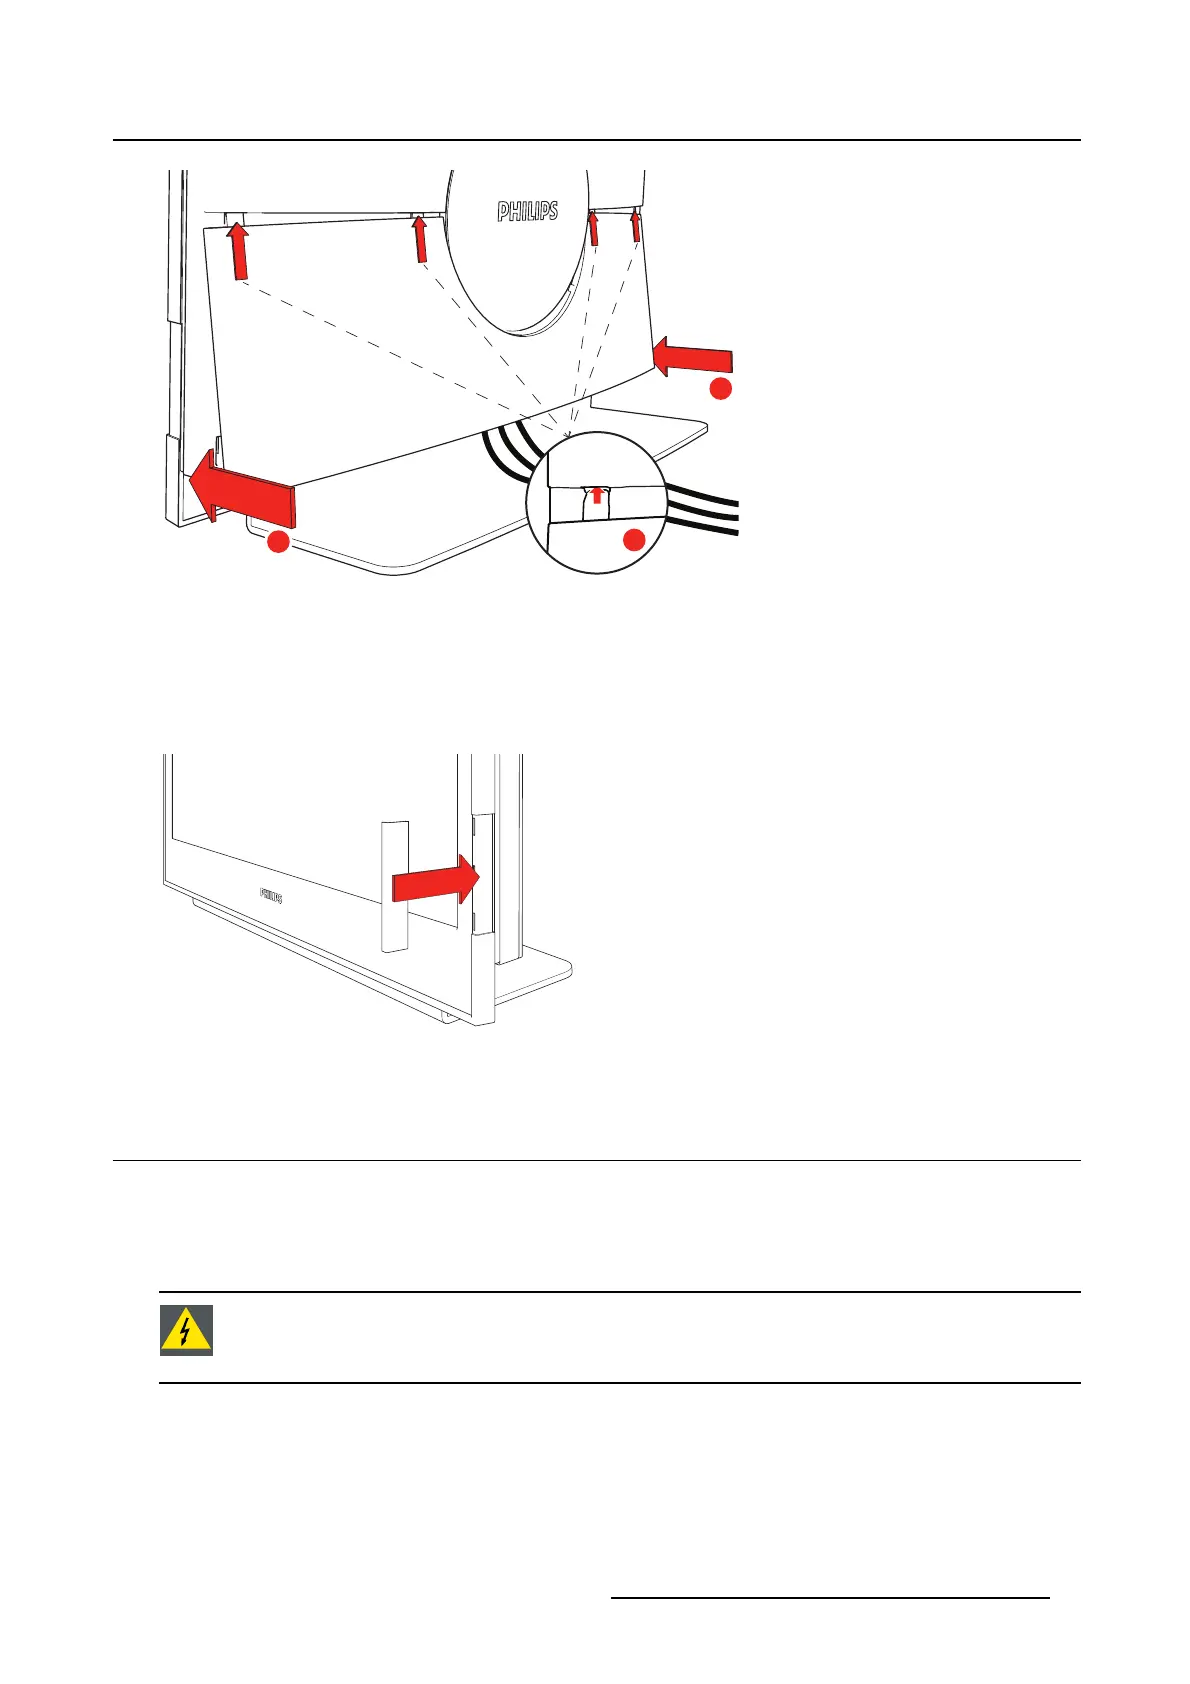
Image 2-5
Insert color tag
1. Remove the protective foil from the front screen.
2. Attach the plastic color tag by sliding it onto the monitor.
Depending on the configuration being installed, a different color is available.
Image 2-6
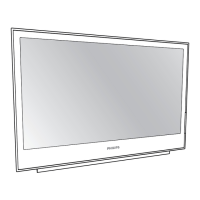
2.2 Stand installation by VESA interface
About
The PS24FHDCR monitor is provided with a validated stand. If a different stand is needed in the final
application, the monitor VESA interface (VESA 100 mm standard) could be used.
WARNING: If a different stand wi ll be used, it has to be validated in the final application.
The monitor has bee n designed to be used in landscape position with a maximum tilt of
5° to 20° backward.
To install your monitor on a di
fferent VESA compatible stand
1. Place the monitor (with the cable cover removed) face down on a flat, solid and stable surface.
Caution: Use a protective cloth or cushion to prevent the monitor and LCD from any damage or
scratches.
K5902096 (451920611523) PS24FHDCR 08/03/2018
9