EasyManuals Logo

Philips SimplyGo Quick Start Guide

Philips SimplyGo
8 pages
To Next Page IconTo Next Page
To Previous Page IconTo Previous Page
Page #4 background imageLoading...
Page #4 background image
1. Attach the shoulder strap to
the carrying case.
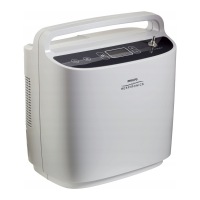
Slide SimplyGo into carrying case,
secure, and attach shoulder strap if
desired. SimplyGo can be operated in
or out of the case.
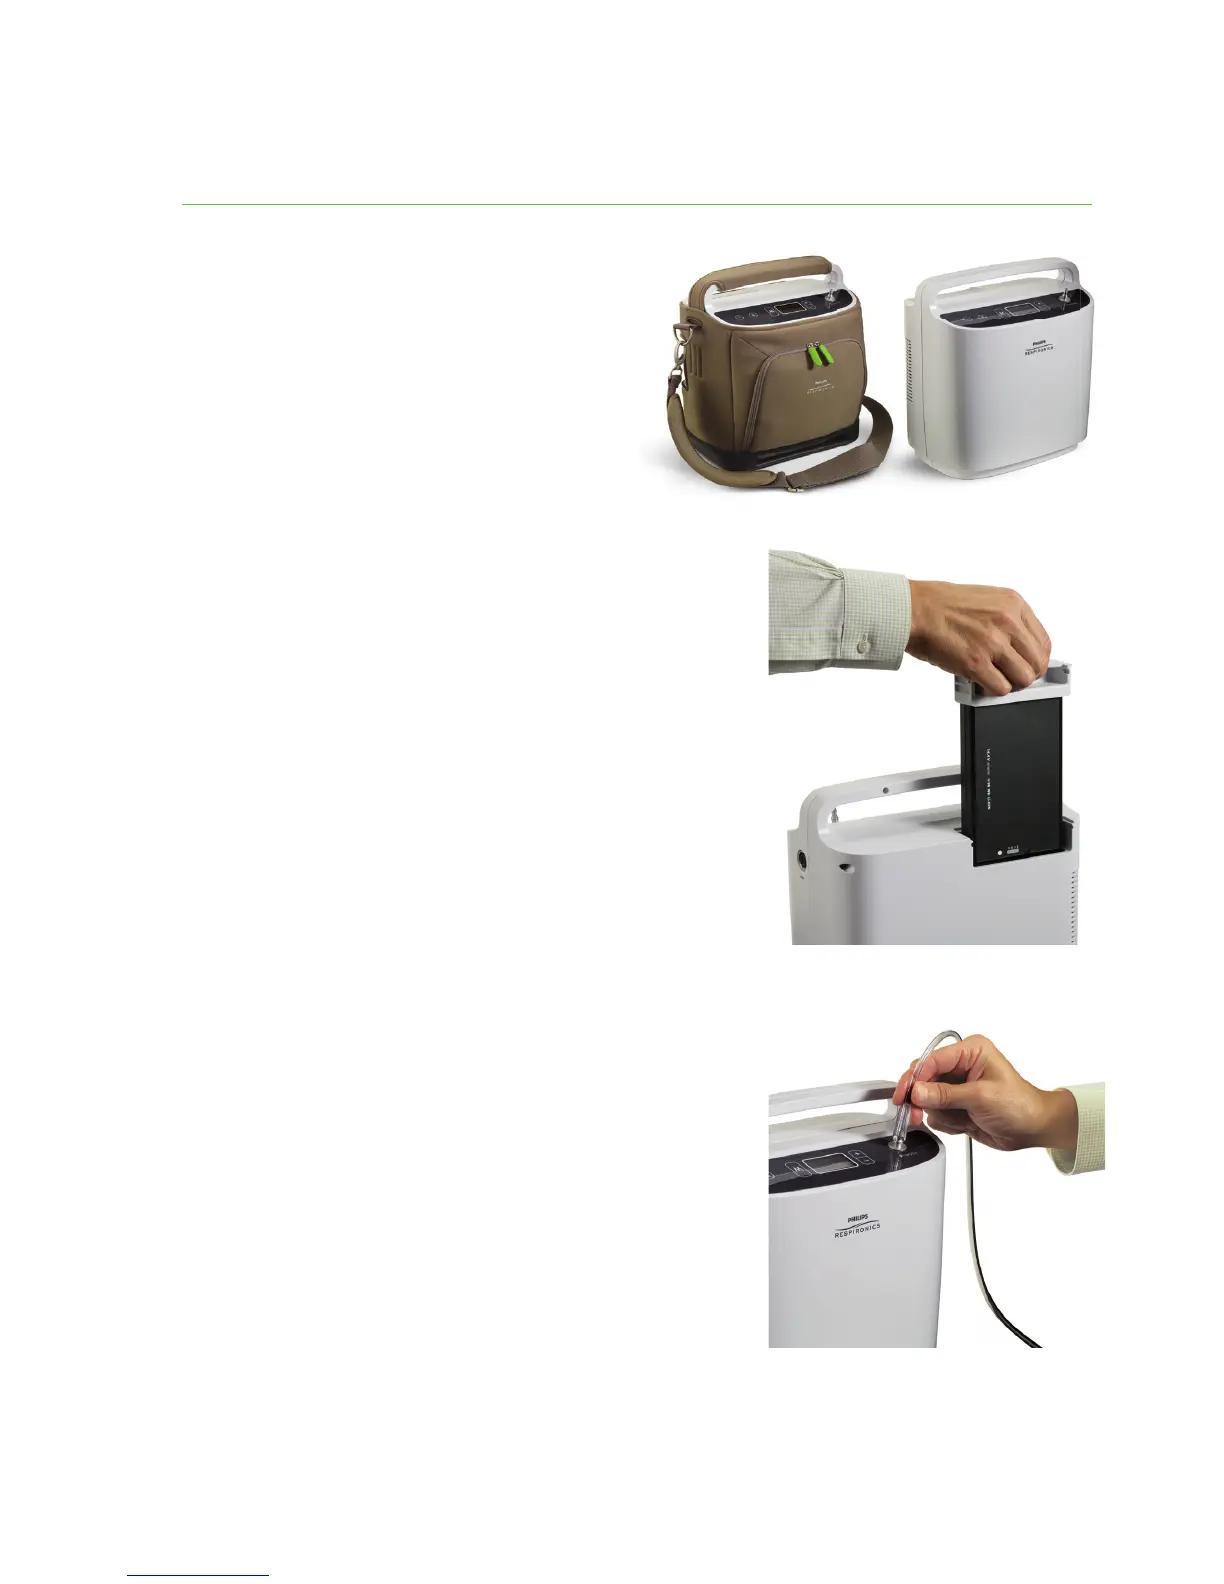
2. Insert the charged battery into
the device.
There is only one way the battery can be
inserted into SimplyGo. Using its handle,
position the battery over the battery
compartment, lower into place, and press
until it snaps into place. After the battery
is inserted, check to make sure the
battery handle is level with or slightly
below the top of the plastic case.
3. Connect a nasal cannula to the
oxygen outlet on top of the device.
Connect a nasal cannula to the top of
SimplyGo. To avoid a disruption of oxygen,
route the cannula so that it is not pinched
or kinked. A standard single lumen nasal
cannula and tubing should be used.
SimplyGo works with cannula tubing up to
30 ft. (9 m).
Quick-start instructions

Other manuals for Philips SimplyGo

Questions and Answers:

Question and Answer IconNeed help?

Do you have a question about the Philips SimplyGo and is the answer not in the manual?

Philips SimplyGo Specifications

General IconGeneral
Weight10 lbs (4.5 kg) with battery
Dimensions11.5 in x 10 in x 6 in (29.2 cm x 25.4 cm x 15.2 cm)
Operating Temperature41°F to 104°F (5°C to 40°C)
Storage Temperature-4°F to 140°F (-20°C to 60°C)
Flow SettingsContinuous flow and pulse dose settings
Maximum Oxygen Output2 LPM continuous flow
Power SourceAC, DC, or rechargeable battery
Operating AltitudeUp to 10, 000 feet (3048 meters)
Humidity Range15% to 95% (non-condensing)
Charging TimeApproximately 2 to 3 hours

Related product manuals