14
8 After the data transfer has been completed,, the following appears on
the screen: 'EasyLink loading complete'.
a 'Time', 'Year', 'Month', 'Date' appears on the TV screen
Normally the date and time are taken from the data sent by the TV
channel stored on programme P01. If th aerial signal is too weak or there
is excessive interference, you should set the date and time manually:
1 Check if the time in 'Time' is correct.
2 If required, change the time with the number buttons 0..9 on your
remote control.
3 Select the next line with CH+ A or CH- B .
4 Check if the displayed settings for 'Year', 'Month' and 'Date' are
correct.
5 When all information is correct, save by pressing OK .
Problem
Virgin mode
Audio Language
English
Español
Français
Português
Italiano
Press OK to continue
a I can see more installation menus on my TV set
Not all the necessary data has been transferred. Please enter the settings
by hand as follows. For more information on the various functions see
'Initial installation' in 'Installing your DVD recorder'.
1 Select the desired audio language using CH- B or CH+ A and confirm
with OK .
2 Select the desired subtitle language with CH- B or CH+ A and
confirm with OK .
3 Select the desired screen format position using CH- B or CH+ A .
'4:3 letterbox' For a 4:3 TV set; cinema format (black bars above and
below the picture)
'4:3 panscan' For a 4:3 TV set; full height format with the sides cut
off
'16:9' For a 16:9 TV set
4 Confirm with OK .
Problem
Initial installation is now complete.
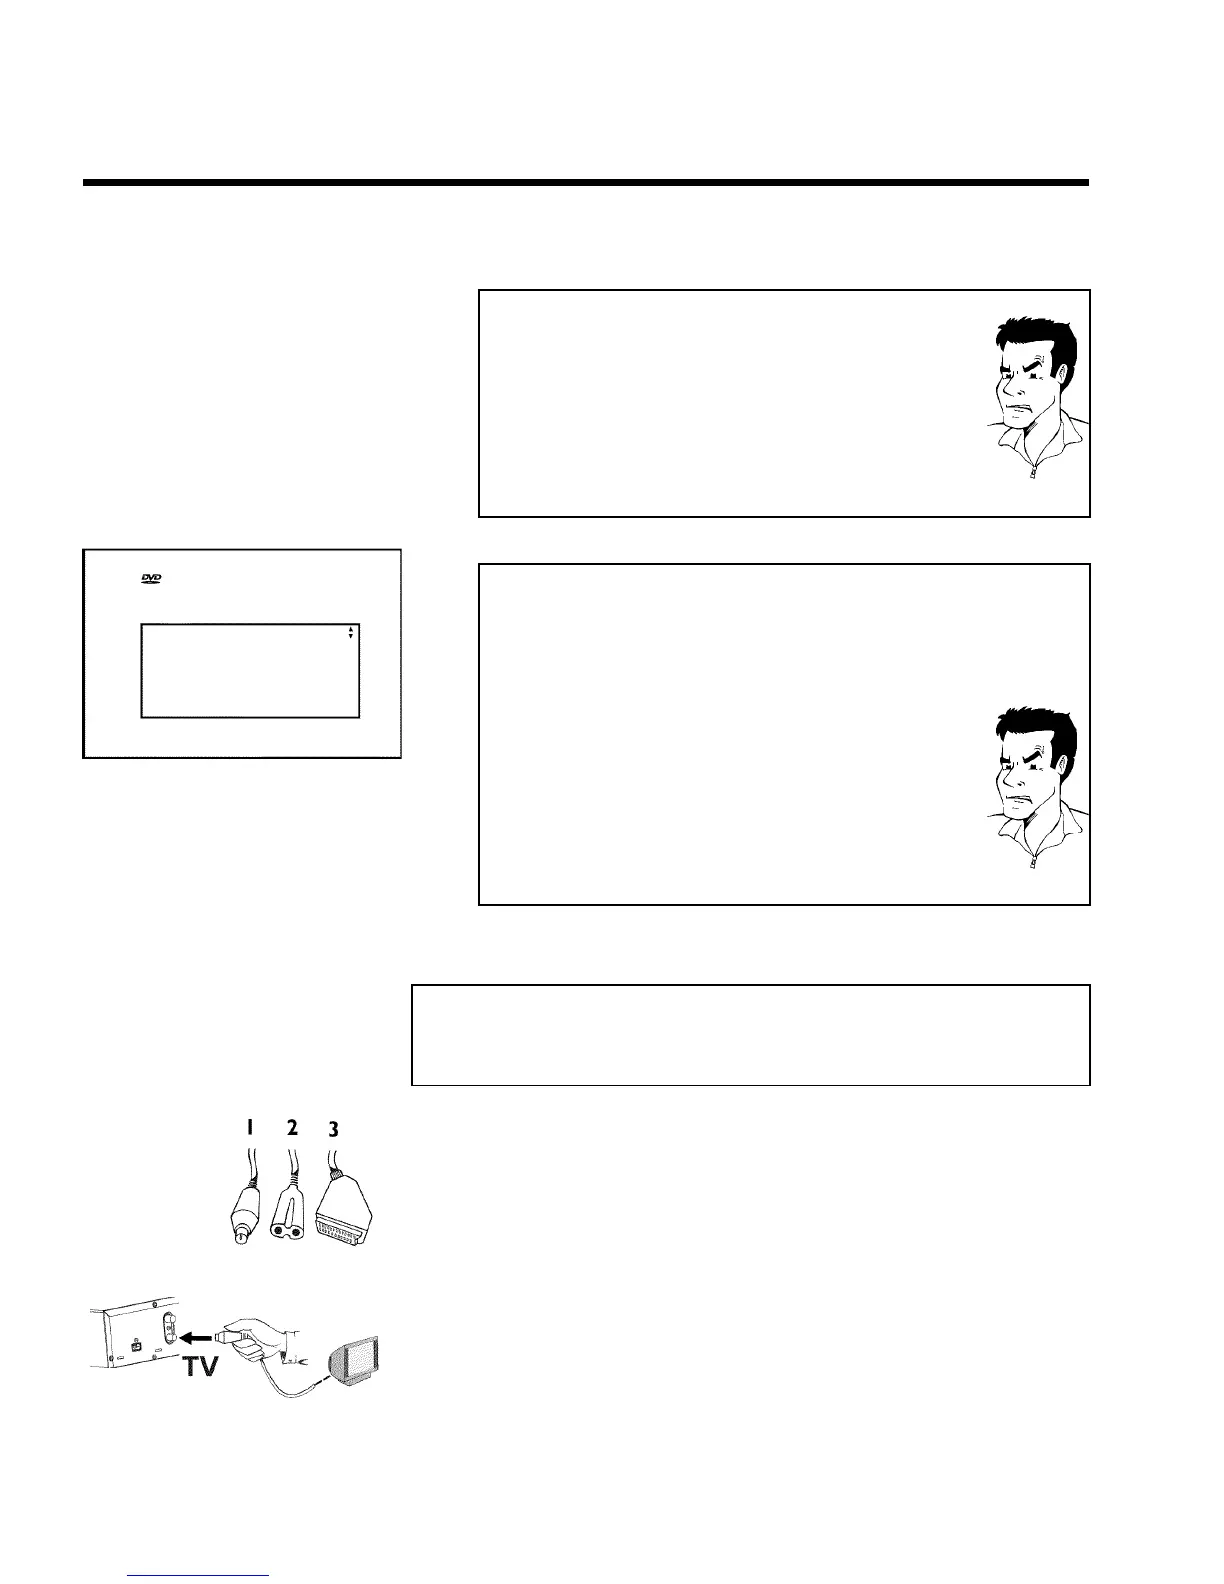
Connecting with a scart cable without
'Easy Link'
Have the following cables ready:
an aerial cable (1, supplied), a mains cable (2, supplied), a scart cable (3).
1 Remove the aerial cable plug from your TV set. Insert it into the
ANTENNA IN socket at the back of the DVD recorder.
Connecting the DVD recorder