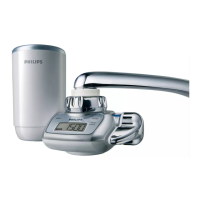
4 Screw the attachment nut rmly onto the water purier
housing (Fig. 10).
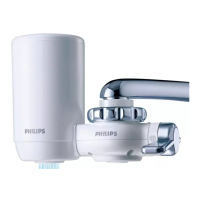
Installation B-type adapter
For taps with an aerator (threaded on the outside) (Fig. 11).
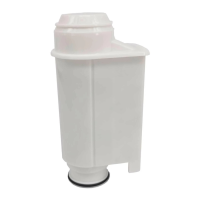
1 Remove the attachment nut and the adapter from the water
purier (Fig. 7).
2 Remove the aerator cap from the tap and pass the attachment nut
over the spout. Take out the original adapter and screw the
matching adapter (B-type) onto the tap (Fig. 12).
3 Tighten the adapter further with a coin (Fig. 13).
4 Firmly screw the attachment nut onto the water purier
housing (Fig. 14).
Installation C-type adapter
For taps with an aerator (threaded on the inside) (Fig. 15).
1 Remove the attachment nut and the adapter from the water
purier housing (Fig. 7).
2 Remove the aerator cap from the tap. Take out the original adapter
and screw the matching adapter (C-type) onto the tap through the
attachment nut. If water leakage occurs, wind Teon tape round the
screw thread of the adapter before you screw it onto the
tap (Fig. 16).
3 Tighten the adapter further with a coin (Fig. 17).
4 Firmly screw the attachment nut onto the water purier
housing (Fig. 18).
Installation D-type adapter
For taps other than A, B or C. (Fig. 19)
1 Remove the attachment nut and the adapter from the water
purier housing (Fig. 7).
2 Take out the original adapter and screw the D-type adapter onto
the water purier housing. (Fig. 20)
-
-
-
ENGLISH 11