3 Push the water purier housing onto the tap from below and
tighten the 4 screws evenly (Fig. 21).
4 Screw the attachment nut rmly onto the water purier housing
(Fig. 22).
Make sure the rubber washer is rmly pushed against the tap to prevent
water leakage.
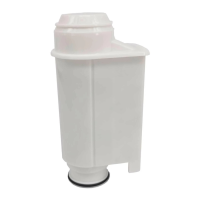
Installing the lter cartridge
1 Make sure the tap is closed.
2 Set the water selection lever to the unltered stream
position (Fig. 23).
3 Tilt the lter cartridge 90° backwards and insert it into the water
purier housing. (Fig. 24)
4 Pull the cartridge upwards until it is in upright position. (Fig. 25)
5 Air trapped inside the lter cartridge affects the ow rate of the
ltered water. To avoid this, slightly open the tap and let water run
through the lter cartridge for 30 seconds after you install/replace
the lter cartridge. The slow stream of water helps to remove any
air trapped in the lter.
Setting the lter capacity
When you install the rst lter, follow the instructions below to activate
the countdown of the lter capacity.
The default lter capacity setting of the water purier is 1500 litres. The
capacity of the lter cartridge supplied with the WP3822 is 1500 litres.
1 Make sure that the water purier housing and the lter cartridge
are properly installed.
2 Press the lter capacity selection button.
The default lter capacity of 1500 litres ashes on the display for 4
seconds and is then shown continuously for another 5 seconds to
indicate that the selected setting has been set.
,
ENGLISH12