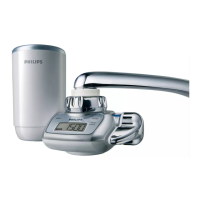
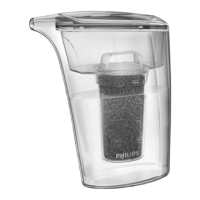
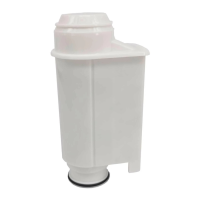
hollow bre of the lter cartridge through the cartridge window from time to
time. If the colour of the lter matches the rust brown or dark grey shown on
the cartridge replacement indicator, replace the lter cartridge (Fig. 28).
Reduced lter cartridge life
The lter cartridge has a shorter life and should be replaced more
frequently in the following situations:
The water pressure is very low.
The pipes and water tank are worn.
The tap water is contaminated due to plumbing activities or cleaning
of the water tank.
When you use cloudy water immediately after heavy rain.
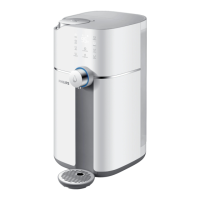
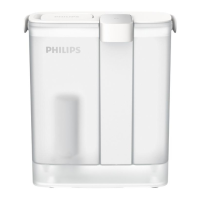
How to replace the lter cartridge
1 To replace the lter cartridge, close the tap and set the water
selection lever to the unltered stream setting. (Fig. 23)
2 Tilt the used lter cartridge 90° backwards and pull it off the water
purier housing (Fig. 24).
3 Write down the replacement date on the information label of the
new cartridge.
4 Tilt the new lter cartridge 90° backwards and insert it into the
water purier housing.
5 Pull the cartridge upwards until it is in upright position. (Fig. 25)
6 Reset the remaining lter capacity indication, see section ‘How to
reset the lter capacity’ below.
Press the reset button for 2 seconds. The previously selected lter
capacity ashes on the display.
If the new lter cartridge has the same capacity, simply wait until the
setting stops ashing.
If the new lter has a different capacity, press the lter capacity
selection button and keep it pressed until the display shows the new
lter capacity. Then release the button and wait until the new setting
stops ashing.
-
-
-
-
-
-
-
ENGLISH16