Do you have a question about the Pioneer CT-S510 and is the answer not in the manual?
Serial number location for security purposes.
Caution for polarized plug and extension cords to prevent shock.
How to activate and cancel the demonstration mode.
Warnings regarding shock hazards, openings, and servicing.
Guidance on placement, ventilation, heat, and moisture.
Radio frequency energy compliance for U.S. models.
Radio noise emission compliance for Canadian models.
Precautions for handling and maintaining the power cord.
Regular cleaning to maintain sound quality.
Process to prevent loss of high-frequency sounds.
Checking tape slack and erasure prevention tabs.
How the deck detects tape type for optimal recording.
How to connect amplifier line jacks to the cassette deck.
Connecting for remote operation via SR system.
Connecting for synchronized CD recording.
How to set the deck for continuous tape playback.
Adjusting sound equalization for different playback systems.
Explanation of Dolby noise reduction and HX PRO headroom extension.
Explains various indicators like counter, AUTO BLE, Dolby NR, etc.
How to switch between tape, time, and remaining time counters.
How to set tape capacity for accurate remaining time indication.
Using MODE and RESET buttons on the remote.
Loading tape, setting Dolby NR, and starting playback.
How to skip forward or backward to desired selections.
Ensuring tabs are intact for recording.
Adjusting REC LEVEL using the level meter and control.
Creating 4-second blanks for music search.
Procedure to erase recorded content from a tape.
Steps for automatic tape tuning and potential errors.
How to set up automatic recording using a timer.
Steps for recording from a CD player to the cassette deck.
Common problems and their solutions.
| Track System | 4-track, 2-channel stereo |
|---|---|
| Output | 0.5V (line) |
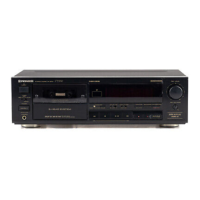
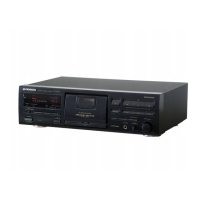
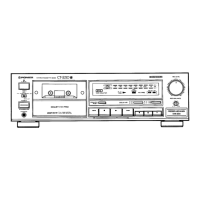
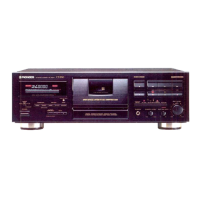
| Type | Cassette Deck |
| Heads | 1 x erase |
| Tape Type | CrO2, Metal |
| Frequency Response (Normal Tape) | 30 Hz - 15 kHz |