7
Parts are located throughout the shipping carton, including underneath the grill. Inspect the grill, parts, and hardware blister
pack after removing from the protective shipping carton. Discard all packaging materials from inside and outside of the grill
before assembly, then review and inspect all parts by referencing the parts list. If any part is missing or damaged, do not attempt
to assemble. Shipping damage is not covered under warranty. Contact Bunnings Australia or Genesis International Corporation
Pty Ltd. for Customer Service.
service@genesiscorp.com.au | +61 8 9248 9822
IMPORTANT: To ease installation, using two people is helpful (but not necessary) when assembling this unit.
Tools required for assembly: screwdriver and level.
Tools not included.
IMPORTANT: It is advised to read each step entirely before starting assembly on instructions. Do not tighten screws
completely until all screws for that step have been installed, or unless otherwise mentioned.
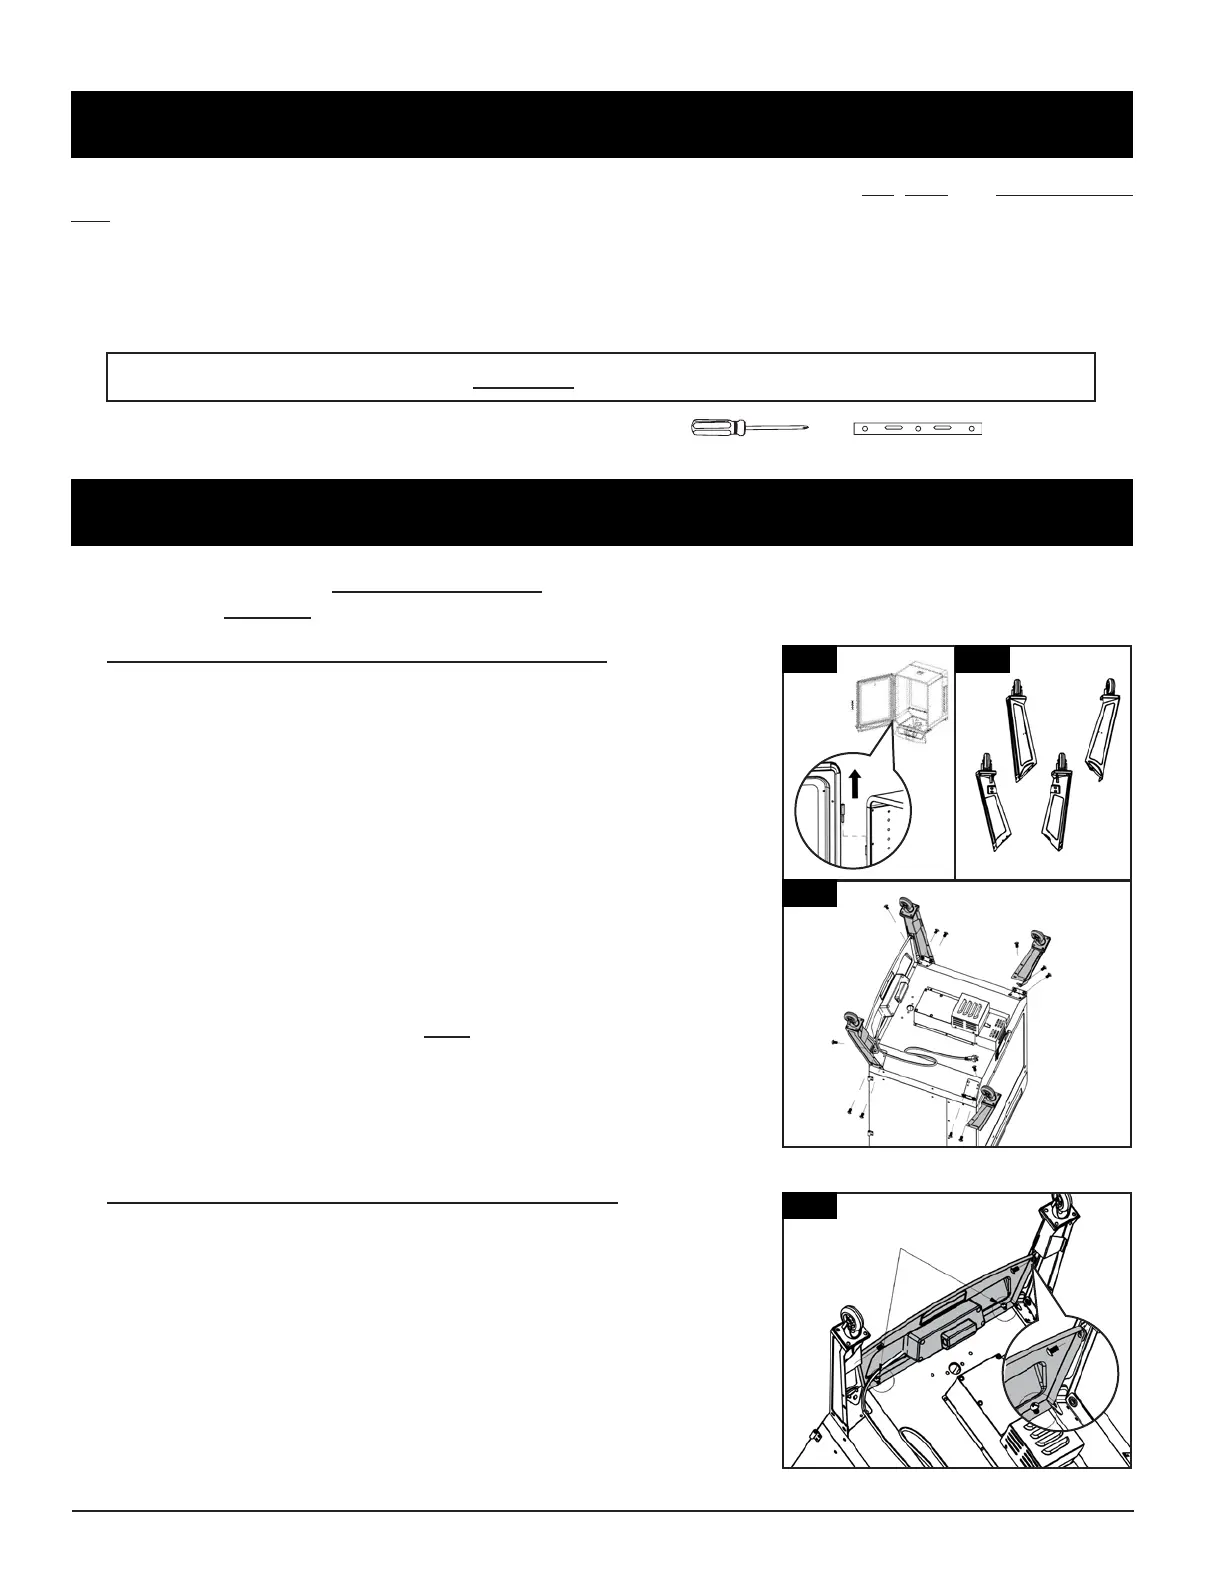
1.
Parts Required:
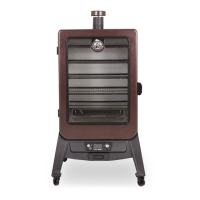
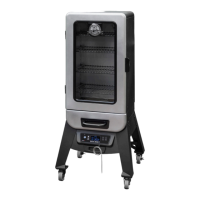
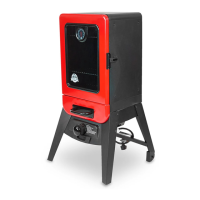
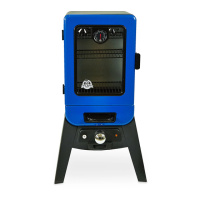
1 x Main Cabinet
(#7)
4 x Support Leg With Wheel
(#15)
12 x ¼–20x½" Screw (
#B)
Installation:
• Place a piece of cardboard on the floor to prevent scratching the unit
and parts during assembly. First, lift the main cabinet door off the
hinges, and place aside. Note illustration 1.
• Next, flip the main cabinet, bottom side pointed upward, on the
cardboard. Prepare the four support legs for installation, arranging
the labelled legs as shown in illustration 1.
IMPORTANT: The four support legs must be arranged correctly to be
able to properly install the support panels and support bar in a later
assembly step.
• Mount one support leg to the smoke cabinet using three screws. Repeat
installation for the other three support legs. Note illustration 1.
2.
Parts Required:
2 x #10–24x½" Screw (
#D)
Installation:
• Near the Control Board, loosen the two pre-assembled screws
connecting the front panel to the main cabinet. Note 2.
• Next, using another two screws (
#D)
, secure the front panel sides to
the front-facing support legs. Once these screws are tight, re-tighten
the two screws that were previously loosened in 2. Note 2.
2
2
2
1
153
154
151
152
1
1
154
152
153
151

 Loading...