ENGLISH
7
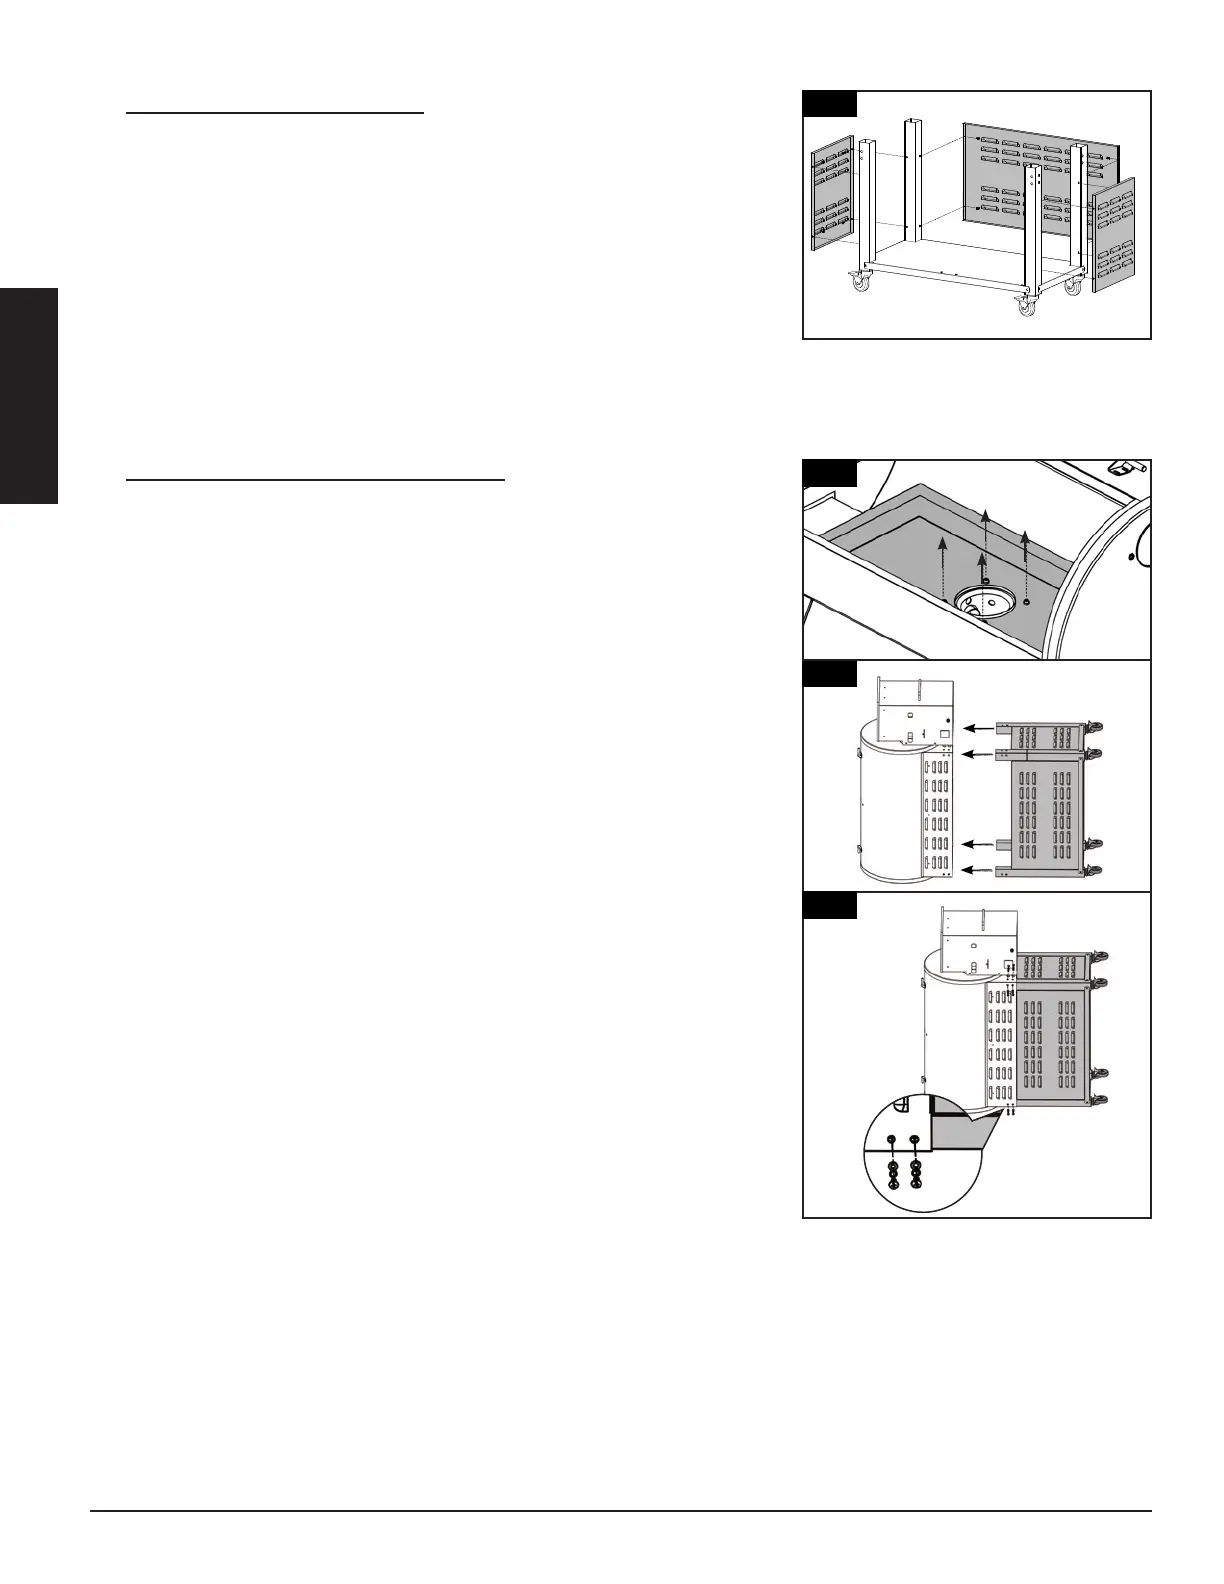
3.
Parts Required:
1 x Cart Back Panel
(#34)
2 x Cart Side Panel
(#35)
12 x Screw
(#D)
Installation:
• Attach the cart back panel to the rear support legs of the cart, and
secure the inside edges using four screws. Repeat the same installation
to mount the two cart side panels to the other support legs.
NOTE: Once installed, the exterior of the cart panels are flush with
the support legs and bottom shelf.
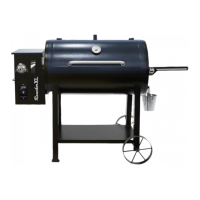
4.
Parts Required:
1 x Main Barrel
(#11)
16 x Screw
(#A)
16 x Locking Washer
(#C)
16 x Washer
(#B)
Installation:
• Place a piece of cardboard on the floor to prevent scratching the unit
and parts during assembly. Open the mn rll ld nd remove the the
lre dffuser plte from the bottom of the mn rll brrel Ths prt
wll be re-nstlled on lter step Note 4
• Lay the main barrel on its side, hopper end pointed upward, on the
cardboard. Note illustration 4.
• Insert the assembled cart into the main barrel brace, and secure each
leg to the main barrel brace using four washers, locking washers, and
screws. Repeat same installation for other three support legs, leaving
the bottom side (facing the ground) unsecure. Note illustration 4.
IMPORTANT: Lock caster wheels before lifting grill upright.
• Carefully, lift the grill into an upright position with the wheels on the
bottom. Secure the final side of the grill using four washers, locking
washers, and screws.
3
35
35
34
4
4
11
4
 Loading...