Once the installation is finished, the application will propose you to create a
shortcut on the Desktop, and then you’re ready to use the Control Setting
software.
h) Connecting the Glasses to the computer:
1. Switch on the Glasses (your glasses must be powered on before you
connect to the Computer. If not, you will only activate the charging mode
but not the data transfer mode).
2. Connect the Glasses to the USB port using the micro USB Cable (if you
connect the glasses to the computer without switching them ON, the USB
charging mode will start and the Host device will not access to the
Glasses.)
3. You can then access your Video and Photos or modify the Camera setting
by opening the Pivothead application (The Pivothead application will
automatically recognize the Glasses).
4.1 Access your media content using a
file explorer:
If you have autopen setup, Windows will offer to open the Mass Storage
(the storage disk name is PIVOTHEAD) into the file explorer. You can then
find your media (images and videos) in the folder DCIM\HDHFRxxx\
4.2 Opening the Pivothead Application:
The application allows you to control the different parameters of your
Pivothead Recorder. You should have first installed the application (please refer
to 3.a in this chapter). Launch the application. You’ll now be able to change the
parameters on your Pivothead Recorder. Do not forget to save after you have
changed the parameters. Remember that Video and Photo settings are
independent and must be saved separately.
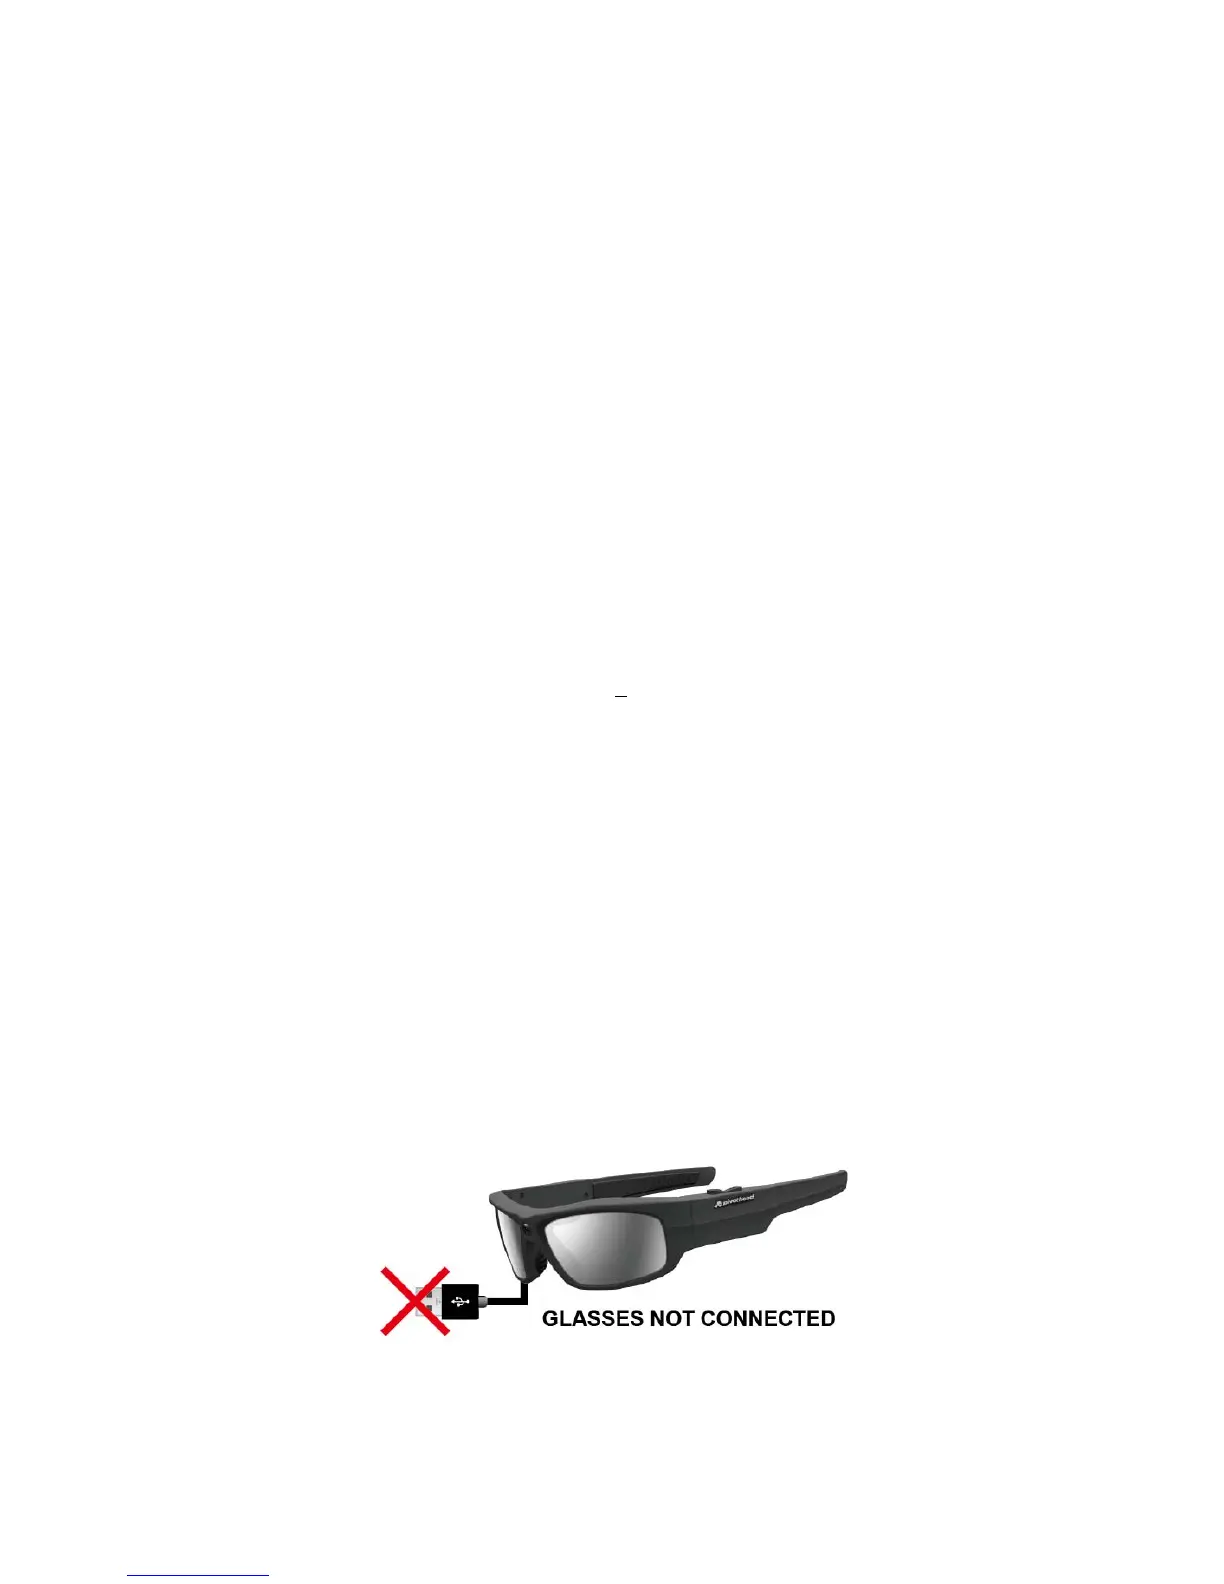
Problem: If the glasses are not correctly connected to the computer, the storage
disk will not appear and the application will not open completely, showing you
below image. Go back to step 2 (connect the glasses…) if this happen.