9
5.WiredNetworkConguration(Windows10and
Windows 11)
A computer with wired Ethernet connection is required for the rst-time
congurationofthewirelessAP.
1. Click the “Start”buttonlocatedatthelower-leftcornerofyourcomputer.
2. Click “Control Panel”.
3. Double-click the “Network and Sharing Center” icon.
4. Click “Change adapter settings”.
5. Double-click “Local Area Connection”.
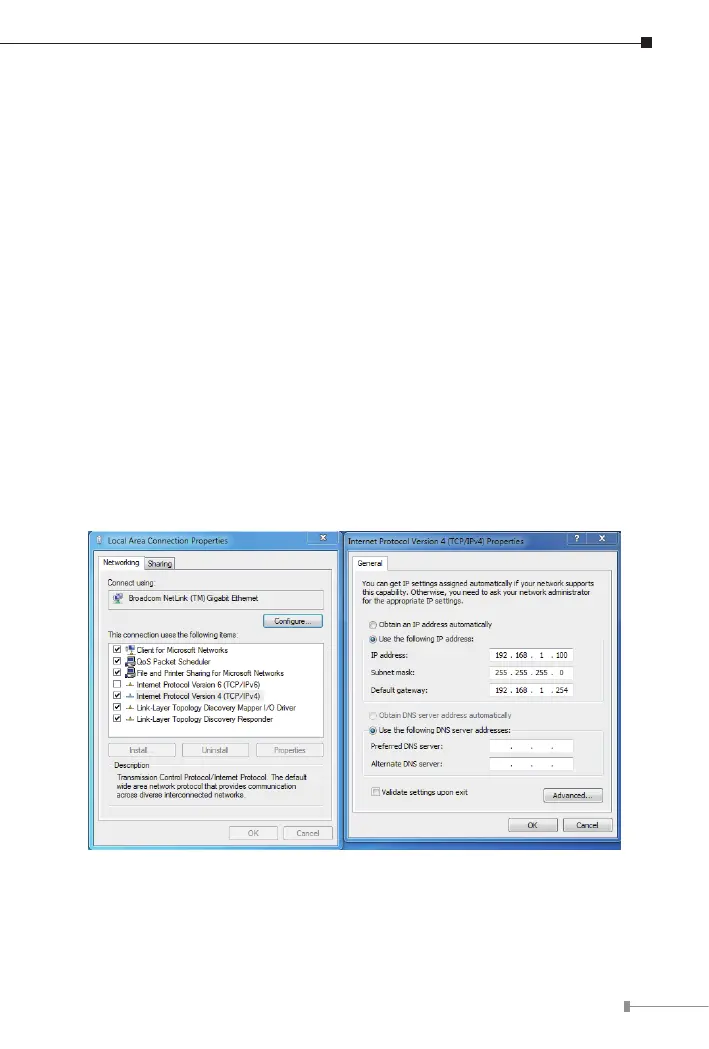
6. Select “Internet Protocol Version 4 (TCP/IPv4)” and click “Proper-
ties”.
7. Select “Use the following IP address” and then click the “OK” button
twice to save the conguration. For example, the default IP address of the
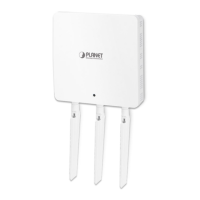
WDAP-3000AXis192.168.1.253 and the router is 192.168.1.254. You may
choose from 192.168.1.1 to 192.168.1.252.
 Loading...