EasyManuals Logo

Planmeca Ethernet Interface User Manual

Planmeca Ethernet Interface
26 pages
To Next Page IconTo Next Page
To Previous Page IconTo Previous Page
Page #23 background imageLoading...
Page #23 background image
Planmeca Ethernet interface 19
UPGRADING ETHERNET INTERFACE SOFTWARE
Installation manual
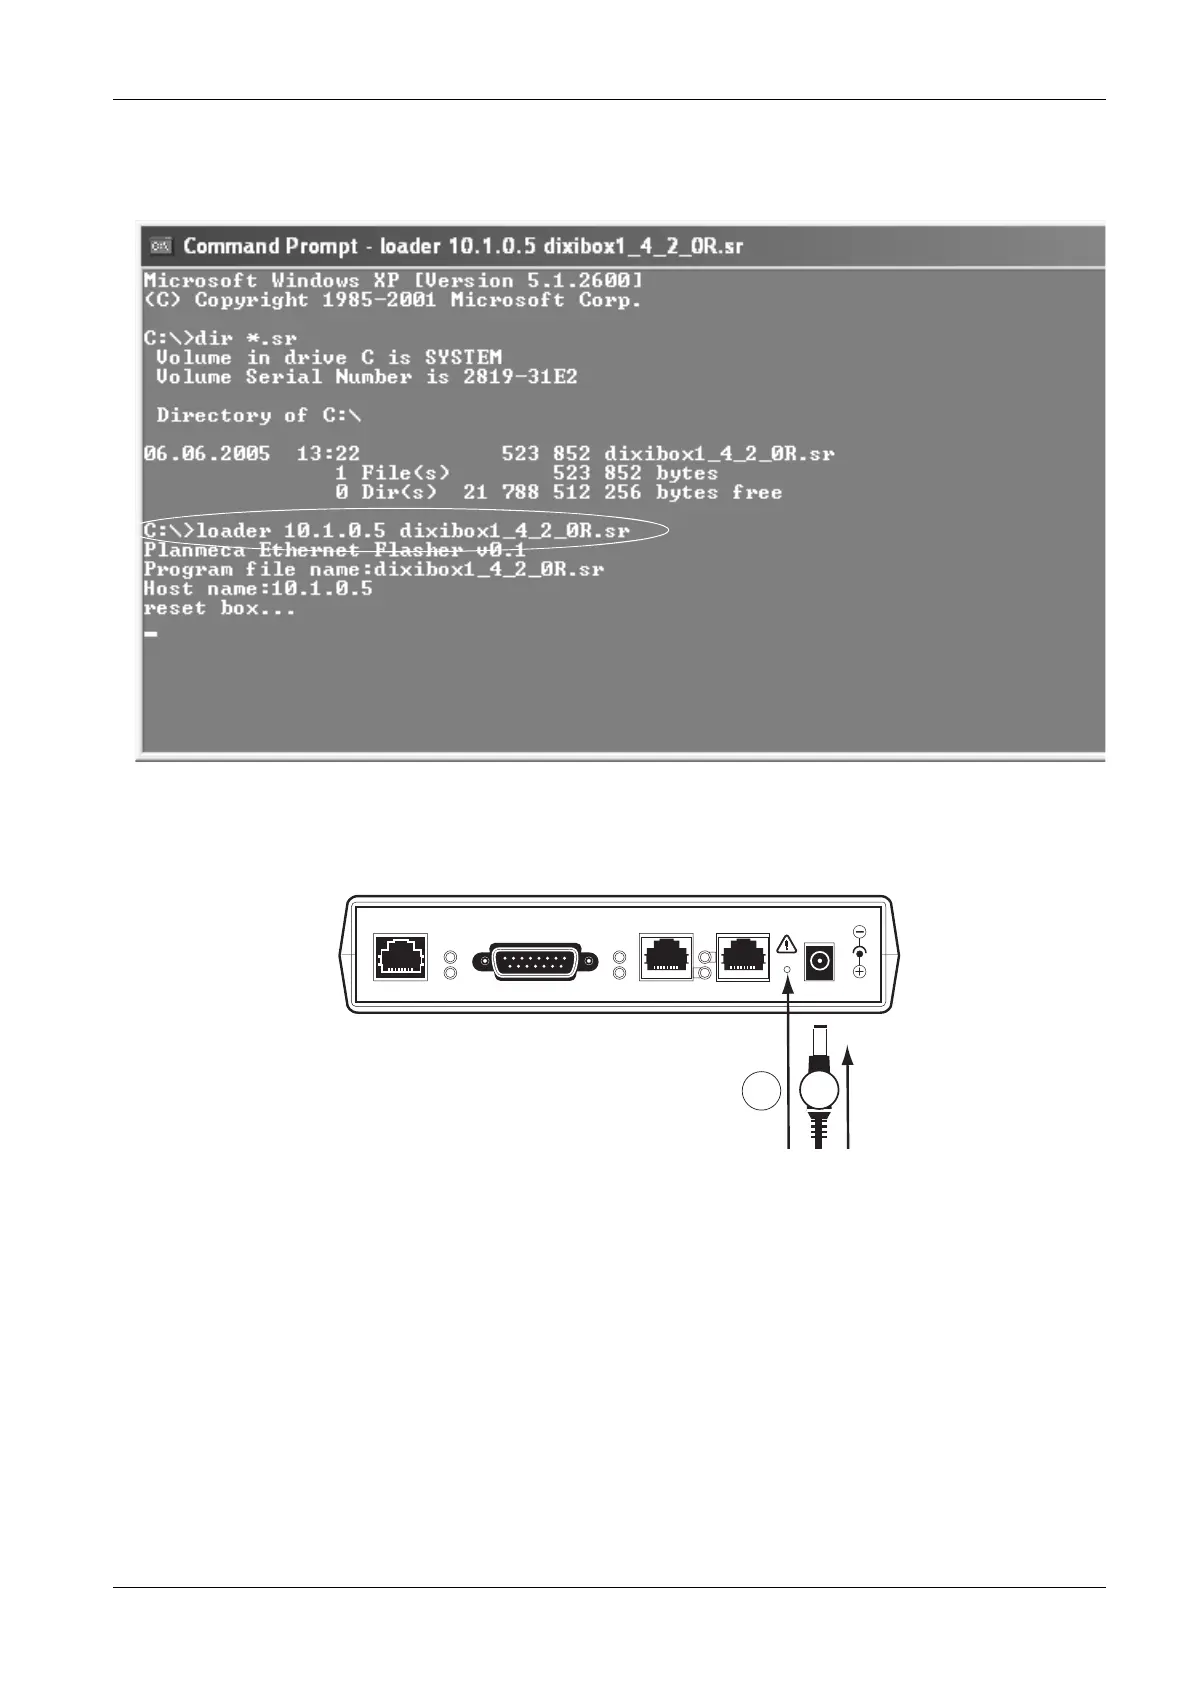
8. To run the software update, give the command: loader 10.1.0.5 SOFTWAREFILE (e.g.
loader 10.1.0.5 dixibox1_4_2_0R.sr).
9. Press and hold the Ethernet box
Set
button (1) with a sharp pin and plug in the power
supply cable (2) (see picture below).
10. You can release the button when the link led goes on.
OK
SET
STATUS
TX/RX
LINK
PLANMECA ETHERNET INTERFACE
10/100 Base-T PLANET PORT 2
PWR
PORT 1 13,2VDC IN
max. 1A
et_box4.eps
1
2

Questions and Answers:

Question and Answer IconNeed help?

Do you have a question about the Planmeca Ethernet Interface and is the answer not in the manual?

Planmeca Ethernet Interface Specifications

General IconGeneral
BrandPlanmeca
ModelEthernet Interface
CategoryRecording Equipment
LanguageEnglish