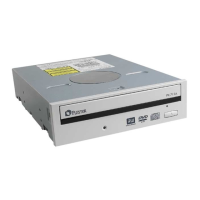
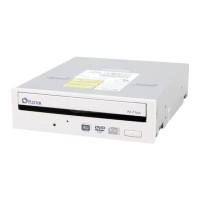
Section 3. Installing the PX-712SA Internal SATA Drive
36 PX-712 Installation and Users Manual
• LED indicator: Illuminated yellow for disc initializing, reading, and
ejecting. Illuminated amber for writing. (Blink rate indicates writing
speed.) Illuminated green during standby and when Buffer Underrun
Proof Technology is operational.
• Tray front door: Attached to tray drawer.
• Emergency eject hole: If the automatic eject button does not work,
insert the emergency eject tool, paper clip, or other thin, rigid object
in this hole to eject tray. Turn OFF power before using this feature.
• Eject button: Push once to eject tray. Push again to insert the tray
back into the PX-712SA. To prevent wear on the drive, always use
the eject button to insert the tray.
This button also enables SpeedRead for DVD-Video discs with CSS
protection. To enable SpeedRead, with the disc tray empty, press and
hold the eject button for 3 seconds, then insert a DVD-Video disc.
The disc is played back at an accelerated speed.
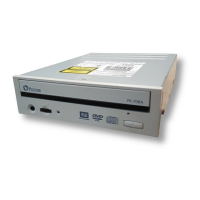
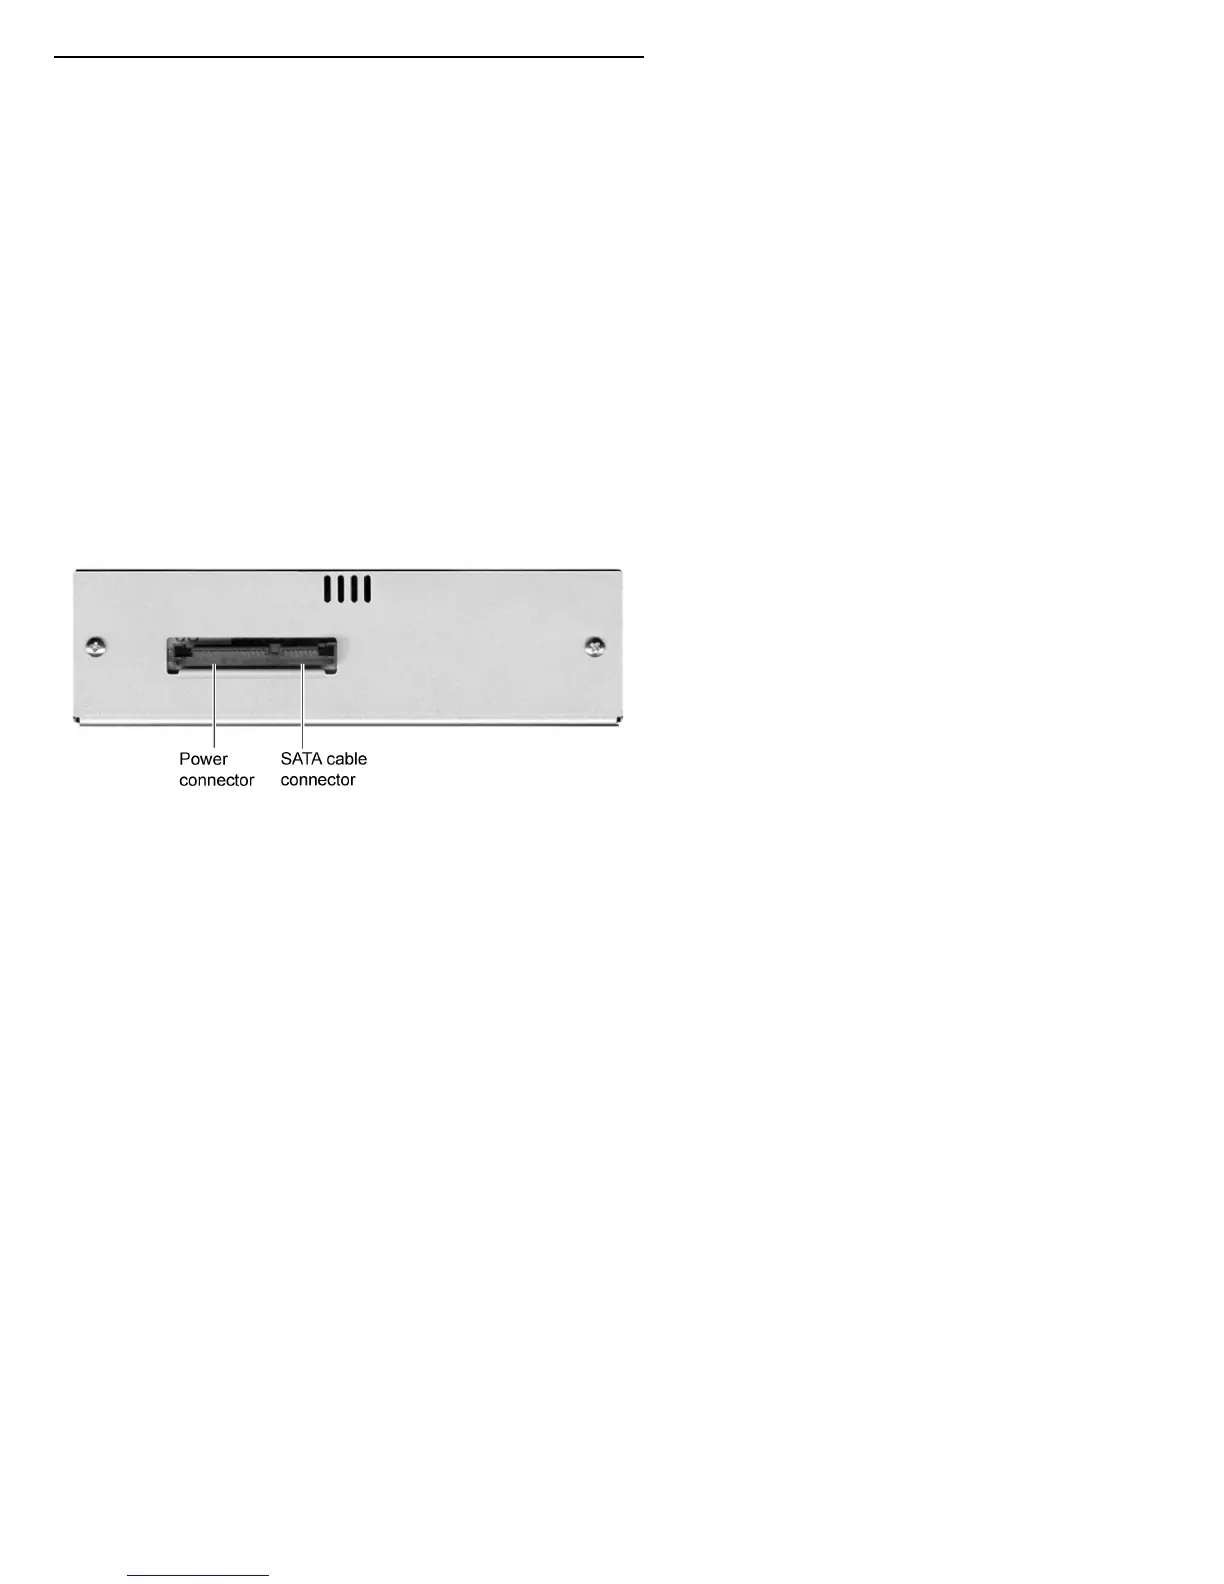
Rear Panel—PX-712SA Internal SATA Drive
Also familiarize yourself with the drive’s rear panel.
Figure 19: Rear panel of the PX-712SA internal SATA drive
• SATA cable connector: Connects to your computer’s SATA
interface using 7-pin SATA ribbon cable.
• Power connector: Connects to your computer’s power supply to
provide DC +5 volts and +12 volts to the PX-712SA.
 Loading...