Section 6. Maintenance and Troubleshooting
PX-712 Installation and Users Manual 89
Using the PX-712A Self-Test Diagnostics
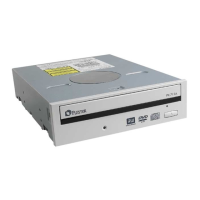
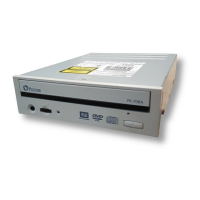
If you have a PX-712A drive, it contains a set of self-test diagnostics
that can help isolate trouble and determine if a problem is in the drive or
elsewhere. (The PX-712SA does not have this feature.)
NOTE: Using the self-test diagnostics requires opening the computer and
removing a cable from the drive, then replacing the cable at the end of
the test. If you previously installed the PX-712A in your computer, you
should have no fear of the simple procedures that are required. However,
if you’re are not comfortable with opening your PC and disconnecting
cables, you may want to let someone with more experience handle this
aspect of troubleshooting for you.
To perform the tests you’ll need:
• Tools to remove the computer’s cover
• An extra jumper (supplied)
• A blank piece of Plextor-recommended DVD+R, DVD-R, or CD-R
media. (See page 96, or visit our web site.) The self-test will write to
this media, so you won’t be able to use this disc again.
This tests three functions of the drive: writing at maximum speed,
continuous playback at maximum speed, and random access.
To perform the self-test:
1. Turn the computer’s power OFF, unplug it from its power source,
and open the computer to gain access to the rear of the PX-712A
drive. Typically, this involves loosening or removing several screws
on the back panel of your computer and sliding off the cover. (See
Figure 3 for an example.)
CAUTION: Before you attempt to open your computer be sure to
properly ground yourself by wearing an anti-static wristband. This will
help prevent static damage to your computer system.
2. You should be able to see the back of the PX-712A drive connected
to the ATAPI cable, power connector, and, optionally, an analog
sound cable.
 Loading...