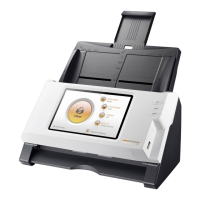
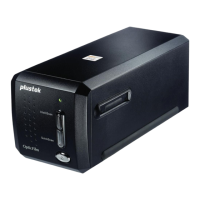
Setup Mail Server
Setup mail server prior to scan
and Save to Mail.
1. Tap on System Settings
2. Tap Sending Settings >
enable Mail.
3. Tap on Set. 4. Enter your credentials
* eScan supports SMTP and
Microsoft Exchange Server.
* To use Exchange Server, tap
and check the Exchange box
at the top of the menu.
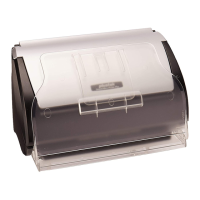
Save to Mail
Enter the sender and recipients’ email
address
(you can also create and lookup from the
address book)
Note: Separate multiple email addresses
with ",".
Tap
to send.
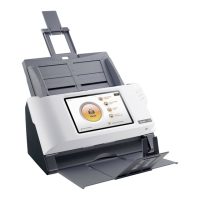
Job button (Single Touch Scanning)
You can create dedicated single
touch scanning job buttons
by tapping Assign as new job
button on the Sending success
page.
Tap button on the upper-
right corner to display job button
menu.
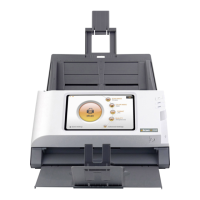
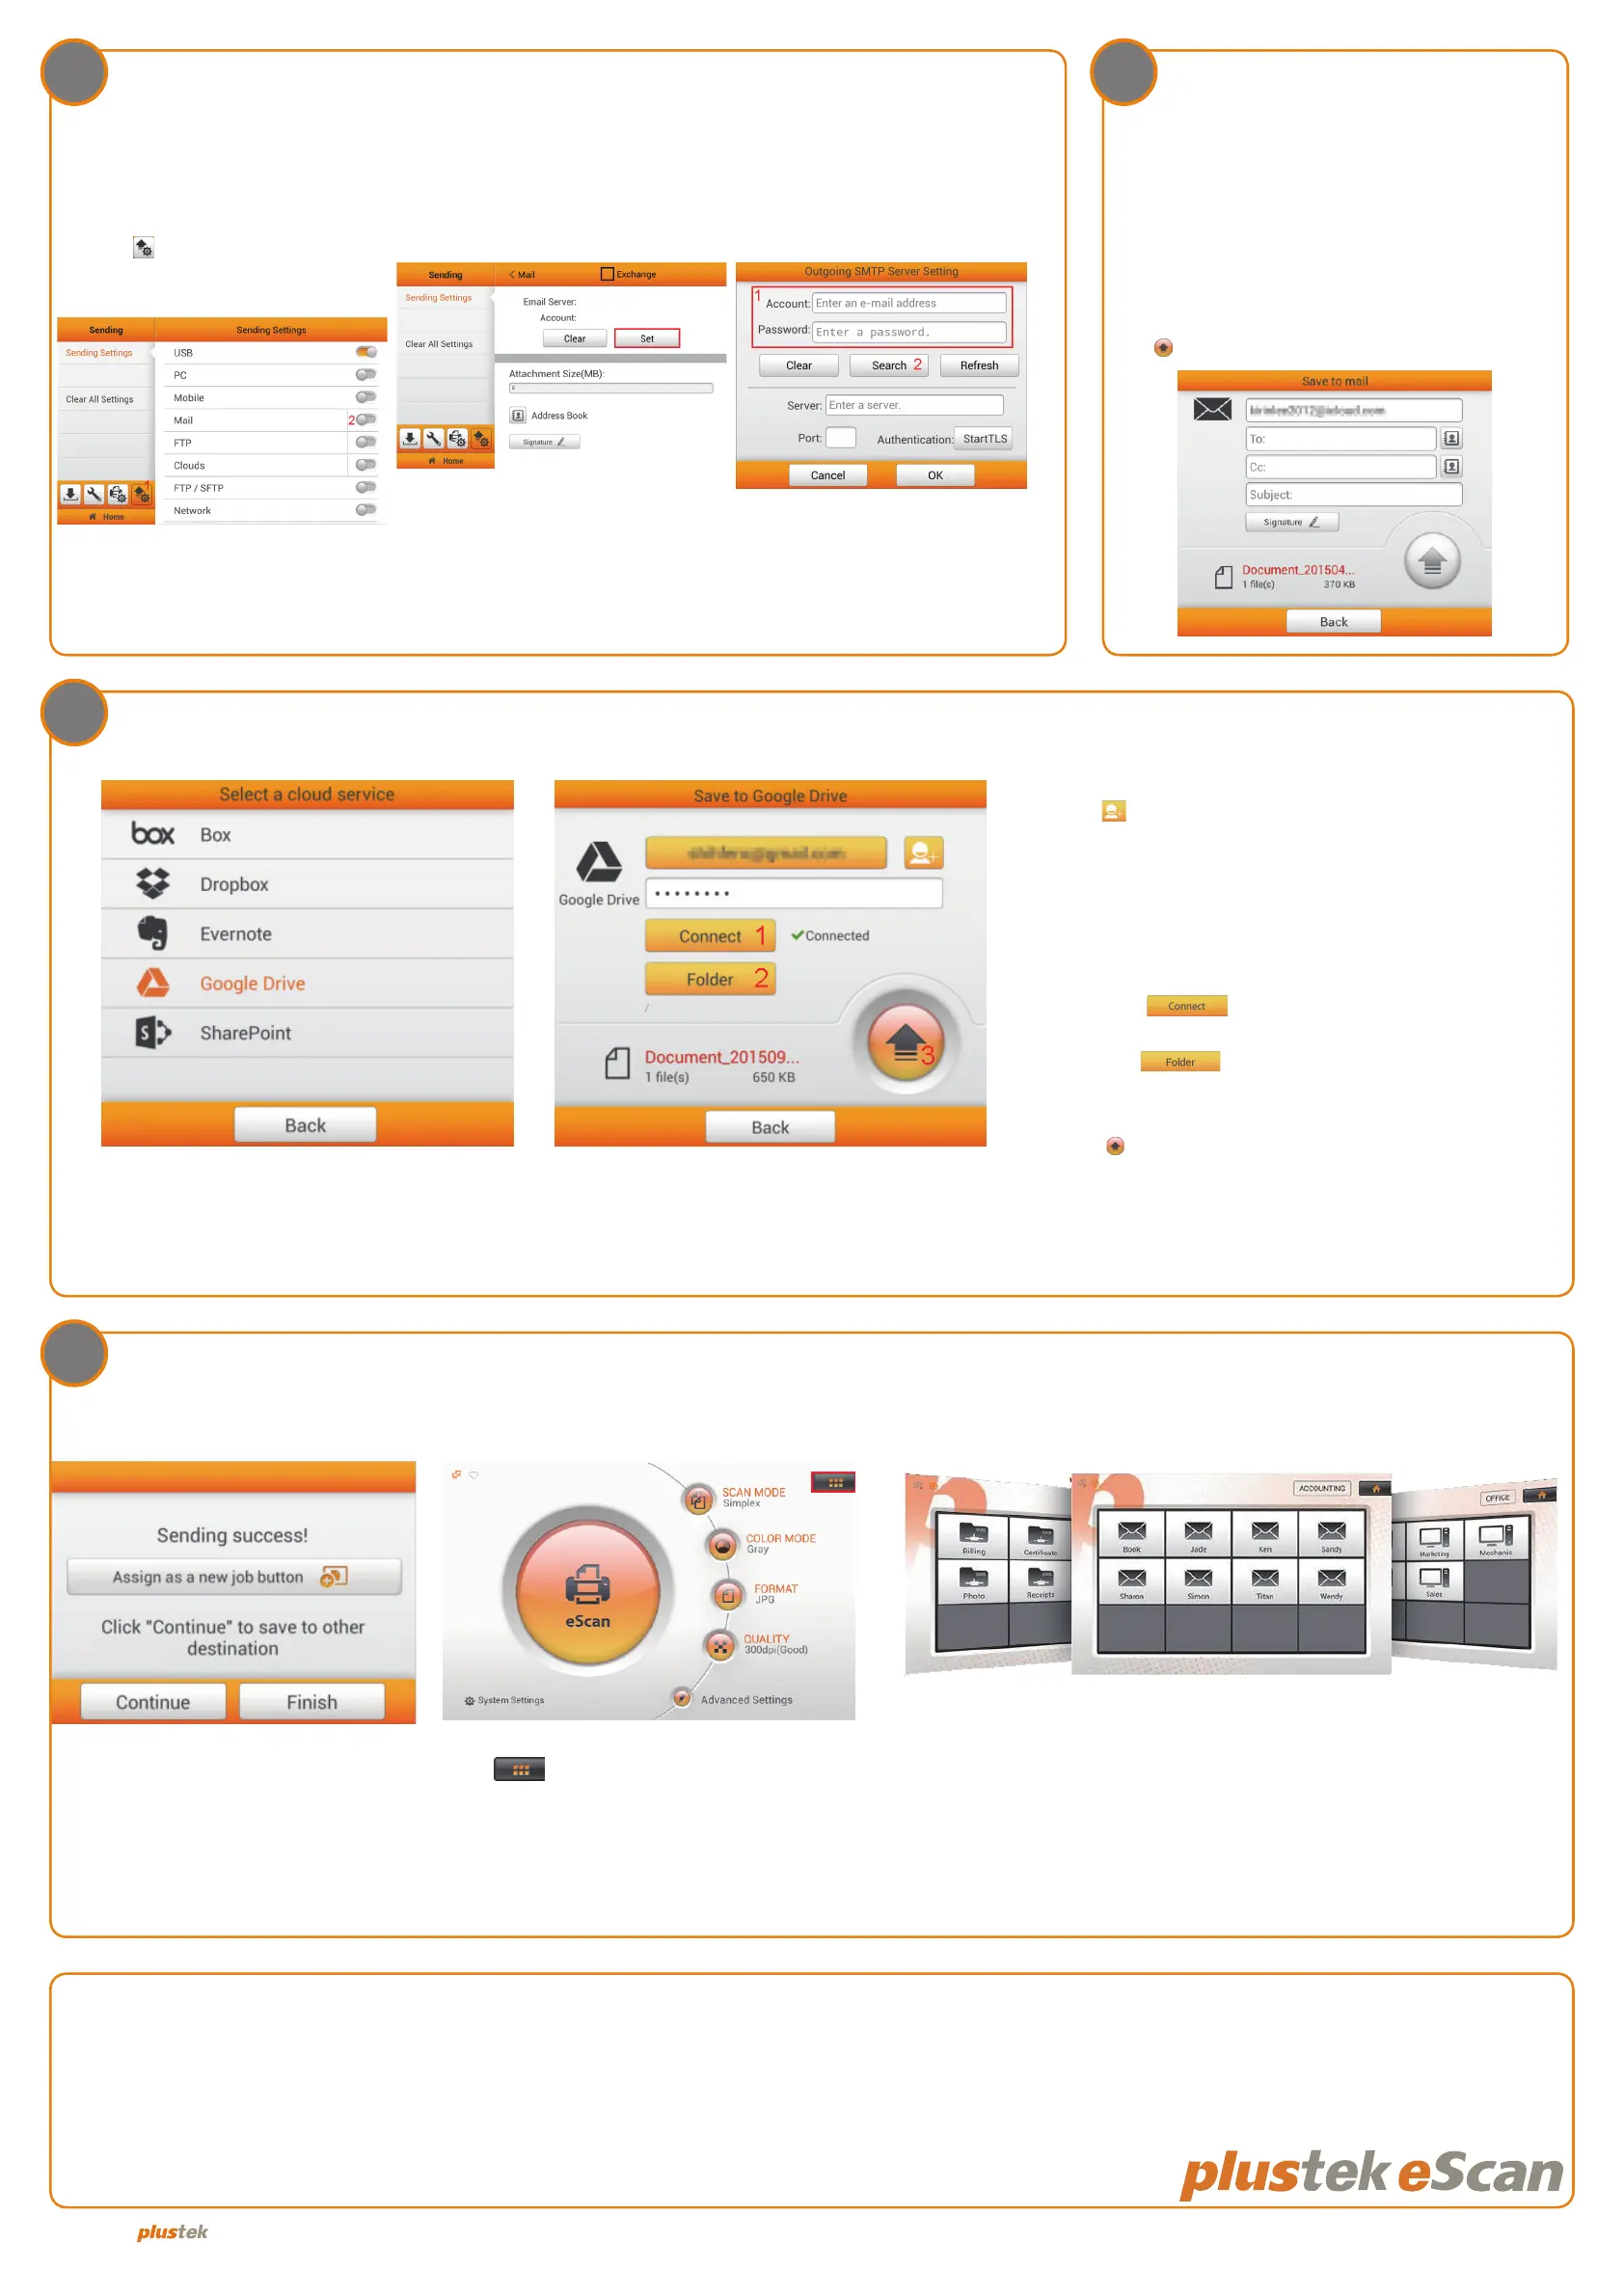
Save to clouds
Note: Please make sure there is an active Internet connection while using the scanner.
Technical Support
USA/CA United Kingdom
714-670-7713 0125-674-1513
9am to 5:30pm, Pacic Time, Monday through Friday 9am-16pm, Monday through Friday
infoUSA@PlustekUS.com support@agxuk.com
* Specications and interfaces are subject to change without notice. Please refer to Plustek corporate website for more info.
6
6.1
8
7
1. Select cloud storage (e.g. Google Drive) Tap
the button to login.
2. Enter your credentials.
* Due to the security of each individual server,
you may want to adjust the security level if
you are experiencing issues.
3. Tap the to connect.
4. Tap the to select the desired destination
path
5. Tap to send.
Tap on the desired job button to scan documents with the
preset congurations.
P/NO.: 17-07-2BB5080-C
© 2018 by . All rights reserved. All registered trademarks are the property of their respective owners.