Do you have a question about the Plustek eScan and is the answer not in the manual?
Connect the eScan using an RJ45 Ethernet cable for network access.
Guide to setting up a wireless connection via System Settings > General > Wi-Fi.
Instructions for loading documents face-down and initiating the scan.
Details on previewing, rotating, deleting, or inserting scanned images.
Steps to save scanned documents to a USB flash drive.
Download and install eScan Client software for PC connectivity.
Download and install the Plustek eScan app for mobile devices.
Configure outgoing SMTP server settings and email credentials.
Enter sender/recipient addresses and subject for saving scans via email.
Choose a cloud service (e.g., Google Drive) and log in with credentials.
Choose a destination folder and send the scanned documents.
Create dedicated single touch scanning jobs by assigning presets.
Tap a job button to scan documents with pre-configured settings.
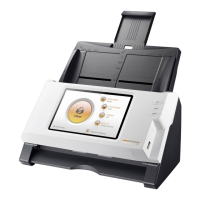
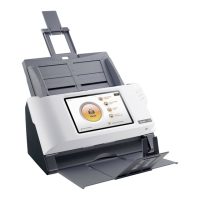
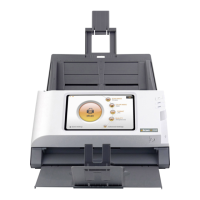
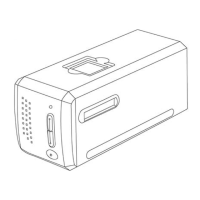
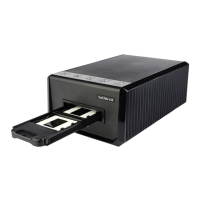
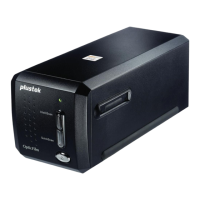
The Plustek eScan is a document scanner designed for ease of use and versatile document management. It offers a range of features for connecting, scanning, previewing, and saving documents to various destinations, including local storage, network shares, and cloud services. The device emphasizes a streamlined workflow, from initial setup to advanced job button configurations for single-touch scanning.
The primary function of the Plustek eScan is to digitize physical documents. It supports scanning in various modes (simplex/duplex), color modes (color, grayscale, black & white), and formats (PDF, JPG, etc.), with adjustable quality settings. Once scanned, documents can be previewed, edited (rotated, deleted), and then saved to a multitude of destinations. The eScan integrates with both local and network environments, offering flexibility in how digitized information is stored and shared. It also supports mobile integration through dedicated apps, allowing for remote access and management of scanned files.
Unpacking and Assembly: The device is designed for straightforward setup. Users are guided to unpack the scanner and assemble components like the paper chute cover. An important step involves removing all packing materials, especially from the upper panel unit, to ensure proper operation.
Connectivity: The eScan offers multiple connectivity options.
Saving Documents: The eScan provides diverse options for saving scanned documents:
Job Button (Single Touch Scanning): This advanced feature allows users to create dedicated single-touch scanning job buttons. After a successful scan, users can assign the current settings as a new job button. These job buttons, displayed via a menu accessed from the upper-right corner of the screen, enable users to scan documents with preset configurations by simply tapping the corresponding button, streamlining repetitive scanning tasks.
While the manual does not explicitly detail routine maintenance procedures like cleaning, the emphasis on proper assembly and connectivity suggests that ensuring the physical components are correctly installed and the network connections are stable are key to the device's ongoing performance. The "Calibration" option under System Settings > General suggests that the scanner may have internal calibration routines to maintain scan quality over time. The availability of software updates (implied by client application downloads) also contributes to maintaining optimal functionality and compatibility.
| Light Source | LED |
|---|---|
| Color Depth | 24-bit |
| Resolution | 600 dpi |
| ADF Capacity | 50 sheets |
| Image Sensor | CIS |
| Interface | USB |
| File Formats | PDF, JPEG, TIFF |
| Optical Resolution | 600 dpi |
| Compatibility | Windows, Mac |
| Dimensions | 11.8 x 6.3 x 6.3 inches |
| Connectivity | USB |
| Weight | 5.5 lbs |