FINAL DRIVE
7.5
FRONT HUB
REMOVAL/INSPECTION
(4X4
&
6X6)
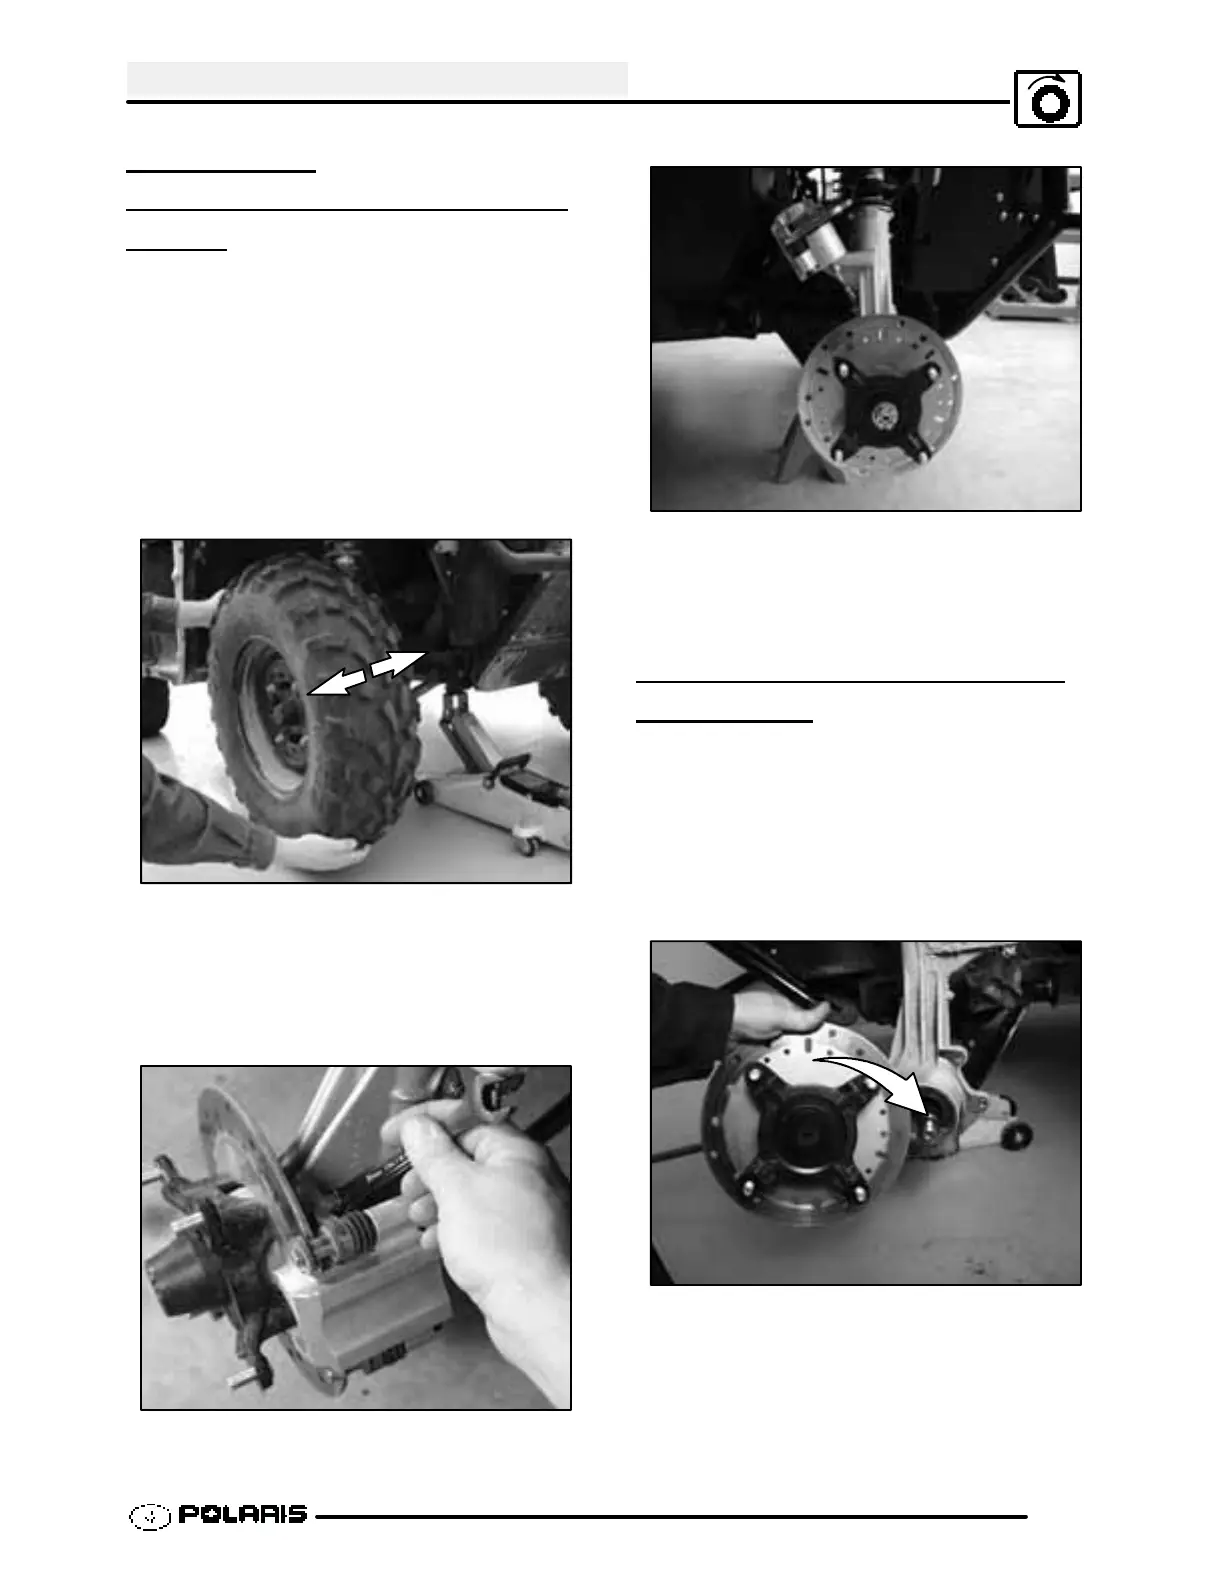
1. Elevate front end and safely support machine
under footrest / frame area.
CAUTION: Serious injury may result if machine tips
or falls. Be sure machine is secure before beginning
this service procedure. Wear eye protection when
removing bearings and seals.
2. Check bearings for side play by grasping the tire /
wheel firmly and checking for movement. Grasp
the top and bottom of the tire. The tire should
rotate smoothly without binding or rough spots.
3. Remove wheel nuts and wheel.
4. Remove the two brake caliper attaching bolts.
CAUTION: Do not hang the caliper by the brake
line. Use wire to hang the caliper to prevent
possible damage to the brake line.
5. Remove hub cap, cotter pin, front spindle nut, and
washer .
6. Rotate each bearing by hand and check for smooth
rotation. Visually inspect bearing for moisture,
dirt, or corrosion. Replace bearing if moisture,
dirt, corrosion, or roughness is evident.
FRONT HUB INSTALLATION
(4X4 &
6X6)
1. Inspect the hubstrut bearing surface for wear or
damage.
2. Apply grease to spindle.
3. Install spindle through the backside of the hubstrut.
Install the hub onto the spindle.
4. Apply grease to washer and install with domed side
out.
 Loading...