FINAL DRIVE
7.6
Out
Cone
W asher
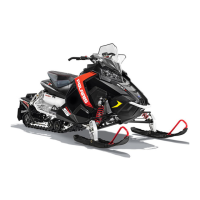
5. Install spindle nut and tighten to specification.
6. Install a new cotter pin. Tighten nut slightly if
necessary to align cotter pin holes.
7. Rotate wheel and check for smooth operation.
Bend both ends of cotter pin around end of
spindle in different directions.
8. Install hub cap.
9. Rotate hub. It should rotate smoothly without
binding or rough spots or side play.
10. Install brake caliper using new bolts. Tighten
bolts to specified torque.
Brake Caliper Bolt Torque
18 ft. lbs. (24 Nm)
CAUTION: New bolts have a pre-applied locking
agent which is destroyed upon removal. Always use
new brake caliper mounting bolts upon assembly.
11. Install wheel and wheel nuts and tighten evenly in
a cross pattern to specified torque.
Flange Nuts:
Flat side against wheel
Front Wheel Nut Torque
35 ft. lbs. (47 Nm)
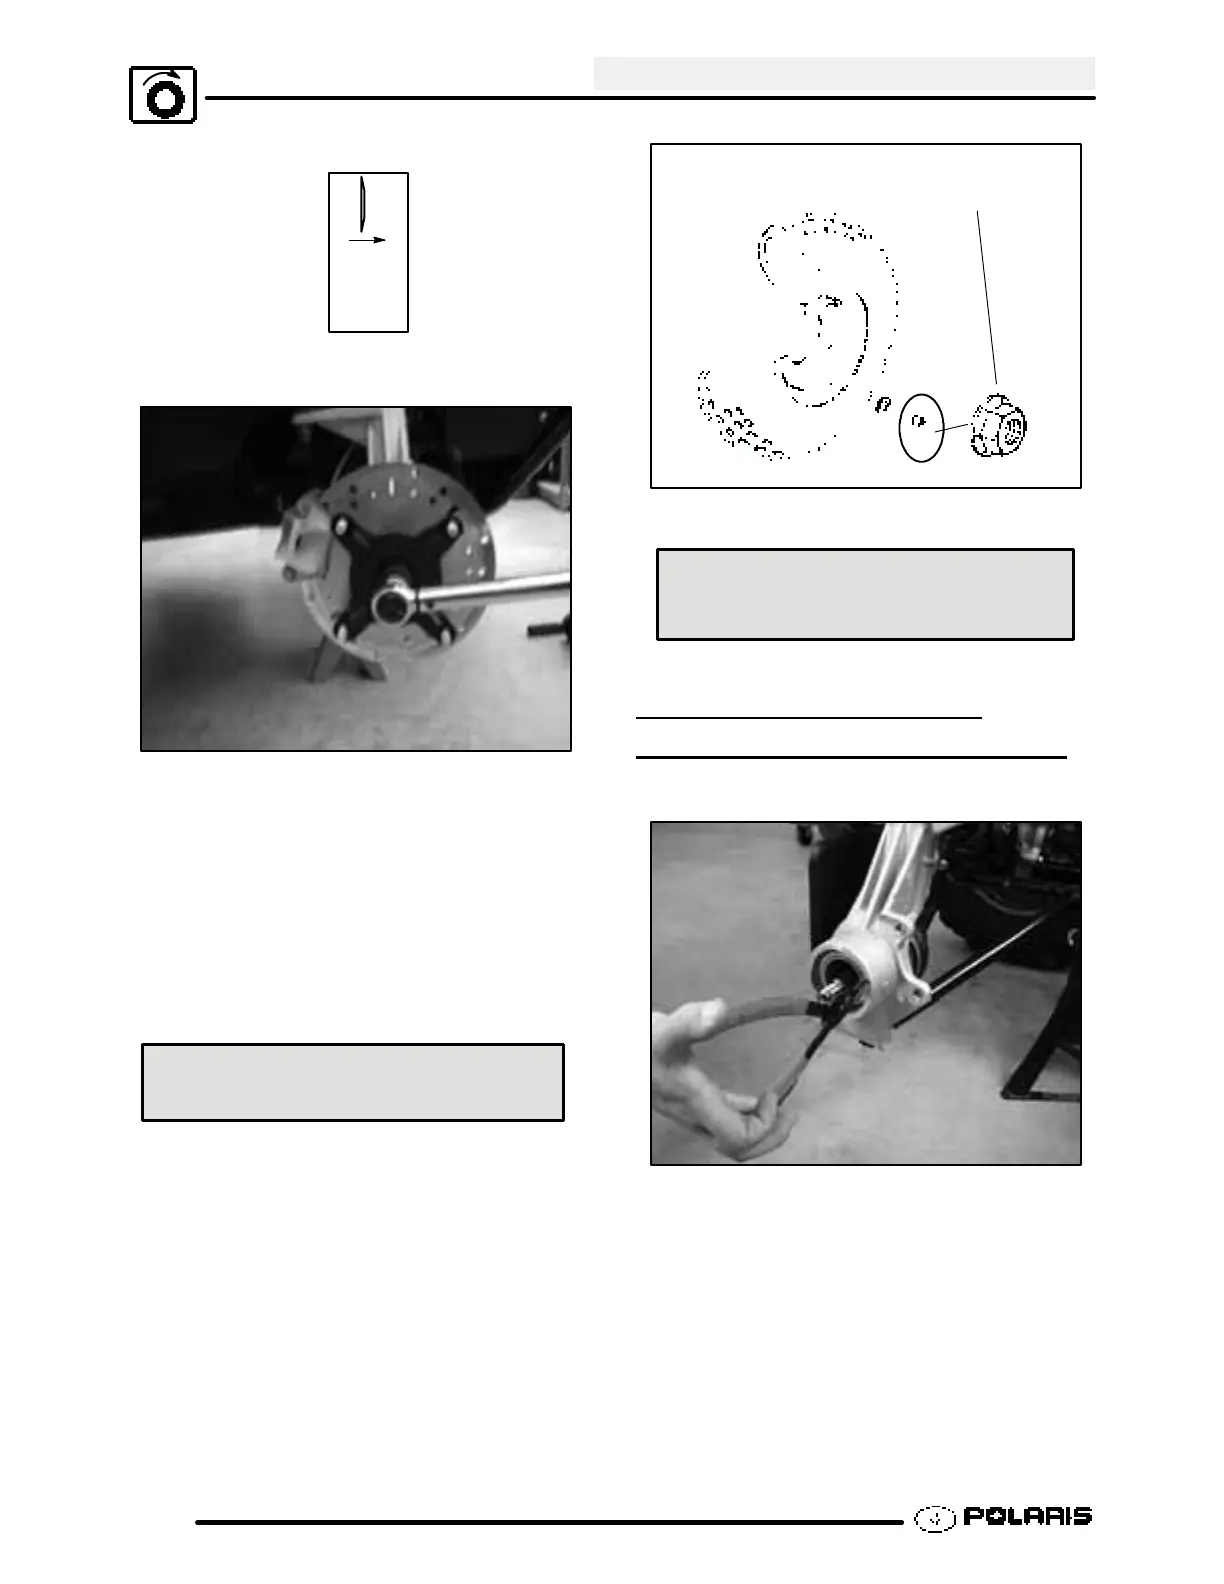
FRONT HUB BEARING
REPLACEMENT (4X4 &
6X6)
1. Remove outer snap ring.
2. From the back side, tap on the outer bearing race
with a drift punch in the reliefs as shown.
3. Drive bearing out evenly by tapping on outer race
only. Once bearing is at bottom of casting,
 Loading...