Step 5 - Mount OEM CD Housing
2. Connect PLUG D into the back of
OEM CD housing
3.
Plug the radio antenna into the
back of the OEM CD housing
4. Mount the CD housing back into
position and secure in place with the
original screws.
1. Before re-mounting the OEM CD
Housing we suggest positioning the
power amplifier box just behind it.
8
e
+B12V
ACC
GND
IR
Connect to car
original jack
Rear camera 2
Front video input
Reverse camera trigger
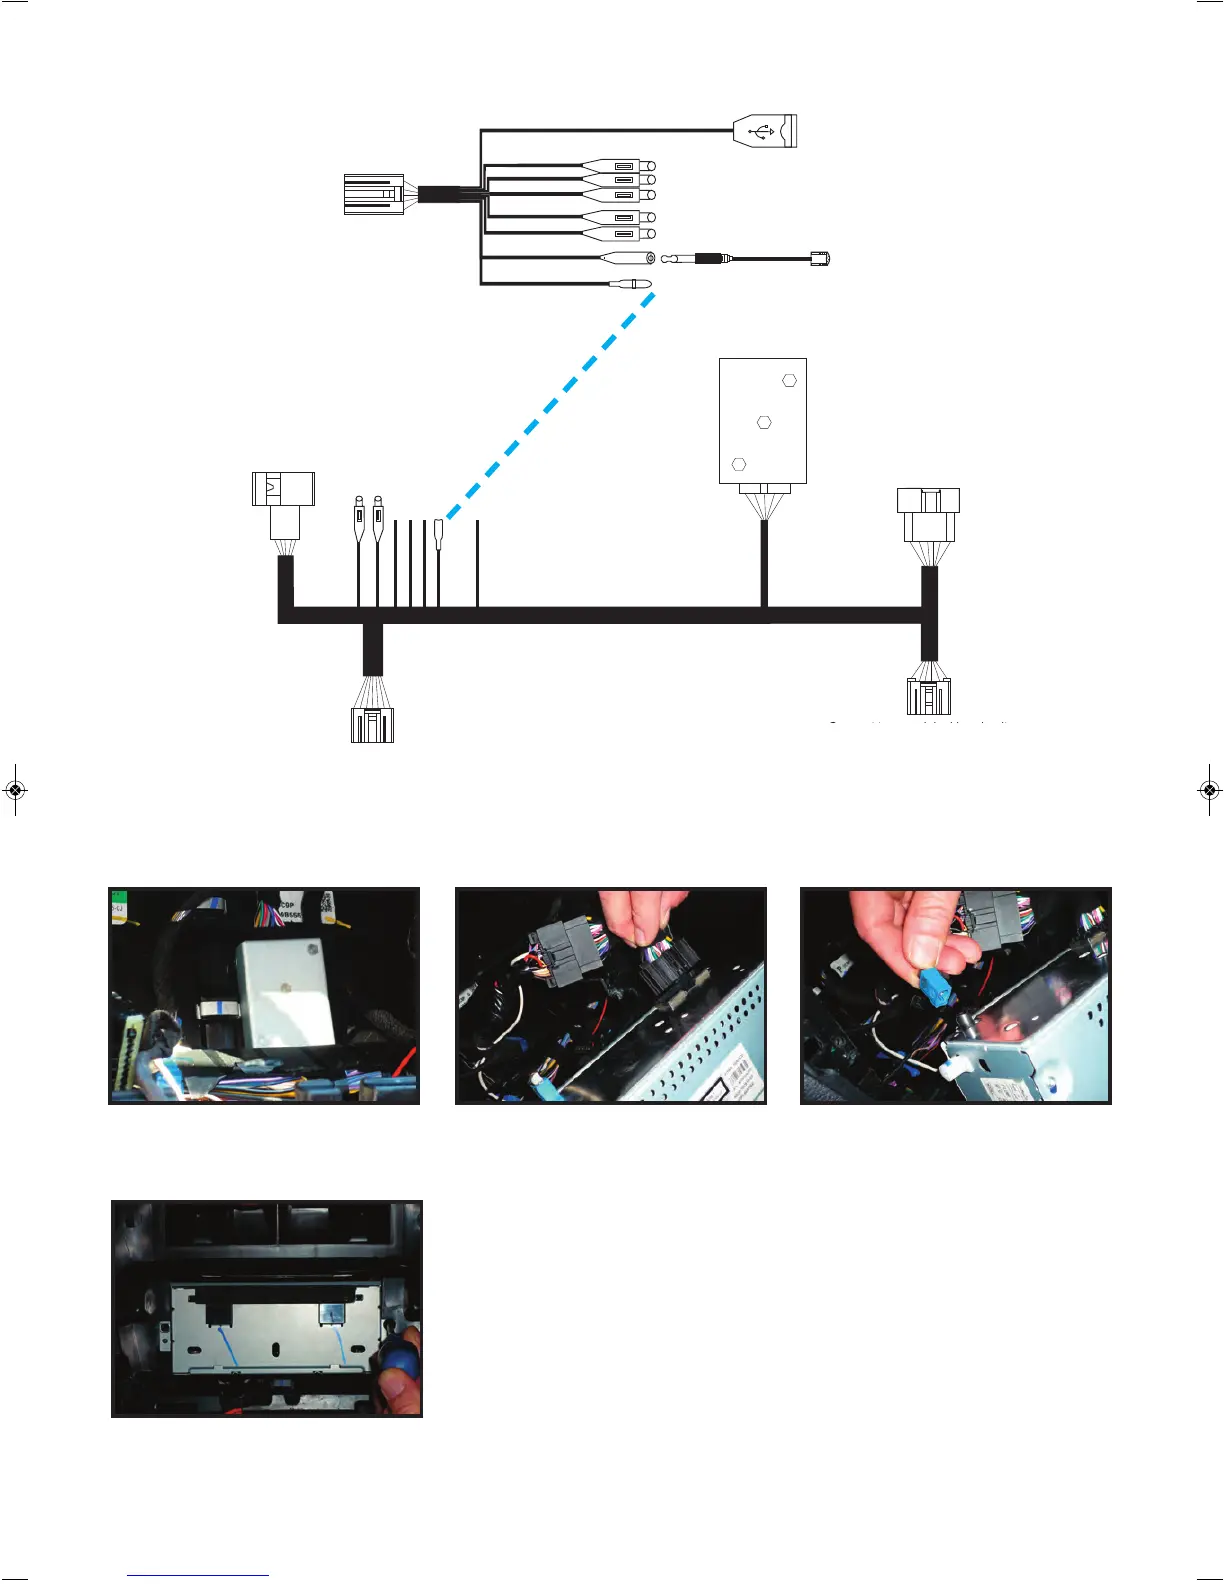
Power amplifier box
Connect to RW-50 interface
Connect to the
of car original head unit
power harness
Connect to car original head unit
Connect to OEM CD Housing
Connect to RW-50 interface
Connect to OEM screen plug
Connect to RW-50 Interface
F. Wiring Diagram
Harness 2
Harness 1
Plug A
Plug B
Plug C
Plug D
Plug E
• Plug all applicable cables into HARNESS 1 and HARNESS 2 (e.g. Bluetooth Mic, Media USB cable etc)
PLEASE NOTE:
If your Mazda BT-50 originally had the OEM GPS system installed, you
need to plug in a different radio antenna. Instead of using the radio
antenna that normally plugs into the back of the OEM CD housing
(the connector that you originally unplugged), you must use the radio
antenna that was originally plugged into the the back of the OEM
GPS Screen (it is the black connector).
 Loading...