PROPULSION
6.192004 Four Stroke PWC Service Manual
REASSEMBLY PROCEDURE
1. Apply Loctitet 262 to engine mount bolt threads.
Torque engine mount nuts to 50 ft.lbs. (68 Nm)
2. Remove Driveshaft Alignment Tool and Driveshaft
Alignment Coupler Tool.
3. Obtain the engine--side drive coupler. Apply a thin
film of Premium Grease, PN 2871322, to the inner
threads. Hand--tighten coupler on to crankshaft.
4. Insert rubber dampener into engine--side drive
coupler .
5. Insert pump--side drive coupler into rubber
dampener . Apply light film of Premium Grease to
inner threads.
6. Have an assistant insert driveshaft through rear of
boat. As driveshaft enters engine compartment,
carefully fit bearing carrier on to front of shaft. (A light
film of grease will aid in installation.)
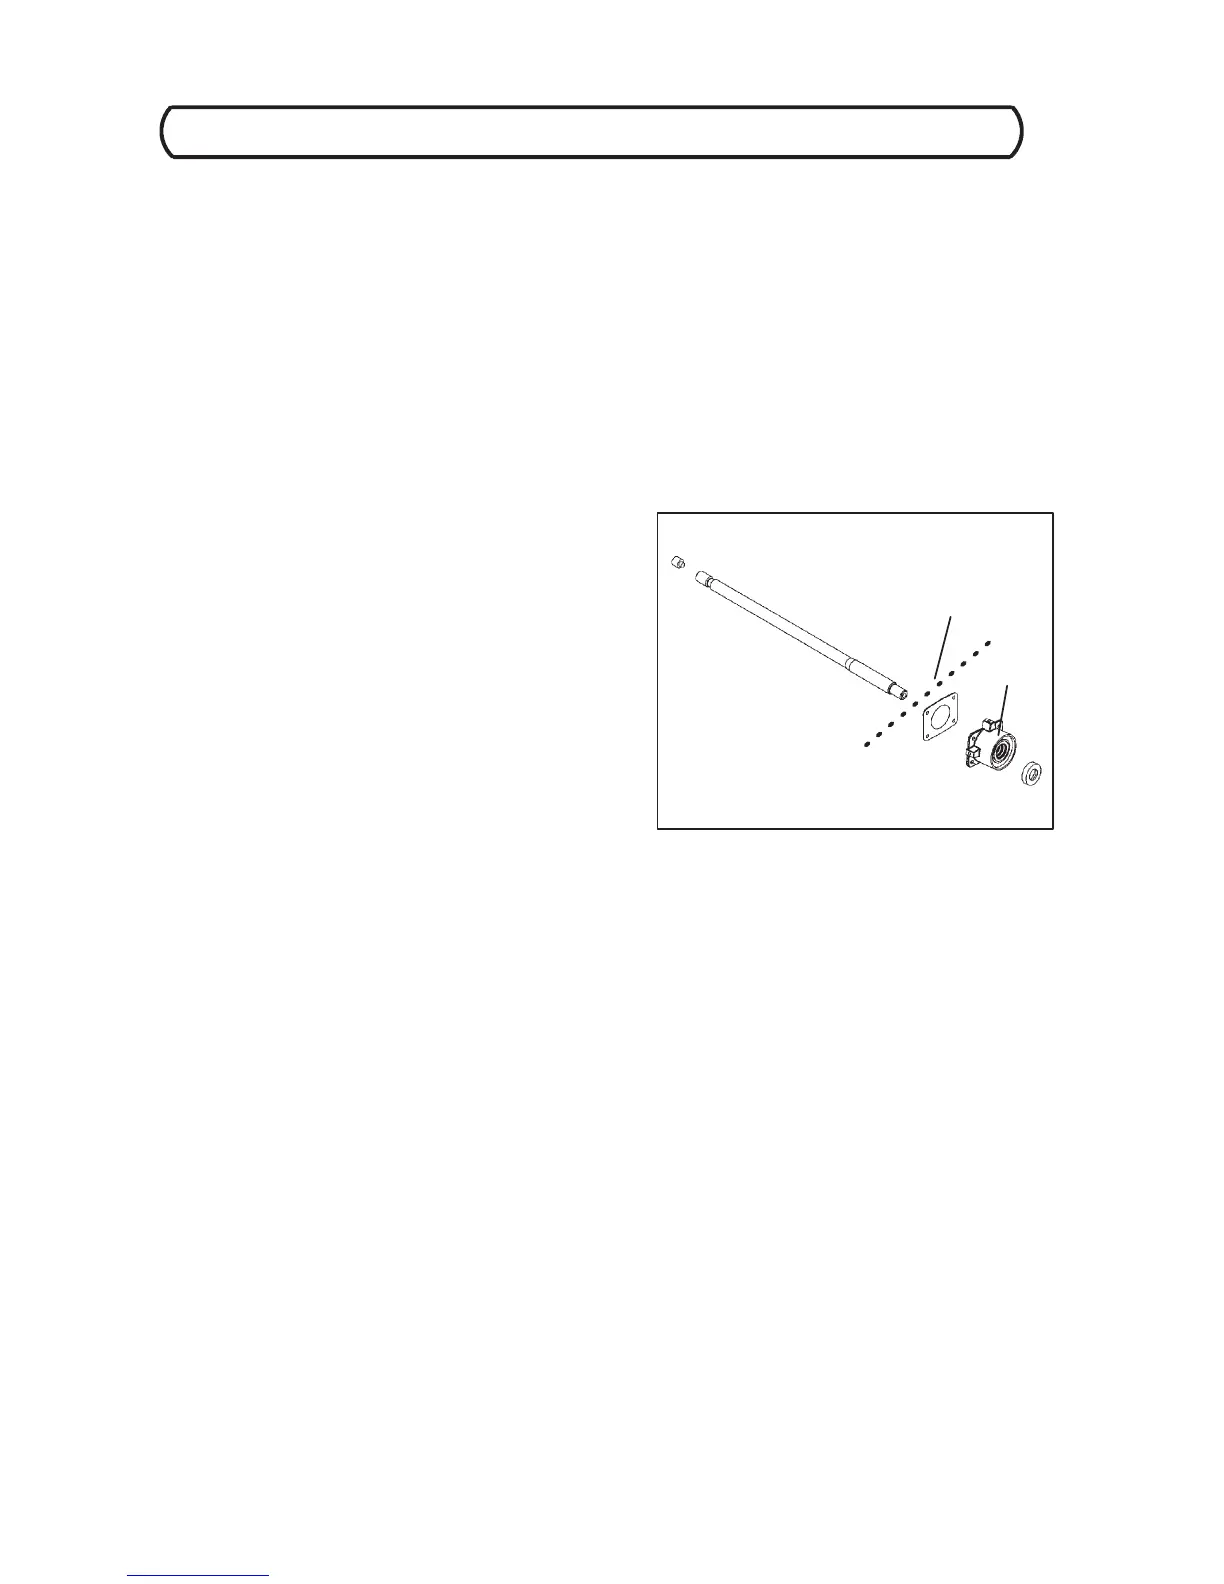
7. Install thrust washer , and two shim washers over
front of driveshaft after it has passed through the
bearing carrier. (The beveled side MUST fit flush with
driveshaft bevel.) (Illustration 4)
8. Guide the front of the driveshaft into the drive coupler
end. Have an assistant insert and screw driveshaft
into the drive coupler from the rear of the boat. Keep
the beveled end of the thrust washer flush with the
beveled end of the driveshaft as the shaft is being
screwed into the coupler.
9. Perform the DRIVESHAFT SHIM PROCEDURE
outlined on page 6.10.
10. Once driveshaft is screwed into coupler, push the
bearing carrier back against the pump wall. Do not
install the mounting screws at this time.
11. If the impeller was removed from the pump stator , the
assembly will have to be re--built with new seals, and
o--rings.
12. Reassemble the pump sections to the pump housing. Apply a light film of grease to the pump section mating
surfaces.
13. Install the four pump mounting bolts. Tighten to 2 ft.lbs. (2.7 Nm) in a criss --cross pattern. Torque bolts to 14
ft.lbs. (19 Nm), following the same criss--cross pattern.
14. Mount the bearing carrier to the pump wall. Torque the bearing carrier screws to 14 ft.lbs. (19 Nm) using a
criss--cross pattern.
15. Re--install the coupler guard. Apply Loctitet 242 to screws and torque to 35 in.lbs. (3.9 Nm)
16. Re--install the two siphon hoses to the pump nozzle. Use new panduit straps to secure hoses.
17. Re--install the reverse linkage retaining pin using a new cotter pin.
18. Using a new Nylokt nut, re--install the steering cable rod--end linkage. Apply Loctitet 242 to screw threads
and torque nut to 8 ft.lbs. (11 Nm)
19. Apply liberal amounts of Nyogelt to battery terminals and re--install the POSITIVE (+) lead first, then
NEGATIVE (--) lead to the battery.
20. Re-- install the PTO spark plug. Torque plug to 18 ft.lbs. (24 Nm)
(Illustration 4)
DRIVESHAFT
BUMPER
GASKET
THRUST WASHER
BEARING
CARRIER
HULL LINE
 Loading...