2. QSetup – Auto Provision
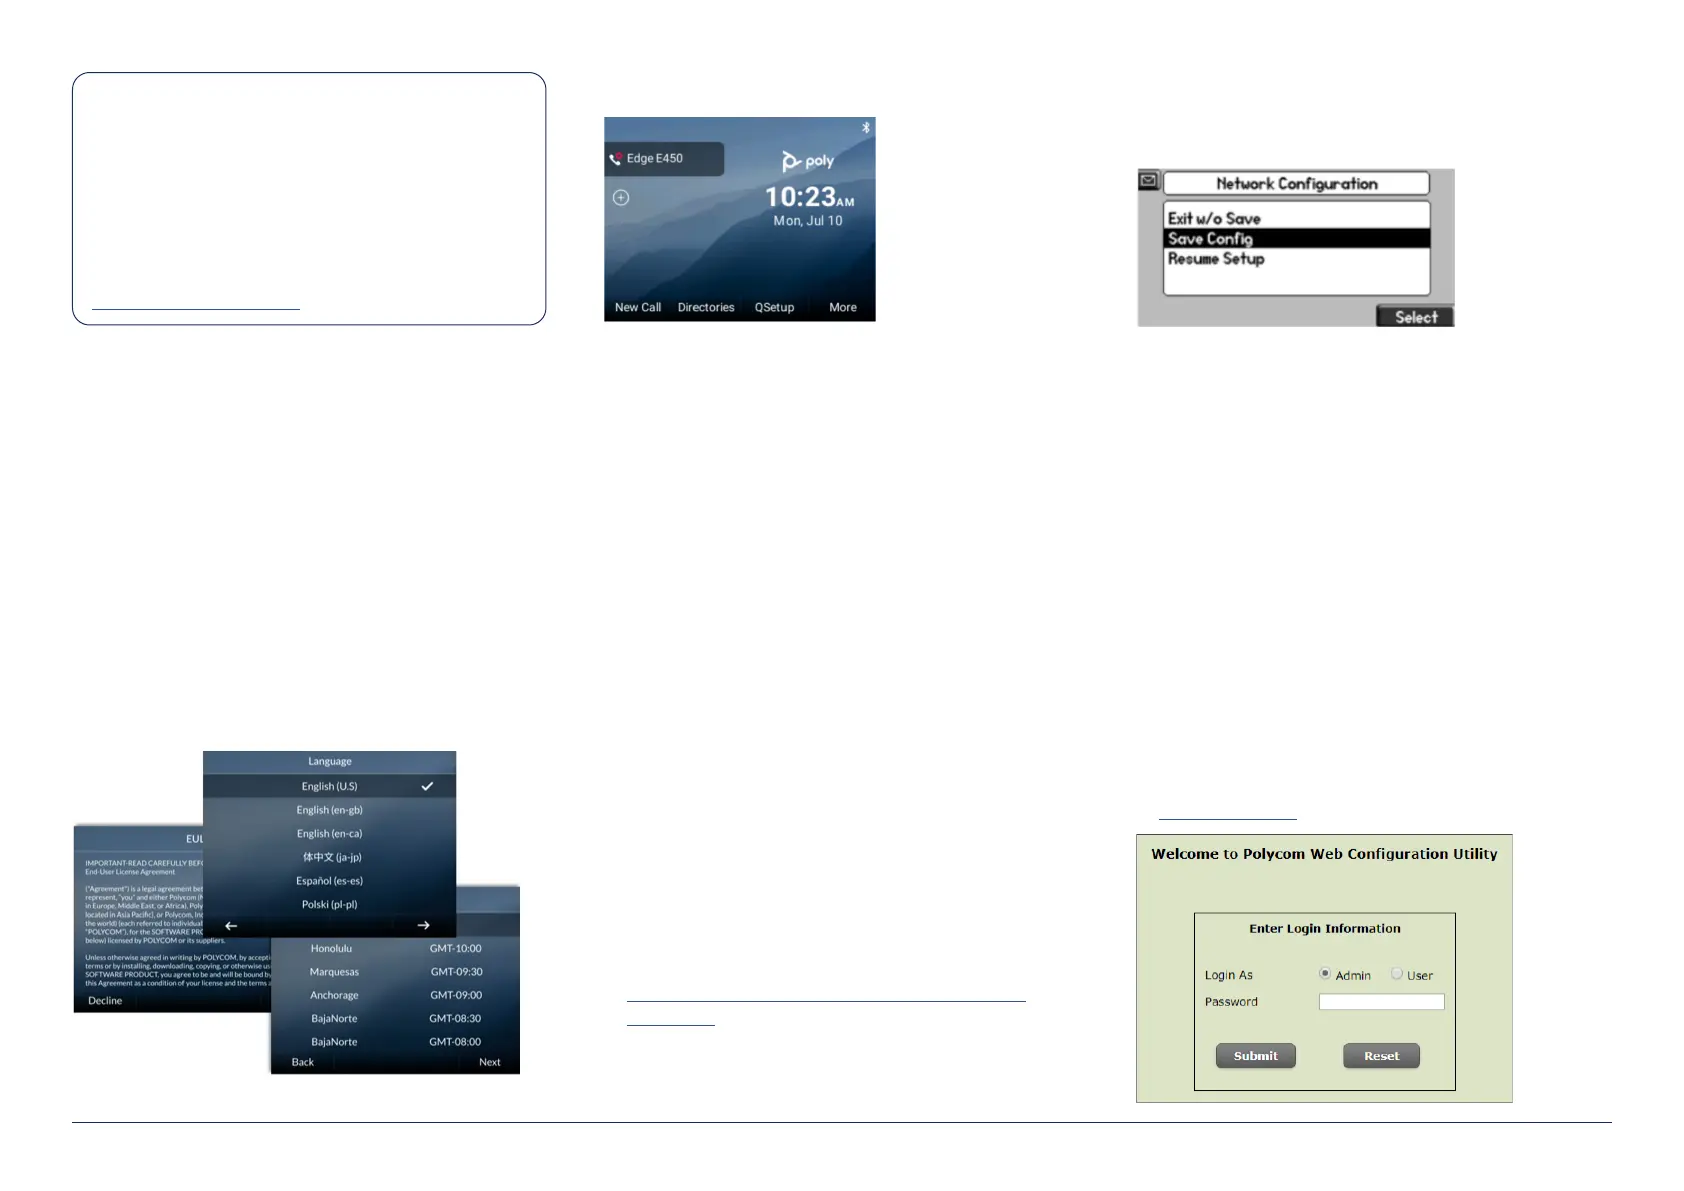
• You will see a QSetup soft key on the screen on
your handset. Press the QSetup soft key to get to
the login menu.
• Enter the supplied username and password
credentials for that device.
• You will be prompted to save the new
conguration.
• The handset will reboot and download its new
conguration.
3. Manual Setup – Via Handset GUI
• You can manually congure three settings on
the physicalhandset for the handset to retrieve
its conguration settings from the Device
Management Servers (DMS):
• On the handset, press Menu -> Settings ->
Advanced and enter the handset’s password. The
default is 456. Change if prompted.
• Choose Admin Settings -> Network Conguration
-> Provisioning Server, and press the Select soft
key.
• Set the DHCP Boot Server to static
• Set the Provisioning Server Type to HTTP
• Set the Provisioning Server Address to
theprovisioning URL
http://dms.digitalbusiness.telstra.com/dms/
bootstrap
• Server User: <The supplied DMS user Credentials>
• Server Password: <The supplied DMS Password
Credentials>
1. Unpack Handset
Unpack the handset and use a Cat6 ethernet cable
to connect the LAN input from the handset to the
LAN port on the customer switch /router. If not using
PoE then a power pack will be required to power the
device.
• When nished, press the OK soft key, and the
Back soft key once or twice. A prompt screen will
display, shown next.
• Choose Save Cong and press the Select soft
key to reboot the handset and save the new
conguration.
4. Manual Setup – Via Handset Web GUI
• If the Poly is not set to factory defaults the Web
GUI maybe disabled. Make sure the handset is
factory reset.
• Locate the IP address of the Poly phone Menu
-> Status -> Network -> TCP/IP Parameters, take
note of the listed IP address.
• Connect a PC to the same LAN as the Poly
(this can be via Wi-Fi or cabled connection). If
necessary, you can connect the PC to the PC port
on the back of the Poly.
• Open a WEB browser and browse to the Handset
LAN IP address
http://192.x.x.x
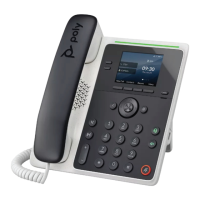
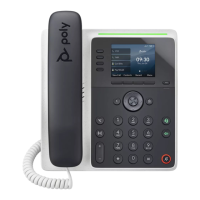
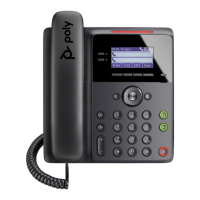
The installation process for the Poly Edge E 220,
350 and 450 models follows the steps outlined
here.Firmwareversion 8.0.2 will be provisioned
to Poly Edge E devices automaticallyduring
installation.
Before handset installation, please make sure
that the TIPT site has been set up withDHCP,
DNS and NTP on the router following the
TIPT Integration Guide.
Note:Handset installation requires that adevice
has been provisioned in the TIPT platform
and been allocated specic credentials. You
will need to know the credentials for each
handsetbefore you start installation.
Follow the setup wizard
TIPT – Polycom Edge series E220, E350 & E450 Installation Guide - 2023
2


 To Next Page