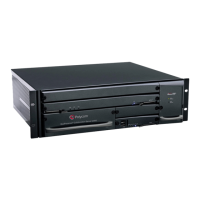
POLYCOM REALPRESENCE COLLABORATION SERVER V.8.6 APPLIANCE EDITION INSTALLATION
FIRST ENTRY POWER-UP AND CONFIGURATION
POLYCOM REALPRESENCE COLLABORATION SERVER GETTING STARTED GUIDE 47
8. In the LAN Configuration Utility window, modify default IP addresses
to IP addresses in your local network provided by your network admin-
istrator.
• Control Unit IP Address (the Management IP address for the MCU)
• Shelf Management IP Address (only for RMX 2000/4000)
•Subnet Mask
• Default Router IP Address
9. Click OK.
Power-up for the Collaboration Server First Time Using the USB Key
When inserting the USB in the RealPresence Collaboration Server, then
powering up the server, the modified network configurations in USB will
upload to the server.
1. To power-up for the Collaboration Server first time using the USB Key:
2. Insert the USB Key containing the modified IP addresses in USB port the
RealPresence Collaboration Server 1800/2000/4000 back panel.
3. Power the Collaboration Server ON.
• RealPresence Collaboration Server 1800: Press on the ON/OFF button
on the front panel, the ON/OFF button is light.
• RealPresence Collaboration Server 2000: Switch on the ON/OFF switch
on the rear panel, the FAN STATUS and PWR STATUS LEDs are light.
• RealPresence Collaboration Server 4000 with AC power supply: Switch
on the ON/OFF switch on the rear panel, the FAN STATUS and PWR
STATUS LEDs are light.
• RealPresence Collaboration Server 4000 with DC power supply: Switch
on the ON/OFF switch on the rear panel, then turn on each of the DC
PEMs, the FAN STATUS and PWR STATUS LEDs are light.
When the system is powered on, the configurations in the lan.cfg file are
uploaded from the USB key to the memory of Collaboration Server and

 Loading...