OWNER’S MANUAL
9
SETUP INSTRUCTION
WARNING:
CLIMBING HAZZARD! PLEASE PREVENT CHILDREN FROM CLIMBING ON THE FILTER CANISTER TO GAIN ACCESS TO THE POOL.
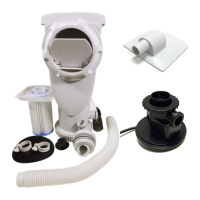
Before assembling your product, please take a few minutes to check the contents and become familiar with all the parts.
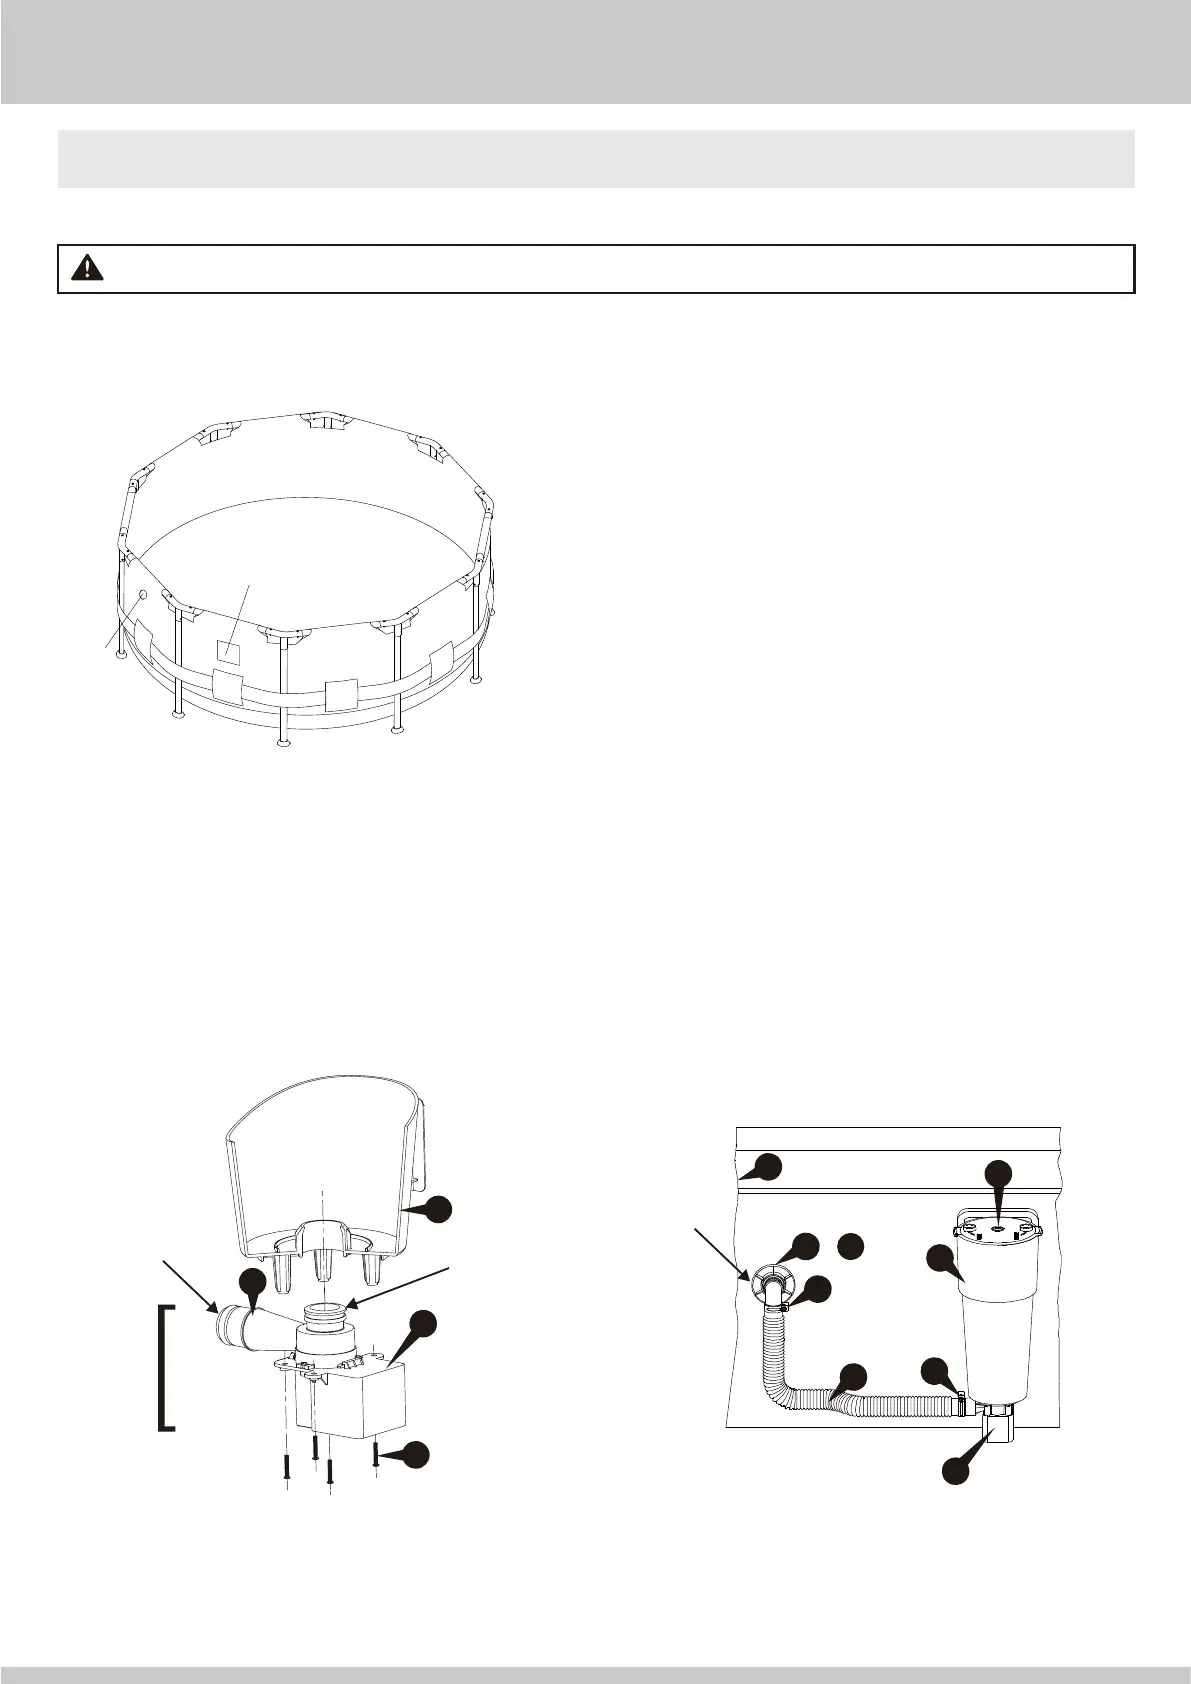
1. Set up the pool by following all the instructions that came with the pool.
Do not fill with water until the Filter Pump is properly installed. Locate the
Skimmer and Inlet openings on the pool wall
;
.
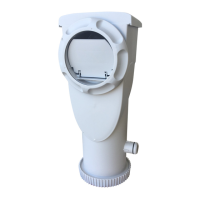
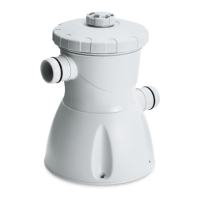
6. Now take out the Pump Motor Assembly
1-5
(see Fig. 2) and lubricate the Volute Housing Inlet o-ring with petroleum jelly (not included). Then hold the
Skimmer Canister
7
securely, insert the Inlet into the bottom of the Canister, and tighten with the Pump Mounting Screws
6
. Make sure that the Volute
Housing Outlet sticks out from the side as indicated in Fig. 2.
7. Locate the Pool Wall Fitting assembly parts
t
-
a
. Lubricate the black Fitting Gasket
y
with petroleum jelly and install it over the threads on the Pool Wall
Fitting
t
. Insert the pool wall fitting with the gasket through the Pool Inlet from the inside of the pool.
8. Place the Return Fitting Washer
u
over the pool wall fitting and then thread the Return Fitting Lock Nut
i
onto the fitting until it is hand tight.
DO NOT overtighten the Return Fitting Lock Nut or wrinkle the pool wall around the Return Fitting Washer
u
or Fitting Gasket
y
.
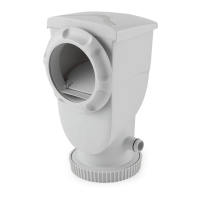
9. Now apply some petroleum jelly to the threads of the 90° Elbow
o
and install the elbow into the wall fitting assembly. Install the Return Fitting Diverter
p
and
Locking Ring
a
onto the wall fitting.
10. Get the Return Hose
e
and remove the two Hose Clamps
r
from the hardware bag. Loosen the hose clamps and slide them over the ends of the hose.
Lubricate the O-Rings
w
on the Volute Housing Outlet (see Fig. 2) and on the 90° Elbow
o
and then install the Hose onto the volute housing outlet and the
elbow (see Fig. 3). Tighten both of the Hose Clamps
r
.
to
1-5
1-5
11
10
6
7
12
13
14
29
20
13
7
FIG.3
Pool
Return
Fitting
FIG.2
Motor
Pump
Volute
Housing
Outlet
Volute
Housing
Inlet
Pool
Inlet
Skimmer Opening
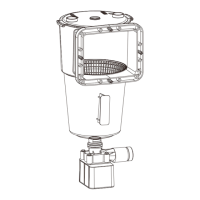
2. Remove the Skimmer Lock Top
q
and take out the parts contained inside.
3. Install one Faceplate Gasket
s
, through the four pins of the canister, onto
the Skimmer Canister
7
. Then place the Canister at the outside of
Skimmer Opening.
NOTE: An extra gasket is included for your convenience.
4. From the inside of Skimmer Opening, align the four large pin holes of
Faceplate
d
with the four pins of Canister, and slot them together.
5. Insert the Hex Screws
f
into the screw holes. First, make only one and a
half turns on each screw. Then continue to tighten the screws alternately, a
few turns at a time, in one direction around the Faceplate.
IMPORTANT: Do not tighten any screw fully. Tightening a screw too much on
one side alone may result in the faceplate developing a leak because the
screws aren't tightened evenly. To ensure a good and even seal, be sure to
make an equal number of turns on the screws, one after the other, until all are
tightened.
Warning! Do NOT overtighten the screws; you just need a watertight seal.