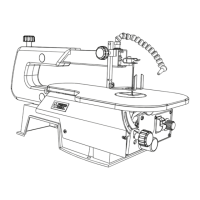
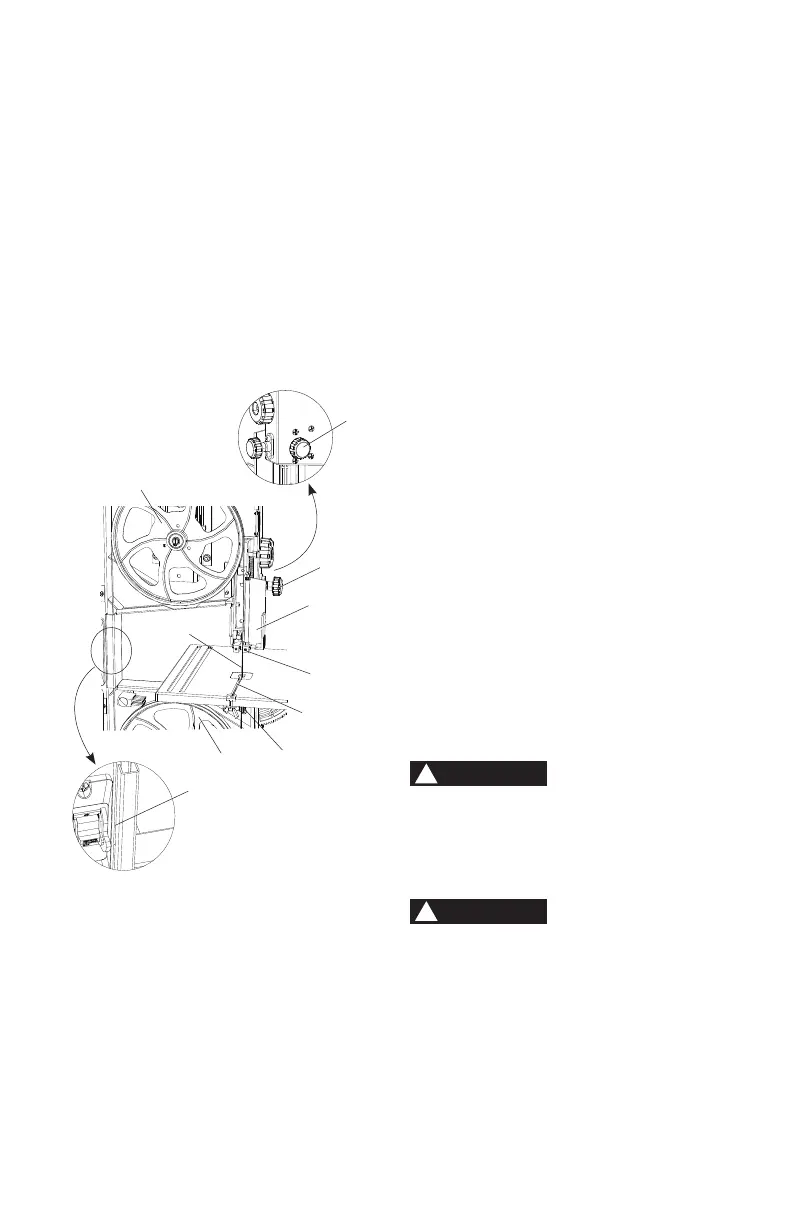
14
4. Loosen the upper blade guide lock
knob (4) on the rear side of the band saw
by turning it counterclockwise.
5. Lower the upper blade guide (5) to its
lowest position by turning the blade guide
height adjustment knob (6).
6. Pull and open the blade guard (7) as
shown in Fig. E.
7. Remove the blade (8) from the upper and
lower blade guides (5, 9).
8. Carefully pull the blade (8) from the table
slot (10) and from the wheels (11).
9. Hold the blade (8), slide it out from the left
side blade guard slot (12).
Fig. E
4
5
11
10
11
12
9
8
6
7
Installing
1. Make sure the blade tension knob (1) is
turned counterclockwise enough to get
blade over pulleys.
2. Remove old blade as explained in
“Removing” section.
3. Guide the new blade (8) through the
slot (12) of the left side blade guard.
Make sure the blade teeth are pointing
forward and down.
NOTE: To avoid lifting the workpiece, the
blade teeth must point downward toward
the table.
4. Place the blade (8) on the upper and
lower wheels (11).
5. Place the blade carefully between the
upper and lower blade guides (5, 9).
6. Slide the blade into the table slot (10) at
the left of the wheels, and make sure the
blade is positioned at the middle of the
wheels.
7. Turning the blade tension knob (1)
clockwise, tighten the tension until the
blade is tight on the wheels.
8. Close the upper blade guard (7), and
rise the upper blade guard to the desired
height by turning the blade guide height
adjustment knob (6).
9. Tighten the upper blade guide lock
knob (4).
10. Replace the table aligning pin (3).
11. Adjust the blade tracking and tension
properly (See ADJUSTMENT
INSTRUCTIONS section) before
operating the band saw.
To avoid injury, the blade tension, tracking,
upper and lower guides and bearings must be
properly adjusted before operating the band
saw. (See ADJUSTMENT INSTRUCTIONS
section)
Before operation always make sure the blade
is in center of table insert slot.
WARNING
!
WARNING
!