DIRECTIONS FOR USE
NOTE: These directions detail a basic
delivery technique. However, this is not a
comprehensive description and not a
substitute for a training course that
emphasizes a practical, hands-on approach
together with instruction on safe administration
techniques. Topics covered in such a course
will include experiences of practitioners in
specific dental clinical settings, the
pharmacokinetic properties of nitrous oxide,
strategies to avoid over sedation and allow for
biological variability, and strategies to
maximize patient satisfaction.
1. Maintain patient observation during
procedure.
2. Turn ON unit by pushing in the ON / OFF
switch.
3. Open N
2
O / O
2
tank valves.
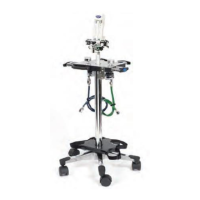
4. Using Flow Control knob, set flow rate of
O
2
to desired rate, keep bag about ¾’s
full. Rotate flow control knob upwards
(clockwise) to increase flow. (See Figure
1, Item 4)
Flow Control Knob
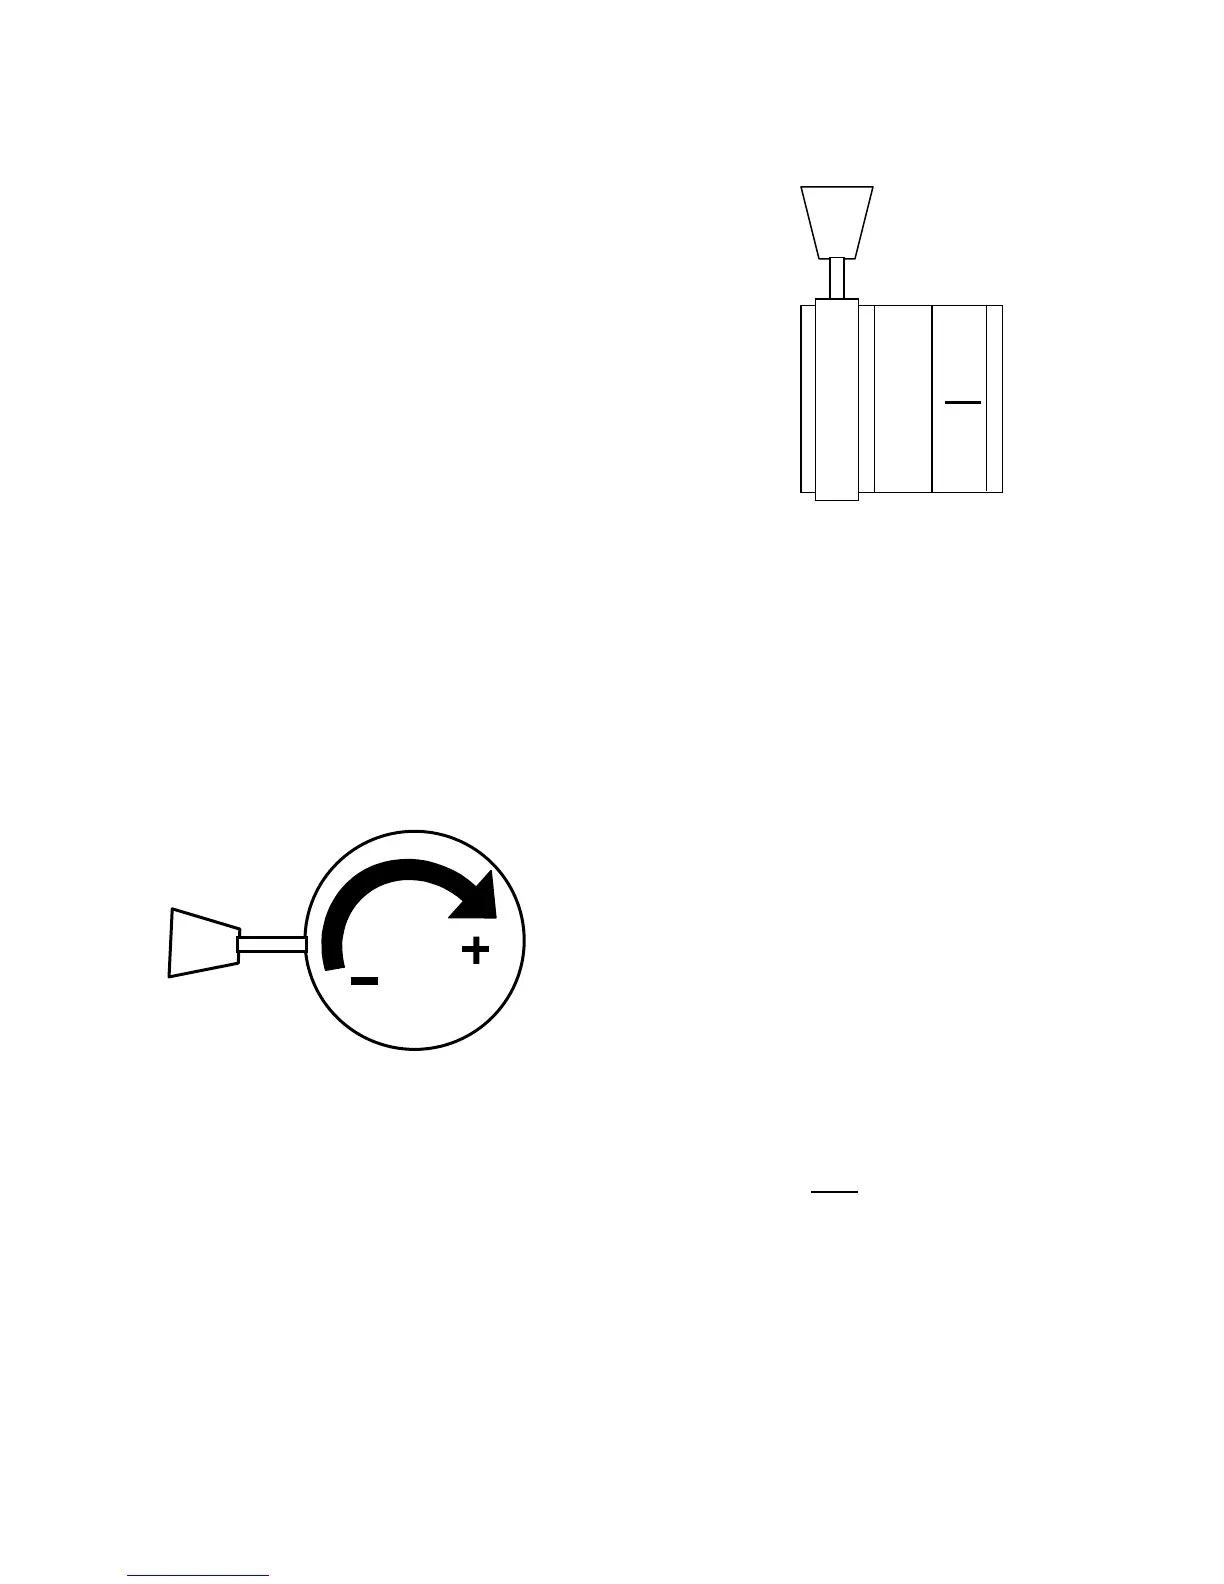
5. Set N
2
O concentration to desired level by
rotating Concentration Control Knob
(See Figure 1-Item 5) upwards
(counterclockwise) to increase
concentration, as read by percentages
inscribed on the control knob. Rotate
slowly until desired level is achieved.
Practice titration* with 10% nitrous
upward movements every 60 seconds
until endpoint achieved. Patients may
typically experience relief of anxiety,
tingling in extremities, and euphoria.
Patients typically require less than 50%
nitrous.
Concentration Control Knob
Setting shown at 60%
6. Flow Control knob may be re-adjusted to
bring the total flow of gases back to
desired level, when concentration is
increased or decreased. Total flow is
equal to the sum of right and left tube
readings. (See Figure 3, to read ball float
on flowmeter tube.)
7. When the procedure is nearing
completion, amounts of N
2
O should be
decreased. Terminate the flow of N
2
O and
deliver 100% O
2
to begin a minimum
postoxygenation period of 3 to 5 minutes.
Assess the patient for appropriate
recovery. Administer additional O
2
if
necessary. Titration and post-procedure
100% O
2
will minimize nitrous exposure to
the operatory, potential patient side
effects of lethargy, headache, or nausea,
and any potential adverse effects of
nitrous diffusion into air filled cavities.
8. When procedure is finally completed, turn
off both control knob valves for gas shut
off.
9. Place the ON / OFF switch (primary shut-
off mechanism) in the OFF position.
(Push from back of ON / OFF switch.)
NOTE: If control valves are still open, gas
flows should stop at this point.
10. Turn OFF the gas supply at the tank at
the end of the day.
*NOTE: Refer to “Basic Delivery
Technique” on the following page.