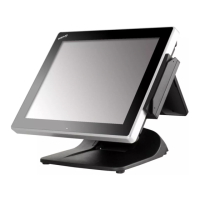
Mounting the POS onto a Table
To facilitate your operation of HS-3510W-E/3512W-E/3514W-E,
desktop mounting kits allow you to fix the POS firmly onto a table in
preventing your machine from being rocked, tipped or tilted
accidentally. Please follow the steps below to finish the installation.
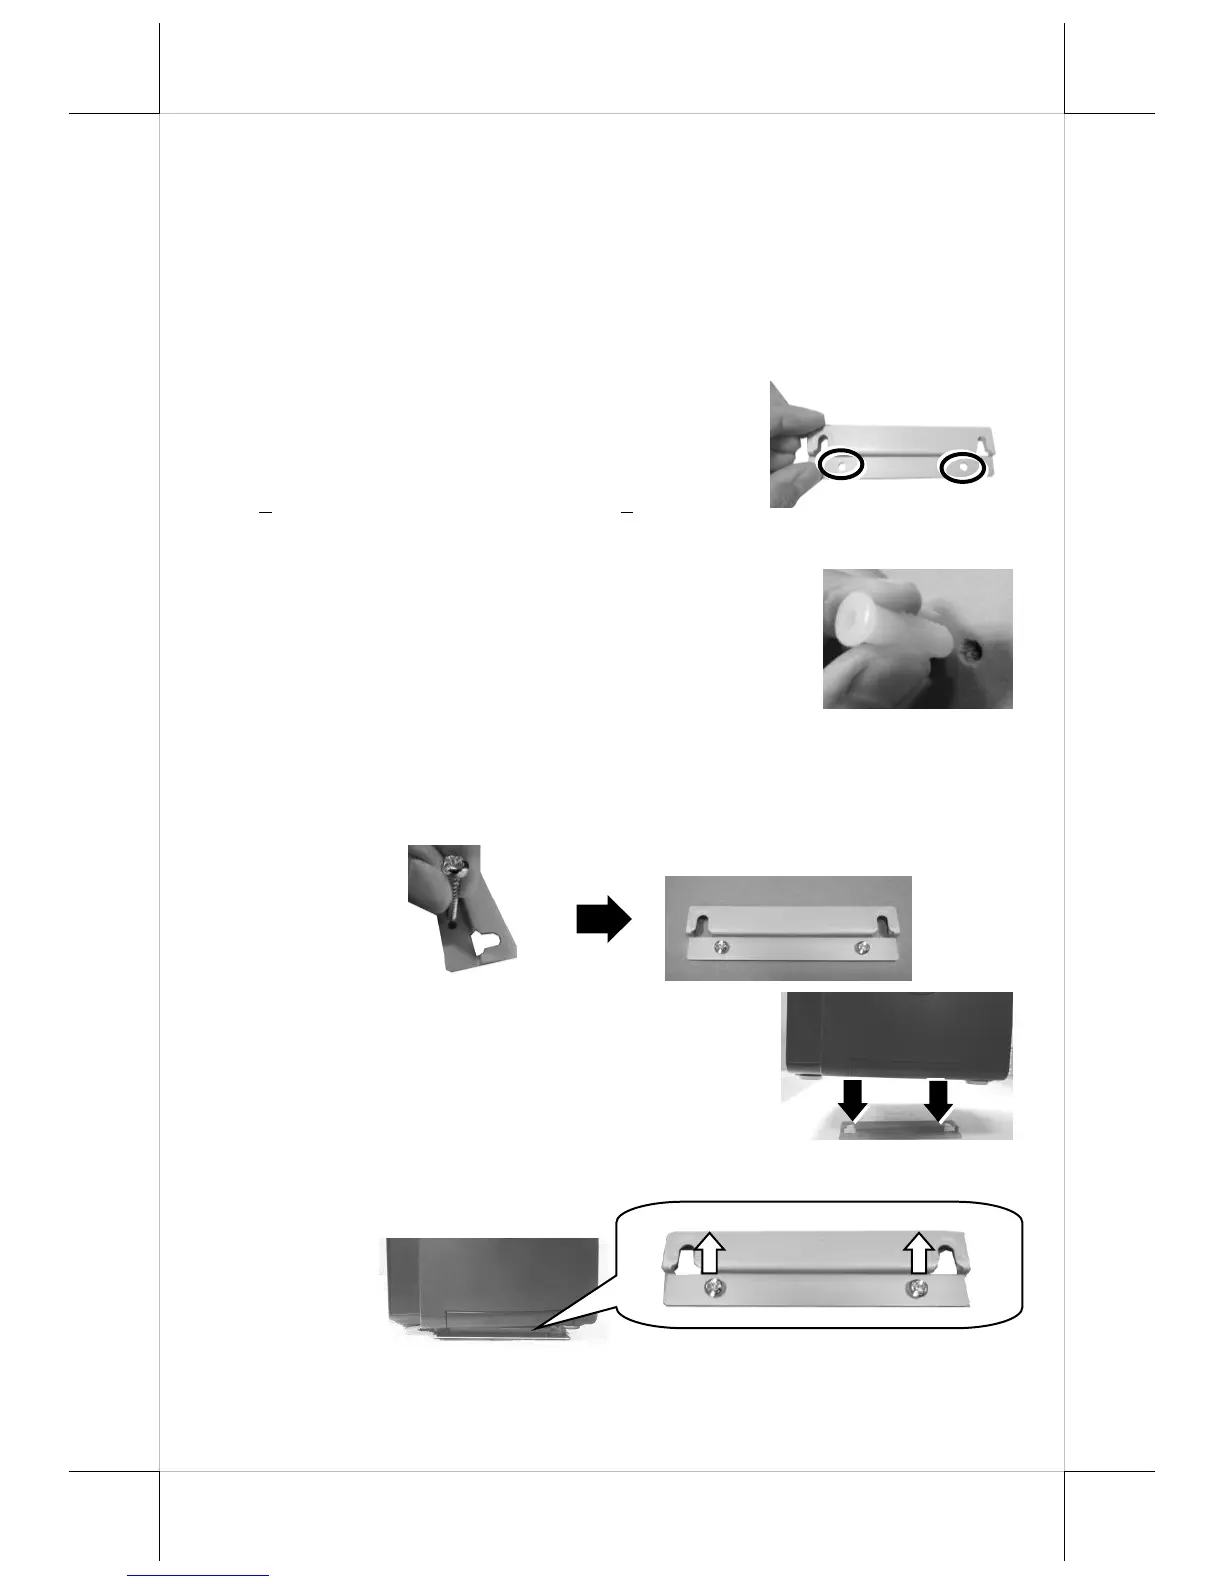
1. Take the desktop mounting bracket out of the kit pack and place
it in your preferred mounting position.
2. Use the screw holes of the mounting
bracket to drill two holes on the
surface. Each hole has to be at least
” or 6.25 mm diameter and
3. Insert two plastic anchors into the
holes you drilled in step 2 and use a
hammer to tap the plastic anchors into
the drilled holes.
4. After well attaching two screw holes of the mounting bracket to
the plastic anchors, insert two self-tapping screws into the
plastic anchors through the mounting bracket and then secure
the bracket.
5. Align the two screw bolts on the
bottom of the POS with the rail slots
of the mounting bracket.
6. Push the POS along the rail slots of the bracket until the
terminal is locked into place.