Floor
1. Lay down your floor panel(s) onto your firm and level base into the desired position of your shed.
Be sure to consider any overhangs on the shed when deciding the correct position as per the
instructions regarding bases in the ‘before you start’ section.
NOTE: Do not confuse floor panels with roof panels.
Floor panels will have more pieces of framing attached.
2. Your shed may come with several floor panels depending on the size. Please refer to the component
checklist to confirm which panels you should have for your Power Pent Bike Shed.
Turn the floor sections upside down so that the floor bearers are facing up. Join the floor panels
together using the 50mm screws provided. You can then turn the floor back the right way to create
the full floor. If your floor comes in two parts, depending on the size, you may need to join them
together using the 300mm joining battens provided (8x2 ,8x3, 10x2 ,10x3 only).
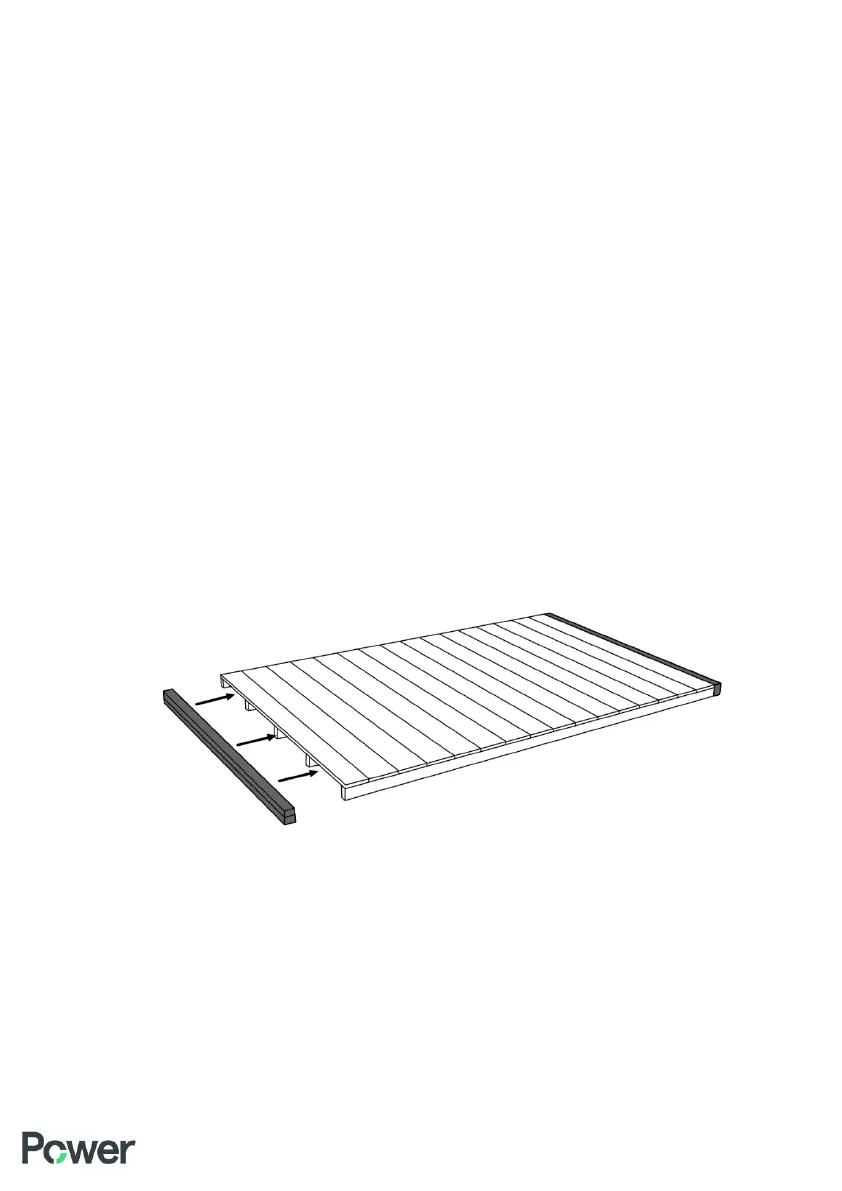
3. Screw the two ‘heavy duty bearers’ which are two pieces of framing joined together, to the two ends
of the shed with 70mm screws. This will cover the ends of the floor joists. The Heavy Duty Bearers
should be fitted to the gable ends of the floor panel.
USEFUL TIP!
If you have purchased a POWER Base you can screw the floor to the timber POWER base
below for maximum strength and security.