Walls
1. Please ensure you have removed the transport blocks as per page 6.
2. Your shed will come with a number of wall sections. The quantity of these will depend on which size
you ordered. Please see the components table to confirm which panels you should have for your
Power Pent Bike Shed.
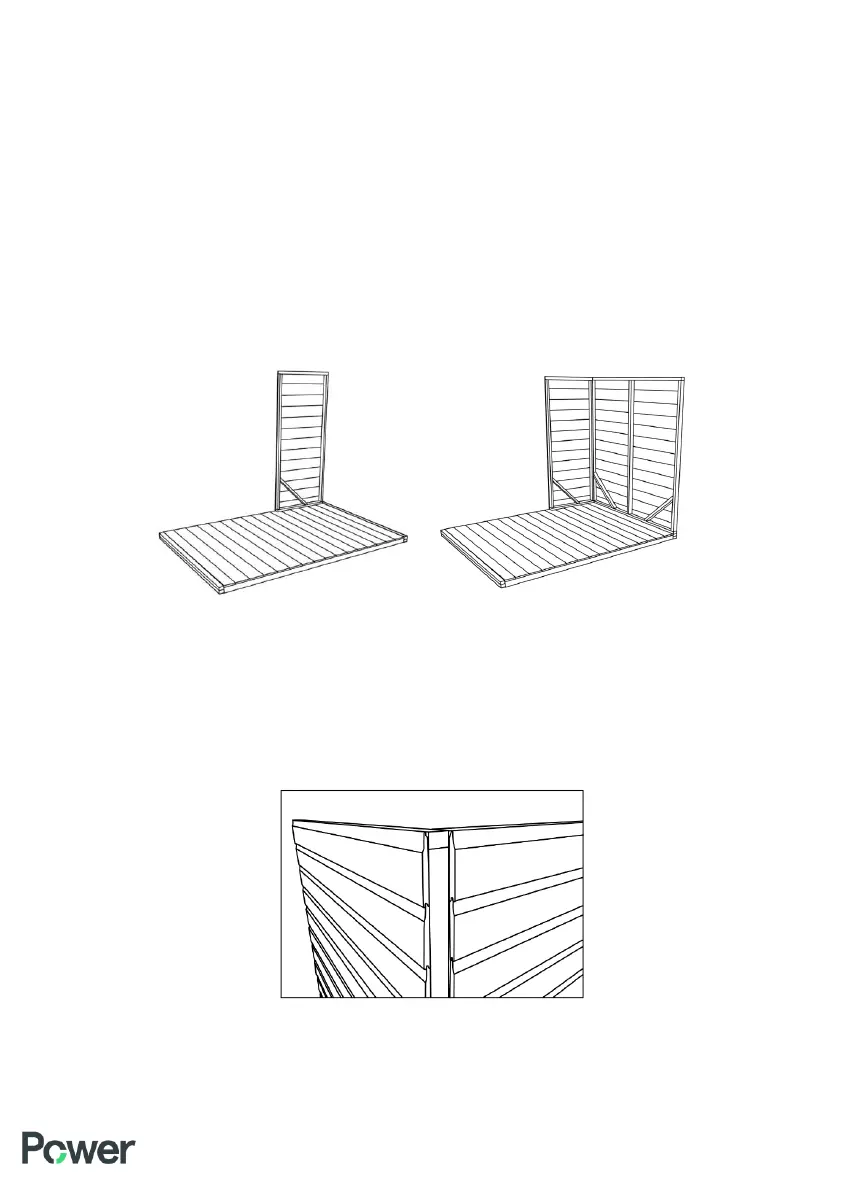
3. Start with the 2ft panel that will be part of your back wall (the long wall without the door) – position
this on top of the floor panel. Ensure the side of the panel is flush with outer edge of floor (but not
sitting on the bearer). Then position one of the end panels (which will either be 2ft, 3ft, 4ft, 5ft or 6ft)
at the end (and sit this on the bearer) and secure these panels together from the inside using the
50mm screws provided. Use three screws per join.
Note - For 6/8/10x5 and 6/8/10x6 models the ends of the shed will come in more than one section.
It does not matter which of these goes to the front and back.
Important!
When securing panels together ensure they line up at the top (so the building is square) and that only
the ends of the cladding are shown, which will later be covered with corner strips).
This is only in the corner when the side meets the gable.
4. Place the remaining back wall panels and then the other gable end wall panels and again secure using
the 50mm screws provided.