6 - ENG
INSTALLATION (cont.)
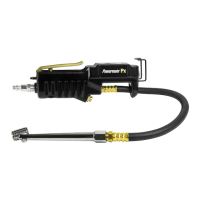
Setting up the Inflator:
Do not modify the digitial tire inator. Unauthorized modications may impair the function and/
or safety of the equipment.
Always check for damaged or worn out parts before operating the digital tire inator. Replace
any damaged or worn parts before using.
1. Turn the ination (L) on by pressing the On/Unit/Light button (T).
T
The LCD display (S) should read < 0.00 Units >.
2. To select the desired units of pressure (BAR, kPa, kg/cm2 or PSI)
- the units will appear to the right of the 0.0), press the On/Unit/
Light button (T) for 2 seconds and release the button. Continue
this procedure until the desired units are shown.
3. To turn on the LCD display (S) backlight, press the On/Unit/Light
button (T) and release.
NOTE: The LCD display (S) on the inator will automatically
turn off after 60 seconds of not being used.
Operating the tire inflator:
To avoid the risk of personal injury to eyes, face or skin, DO NOT direct the air stream at any
person.
Operating any power tool can result in foreign objects being thrown into your eyes, which can
result in severe eye damage. Before beginning operation, always wear safety goggles, safety glasses with side
shields, or a full-face shield when needed. Always use eye protection marked to comply with ANSI Z87.1.
Do not exceed the rated pressure of 150 PSI.
Keep the ination tool dry. Exposure to moisture can damage the precision electronics inside.
Keep the ination tool away from electromagnetic interferences and elds.
1. Connect the tire inator to an air supply (see “connecting
U
M
to the air compressor” section).
2. Remove the tire valve cap.
3. Press air chuck (P) onto the tire valve stem. Make sure
no air is leaking around the air chuck.
4. Turn on the inator by pressing the On/Unit/Light button.
5. Press the ination lever (U) to release air into tire.
6. Release the ination lever and read the pressure in the
LCD display (S).
7. If the pressure is higher than desired, press the air relief
valve (M) to bleed air from the tire.
8. Release the air relief valve and read the pressure on the LCD display (S). NOTE: The gauge can be used
with or without the air hose attached.
Always turn compressor OFF, disconnect from power source, and drain all pressure from
system before servicing.
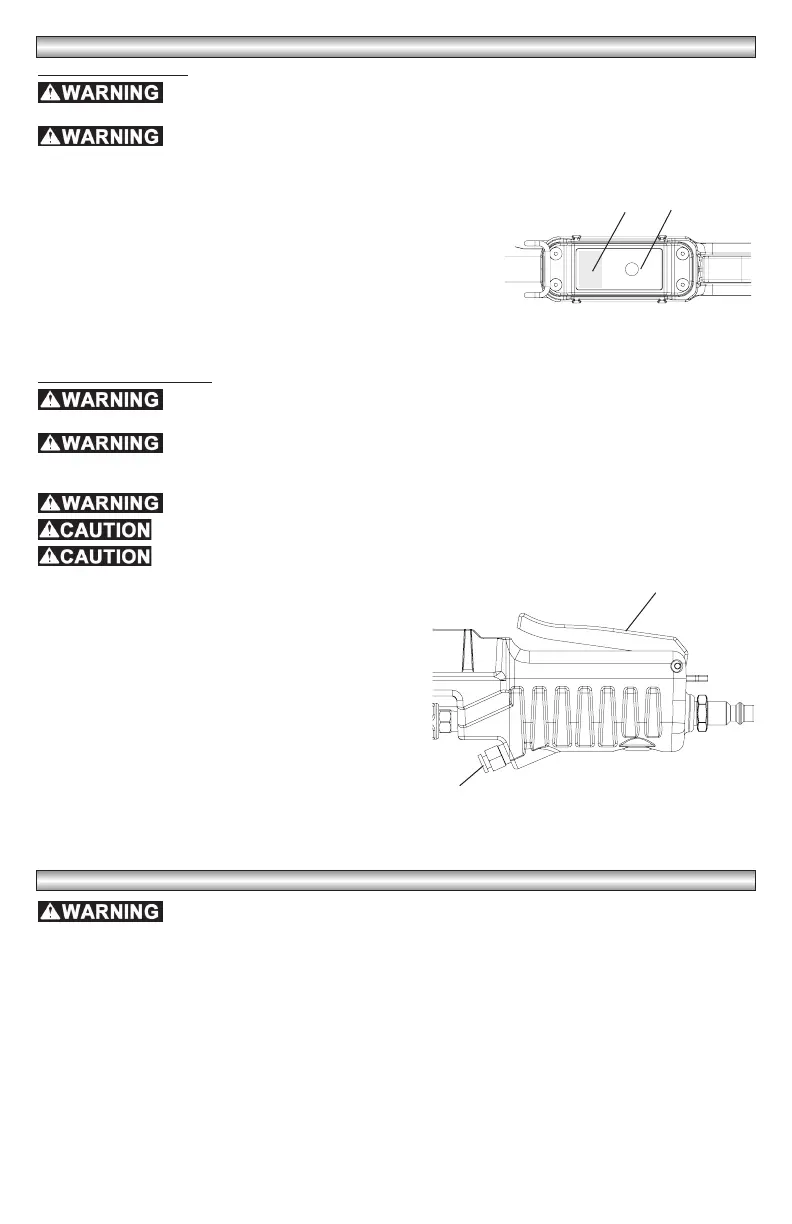
1. To change the batteries remove the 2 screws (AA) using a #0 Phillips Head Screwdriver and then remove
the battery cover (Q).
2. Remove the batteries (AB).
3. Replace batteries with (2) 1.5 VDC AAA.
4. Re-install the battery cover and tighten the screws.
NOTE: Make sure the batteries are inserted the correct way as shown in Figure 3.
NOTE: Do not overtighten the screws holding the battery cover.
BATTERY REPLACEMENT
S