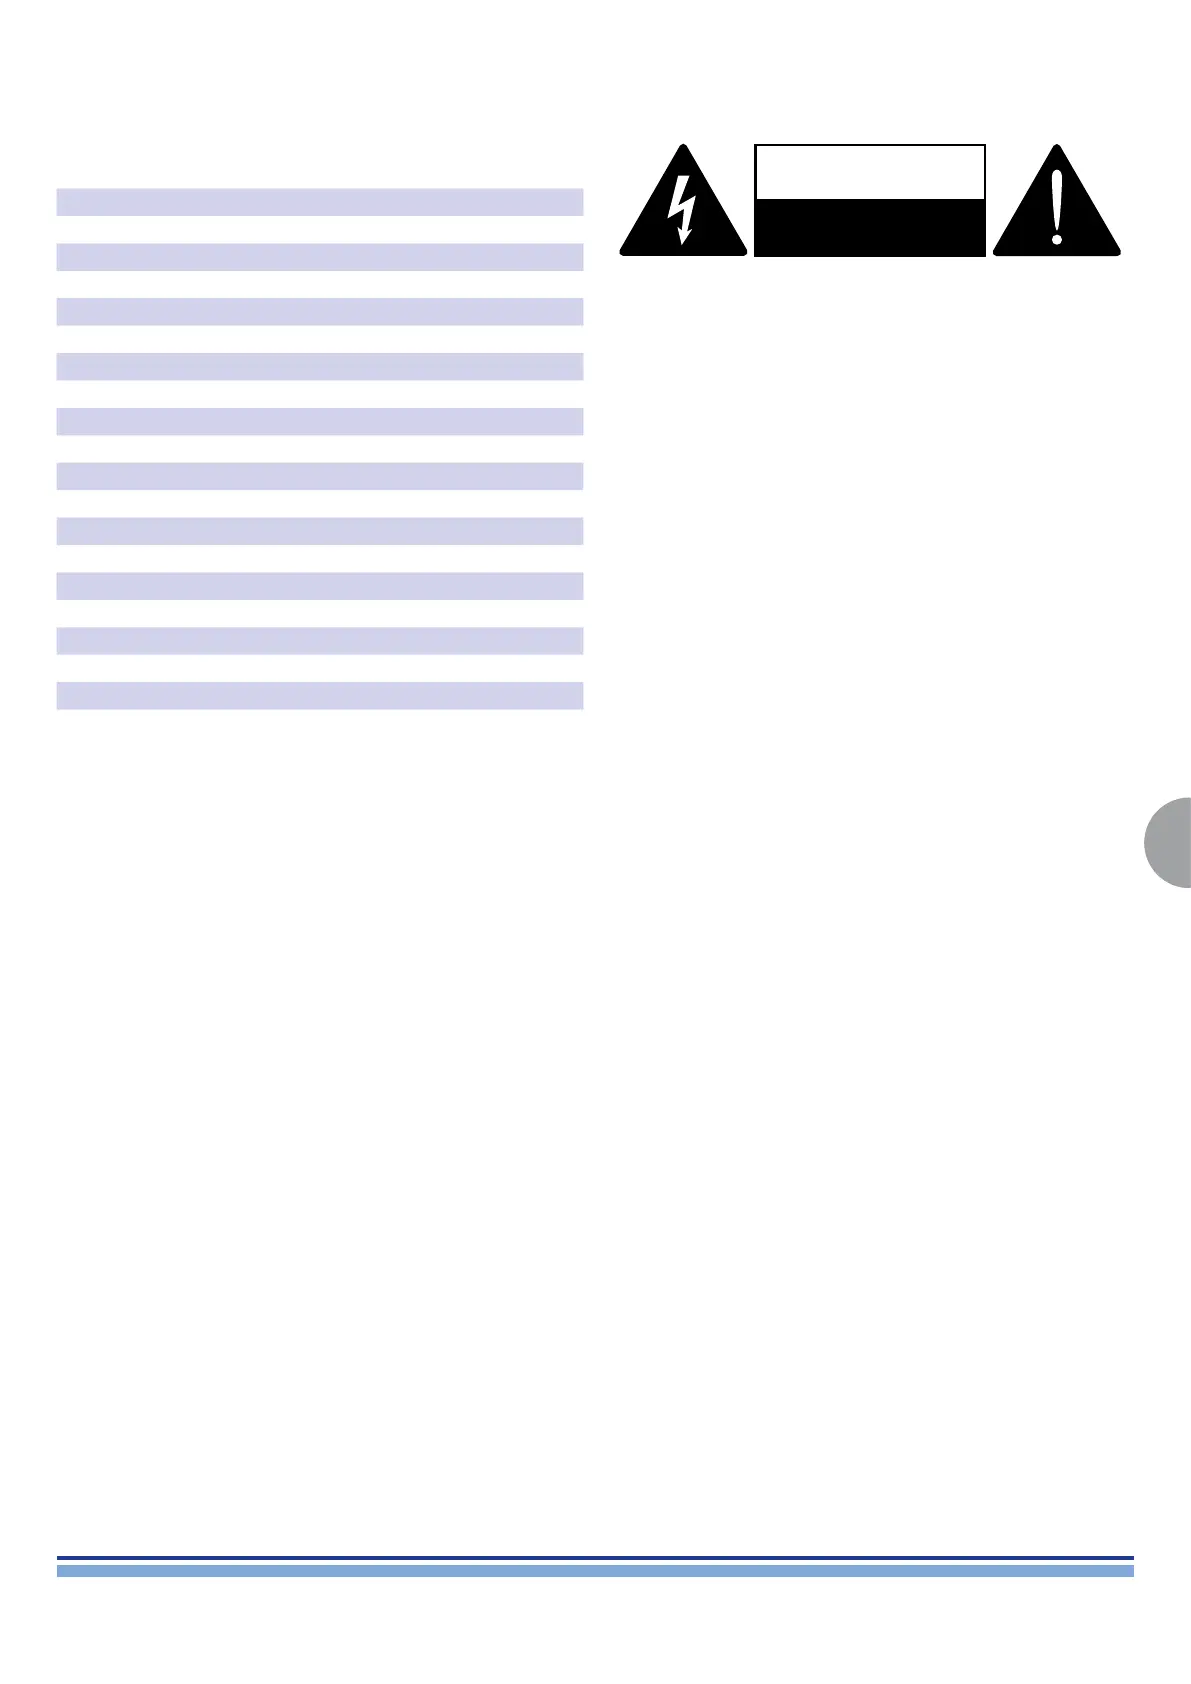
CAUTION
RISK OF ELECTRICK SHOCK
DO NOT OPEN
WE RECOMMEND THAT ALL SERVICE OPERATIONS
ARE CARRIED OUT BY A TECHNICIAN IN THE MANNER
DESCRIBED IN THIS GUIDE.
IF NOT EXPLICITLY STATED OTHERWISE, DISCONNECT THE
AMPLIFIER FROM THE MAINS BEFORE OPERATING THE
AMPLIFIER.
WARNING! INTERNAL CAPACITORS BANK COULD BE CHARGED
AND HARMFUL: TAKE CARE OF COMPLETELY DISCHARGE
INTERNAL CAPACITORS BANK BEFORE HANDLING THE DEVICE
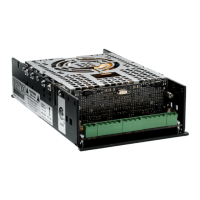
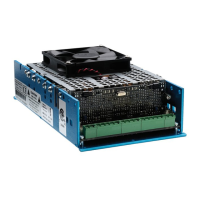
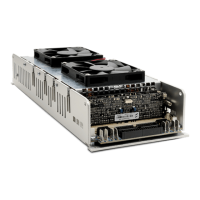
This technical document aims to be a support guide in repairing
and low-voltage testing the DigiMod 500, 1000, 1500, 2000HV,
1000NPS Modules.
The troubleshooting approach will help you characterize the kind
of fault you incur. A recovery method and the related assembly
outline detail is thoroughly explained for the most common faults.
The components to be replaced are clearly shown to help their
identication. At the end of this guide you can nd a detailed
list with the description and the respective Powersoft internal
reference code of the spare parts.
Always use an anti-static wrist band while servicing the amplier.
DigiMod 500 1000 1500 2000HV 1000NPS | SERVICE MANUAL
Tools:
Data are subject to change without notice.
For the latest release please refer to the online version available on
www.powersoft-audio.com.
INDEX
1. Testing Components Kit 4
2. Opening the Module’s Cover 5
3. Discharging the Module’s Capacitors Bank 6
4. Assembly Outline 6
5. Troubleshooting 7
Checking the Output Mosfets 7
Checking the R10 NTC 8
Checking the RV1 Varistor 8
Checking the F1 Fuse 8
Checking the Fan and Fan’s Driver 8
6. Main PCB Disassembly 9
DigiMod 500 | 1000 | 1500 | 2000HV 9
DigiMod 1000NPS 10
7. DC Voltage Testing 11
8. Output Current Offset Calibration Procedure 19
9. SilPad Replacement Procedure 20
10. FW Installation Procedure 21
11. Repair Kit List 22
12. Fake/Unauthorized Copies 23
Index:
• Phillips PH 0 screwdriver
• Phillips PH 1 screwdriver
• M3 hexagonal wrench
• M5 socket wrench
• Multimeter
• Soldering station
• Mains insulation transformer
• Function Generator